Mocha AE is a piece of plug-in software within Adobe After Effects that allows for advanced motion tracking. Which allows you to follow a target in a video as it moves within the frame.
This function has a variety of uses, from removing objects in your video, to adding dynamic motion, graphics, and text. In this article, we offer a beginner's guide to motion tracking using Mocha AE.
Getting Started With Mocha AE
Mocha AE is licensed by Adobe and is incorporated inside After Effects. Once you’ve loaded footage into your composition in After Effects, select the clip you want to track and click Animation, then Track in Boris FX Mocha.
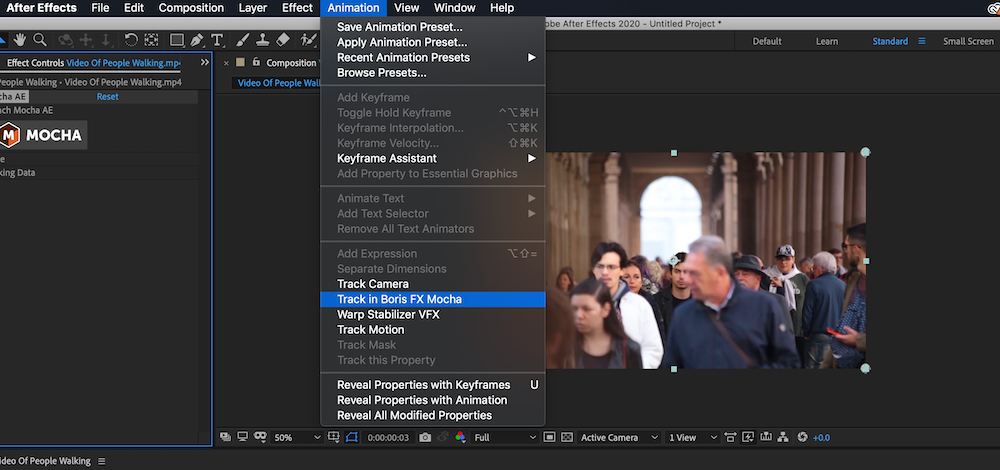
This will place the Mocha interface in the Effect Controls window, by default found on the left hand side of the screen. Click the large "Mocha" button to launch the tracking application.
A new window will appear. This is the main workspace for the Mocha AE Plugin. The interface is relatively simple: you have a timeline and a viewer, a series of layers for tracking individual objects in your image, and a set of tracking tools at the top.
Case Study: Blurring A Moving Object
Now that you've seen the basic layout of Mocha AE and know how to access it, let’s see how you can use it in practice.
One of the most common issues as a video editor is with Identifiers: faces, name tags, and writing that need hiding for legal or ethical reasons. Motion tracking and blurring is an efficient way to remove these from your video.
If you want to source your own footage to practice with, there are many sites offering free and royalty-free video footage.
This piece of Creative Commons footage from Pexels is a good clip to practice on.
In this example, the face of an individual in the crowd will be blurred. You can blur photos in Photoshop, but in moving video, blurring faces becomes a little trickier.
First, you follow the same steps as before: load the footage into the composition, apply the Mocha AE plugin, and load up the main workspace.
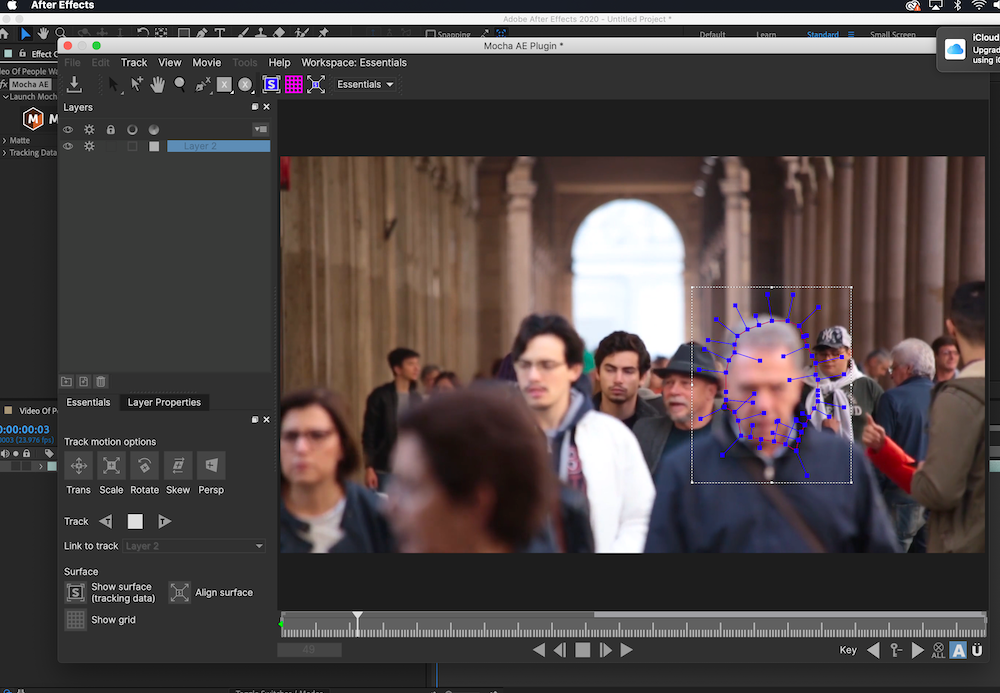
Focusing on the face of the man in the foreground of the image with the blue coat, click on the X-Spline Pen tool. Clicking to make points, draw a shape over the man’s face, making sure to join up your first and last points.
Once you’re content, it’s time to track the face. At the bottom right of the window, you’ll see a set of track motion options. Click the right "T" Track button and Mocha will go through each frame, automatically tracking the image within the shape you drew.
On your first attempt, the results may not work. For example, the man is turning his head to the side as he moves, so the software may try and fail to account for this.
However, you do not necessarily need to incorporate this head turning to blur his face. The Track Motion buttons at the bottom left let you specify which parameters the software considers while tracking.
These are Transform, Scale, Rotation, Skew, and Perspective. Enabling and disabling these will let you adjust the tracking to better suit your needs.
If you’re still unhappy with aspects of the tracking, you can manually adjust the track with Keyframes.
If there is a place you want to adjust the tracking shape, the Keyframe icon between the left and right frame buttons in the viewer can add or subtract keyframes for more control over your tracking.
Once you’re happy with your track, simply close the Mocha AE Window. In After Effects, navigate back to the Mocha AE plugin in your Effect Controls panel of your chosen clip.
Navigate to the Matte drop down box. You have a series of options depending on your workflow. You can click the Apply Matte checkbox to isolate your tracked shape, or you can click the Create AE Masks button to translate your motion tracking into After Effects masks for advanced work.
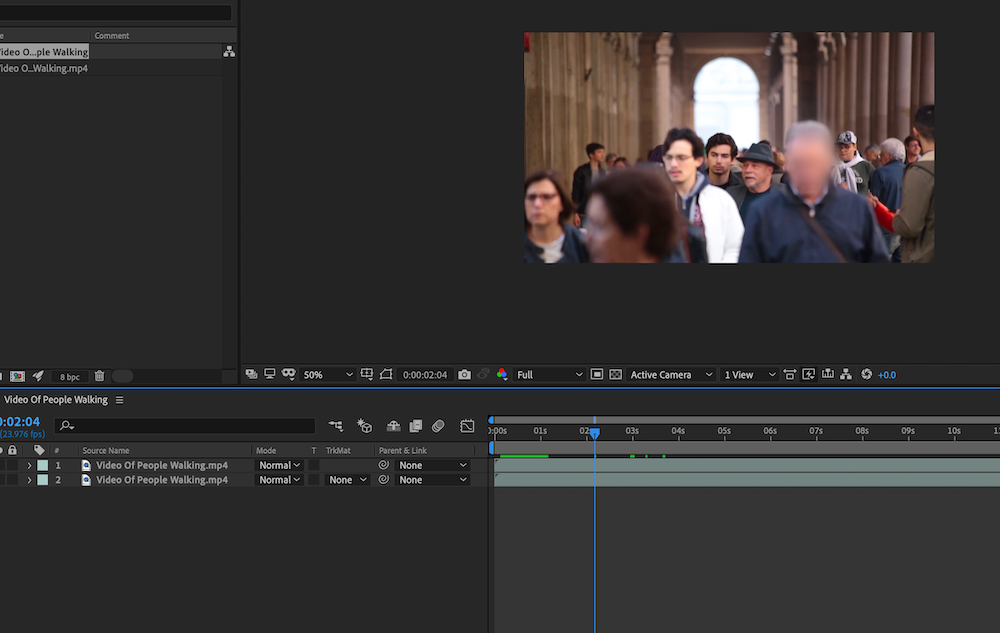
In this case, the clip with a tracking mask is placed on top of the original with the Apply Matte checkbox ticked. A blur effect is applied to the face.
Case Study: Copying Track Data To Text
One more use of motion tracking will be covered: copying your track data to other objects or graphics. This can allow you to achieve cool effects with text and graphics that makes them feel like part of the action.
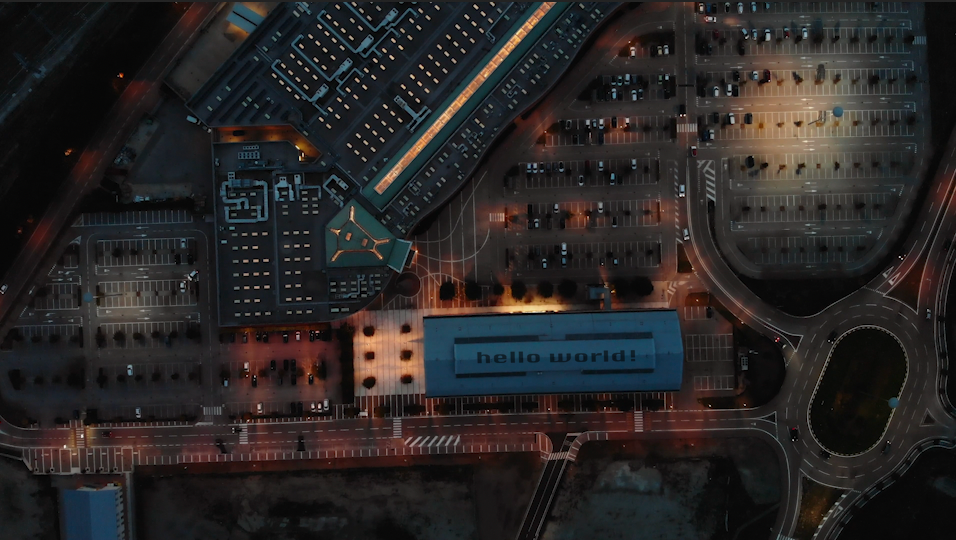
In this case, this aerial footage from Pexels will serve as test footage. The motion of the camera will be tracked and then applied to a new text layer.
After loading up your footage as before, opening the Mocha AE interface, it's time to choose a point to track. In this case, the focus is on large grey building to the bottom right from the center of the image.
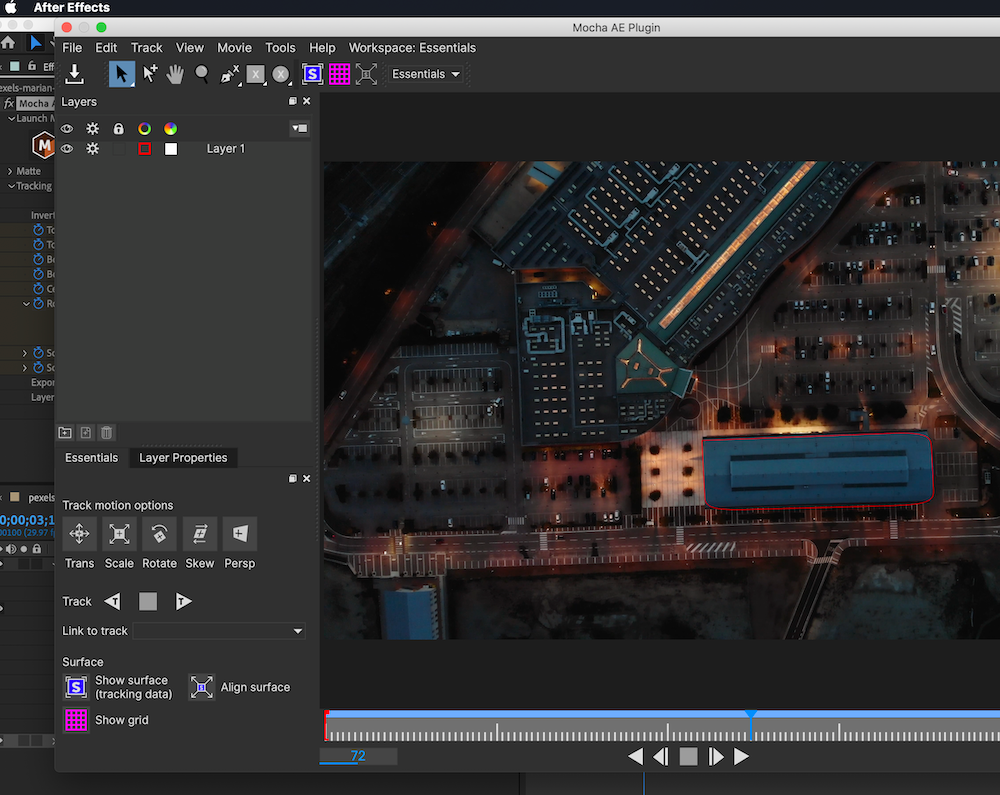
Once again, use the X-Spline pen tool to draw around the building and track the motion, closing the Mocha AE plugin when you are content with the track.
This time, in the Mocha AE Plugin in Effect Controls you are going to look at the Tracking Data dropdown box.
Click the Create Track Data box to translate your motion tracking into data that can be applied to other objects. A popup box will appear, so make sure the gear icon is toggled for your clip layer and click OK.
With the tracking data generated, you should now see that the tracking keyframes turn blue in the tracking data list. All that’s left is to apply this tracking data to another object.
Create a text layer in your composition. Back in the plugin, you’ll see two fields for Export Option and Layer Export To. These dictate how the tracking data is applied and where it is applied to.
You have a choice of applying the data as a Corner Pin or as Transform data. In this example, use the Corner Pin option. This will pin the text layer to the corners of the motion tracking shape.
Choose your text layer from the drop down box next to Layer Export To and click Apply Export. Your text should now move in line with the camera, as if it is part of the scene.
Motion Tracking With Mocha AE
The Mocha AE plugin opens up a lot of opportunities for pulling off some very cool visual work within After Effects. So we hope this beginner's guide to using the plugin helps you get to grips with the basics.