With iPadOS you can use a trackpad with your iPad for a better way to interact with your apps. There's even a whole host of different trackpad gestures you can use to effortlessly access various iPadOS features.
In this guide, we'll explain everything you need to know about using a trackpad with your iPad, from a simple click to a multi-finger, swiping gesture.
To follow along, you need to have either an Apple Magic Trackpad or an iPad Magic Keyboard case.
1. Click
When using a trackpad with your iPad, a click is the equivalent of a tap on the screen. Anything you normally do by touching the screen can be done with the trackpad, including tapping, dragging, and holding to activate dropdown menus.
Need to right-click? Click with two fingers on the trackpad. "Secondary clicking," as Apple calls it, triggers the text-editing popup menu you use to copy and paste and opens dropdown menus immediately.
If you're using a trackpad and external keyboard, you can also hold the Control key and click with one finger to perform a secondary click.
2. Drag
Dragging elements around onscreen is as simple as clicking, holding, and sliding your finger around on the trackpad. Then, let go to release the item.
3. Scroll
You can scroll on your iPad by sliding two fingers up and down on the trackpad—just like on most laptops. However, if you've never experienced Apple's "natural scrolling" direction on MacBooks, you might be in for a surprise.
Trackpad scrolling on an iPad operates as if you were touching the iPad’s screen:
- To scroll down, slide two fingers up.
- To scroll up, slide two fingers down.
If you don’t like this, you can toggle off Natural Scrolling by going to Settings > General > Trackpad.

Scrolling left and right works, too. Horizontal scrolling also lets you swipe between pages of apps on the Home screen.
4. Zoom
Zoom in and out by pinching with two fingers on the trackpad, just like you’re used to doing on the iPad’s touchscreen.
5. Show the Dock
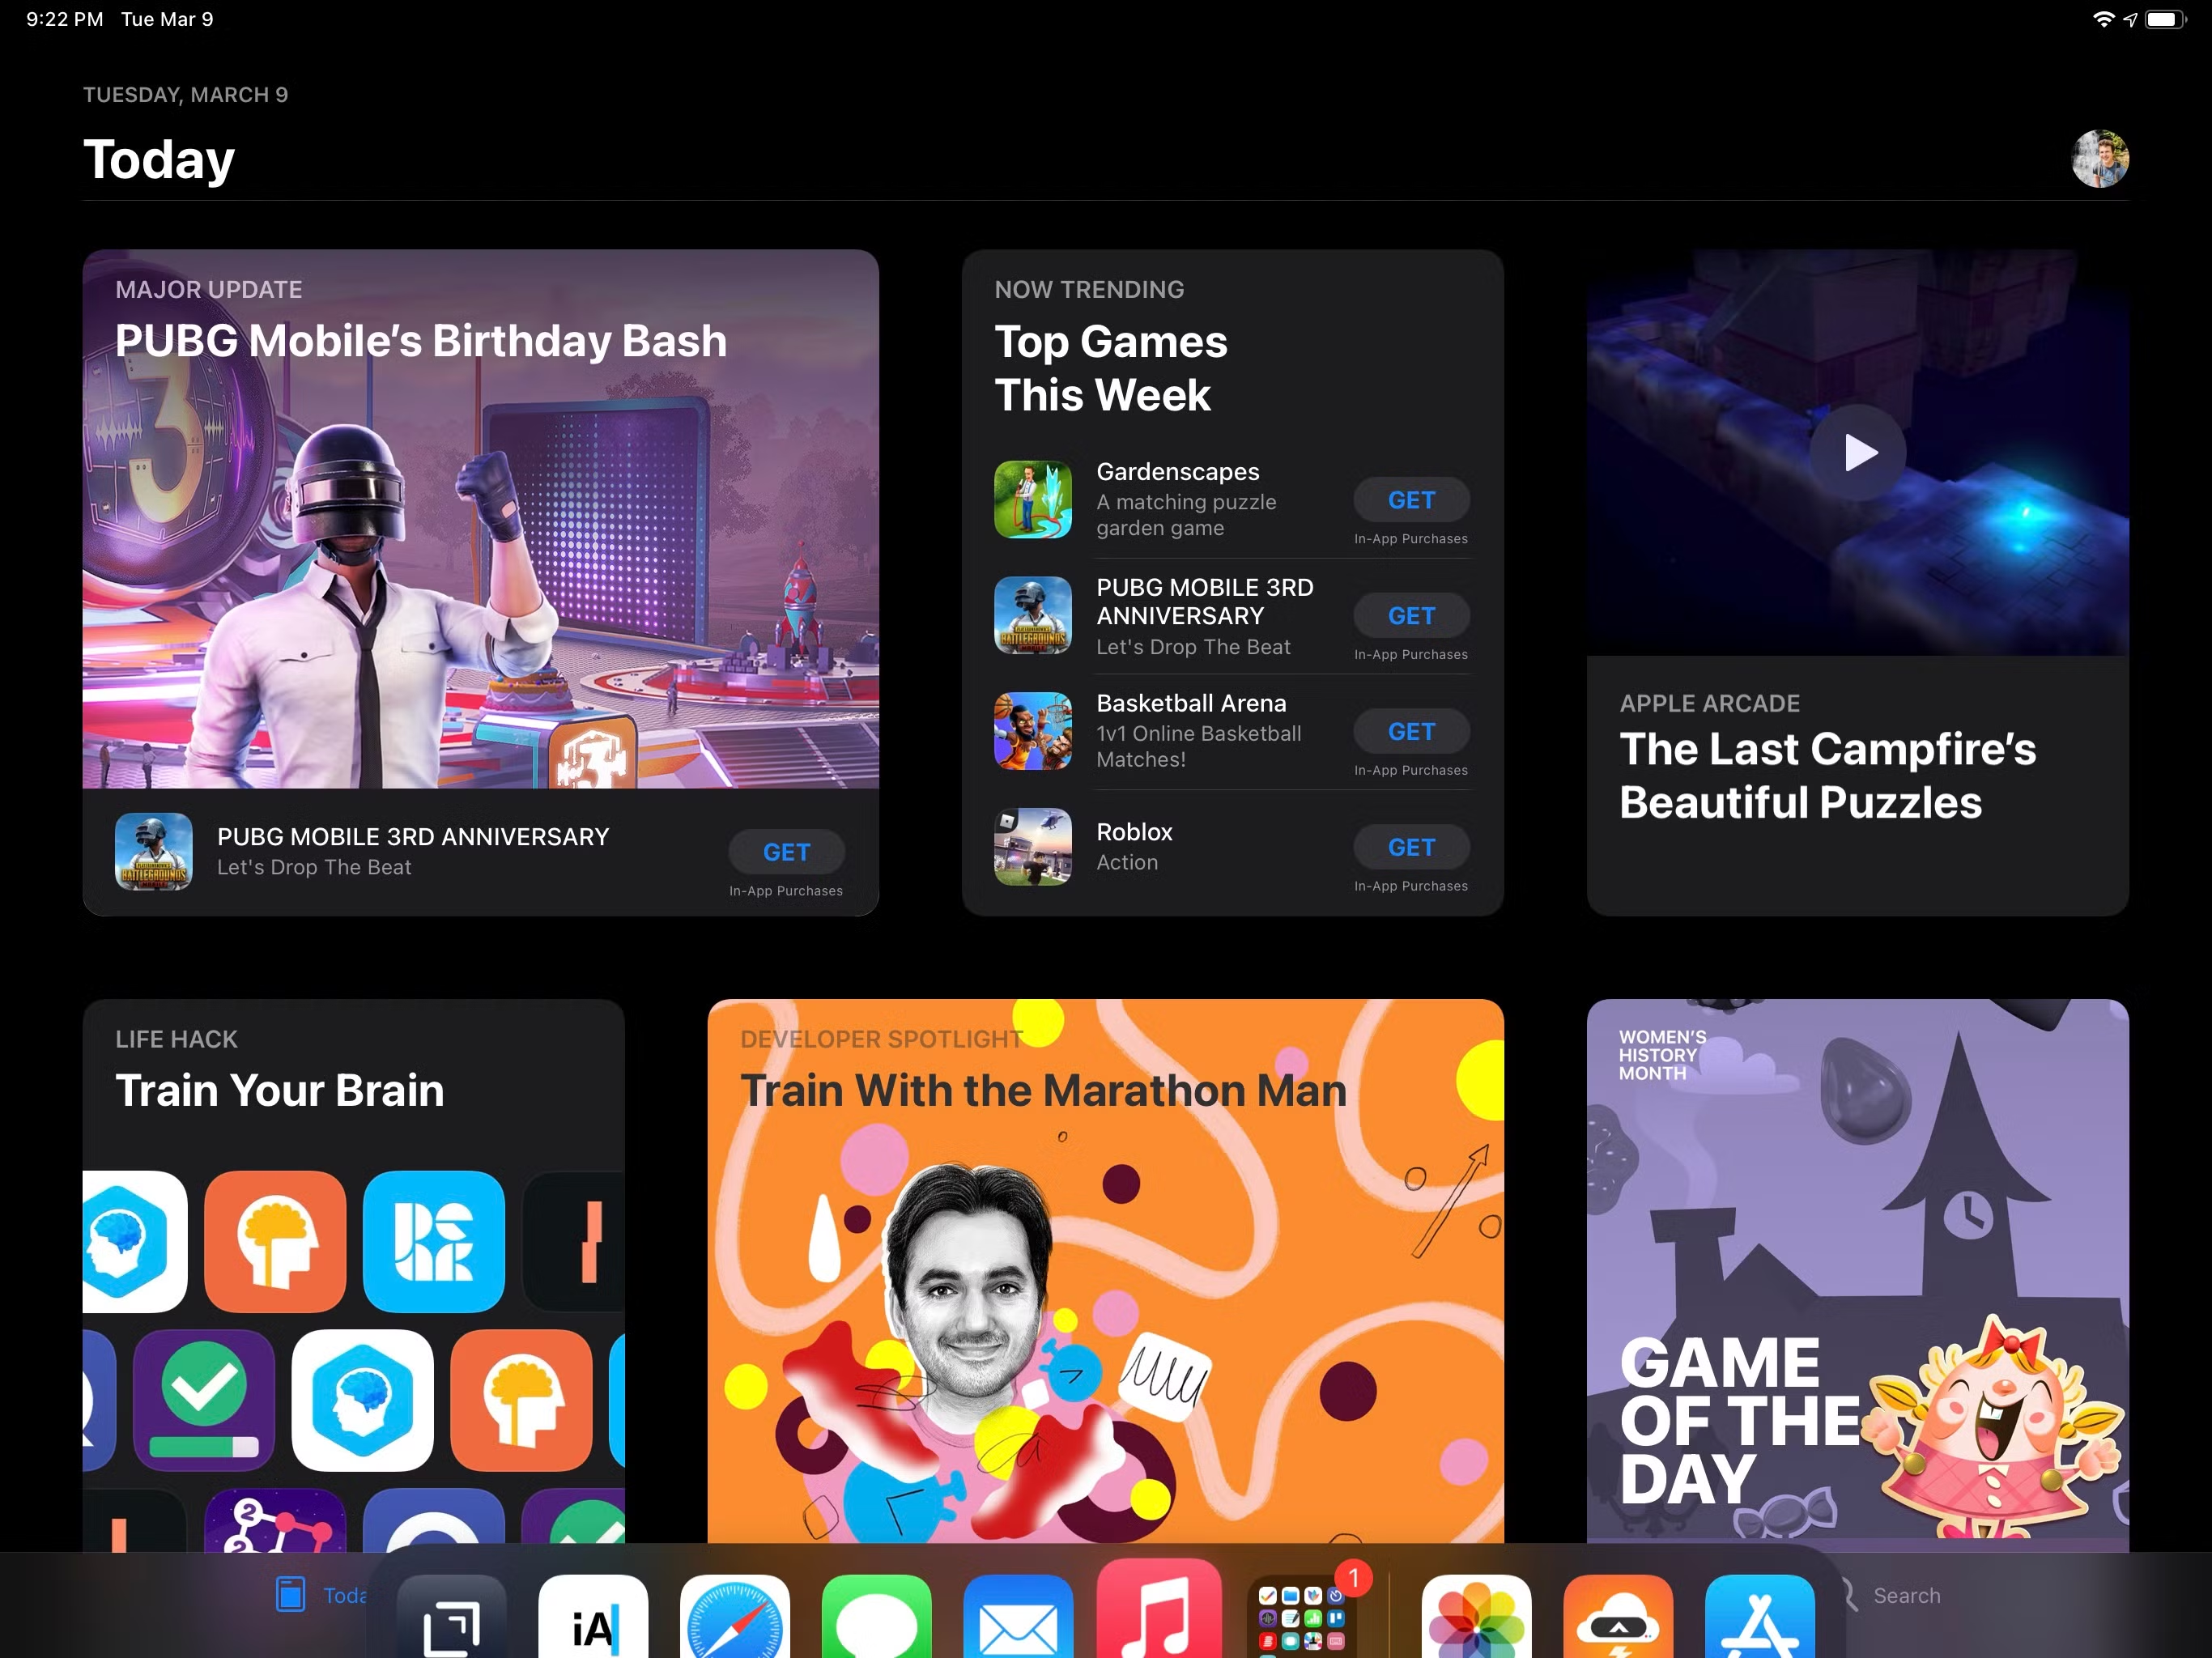
To show the Dock, slide the cursor against the bottom edge of the screen (by swiping down on the trackpad) until the Dock slides into view. When you move the cursor away, the Dock will hide again.

Once you’re comfortable with that gesture, you can try flicking the cursor (which carries momentum) into the bottom edge to show the Dock more quickly.
6. Show Notification Center and Control Center
To show Notification Center, slide the cursor into the top-left corner of your iPad’s screen. This gesture also works along most of the top edge.
To show Control Center, slide the cursor into the top-right corner of the screen. You can adjust the brightness and volume sliders by scrolling over them with two fingers. You can also secondary click on Control Center widgets to quickly open their details.
7. Go Home
Swiping up with three fingers is the easiest way to go to the Home screen from within any app. This gesture will also close Control Center and Notification Center and take you to your first Home screen from other pages of apps.

There’s also another gesture to go to the Home screen: Slide the cursor down into the bottom edge of the iPad until the Dock shows, then push it into the bottom edge again to go Home.
8. Show the App Switcher
This gesture might be a bit fiddly at first, but you’ll get more comfortable with it in no time.
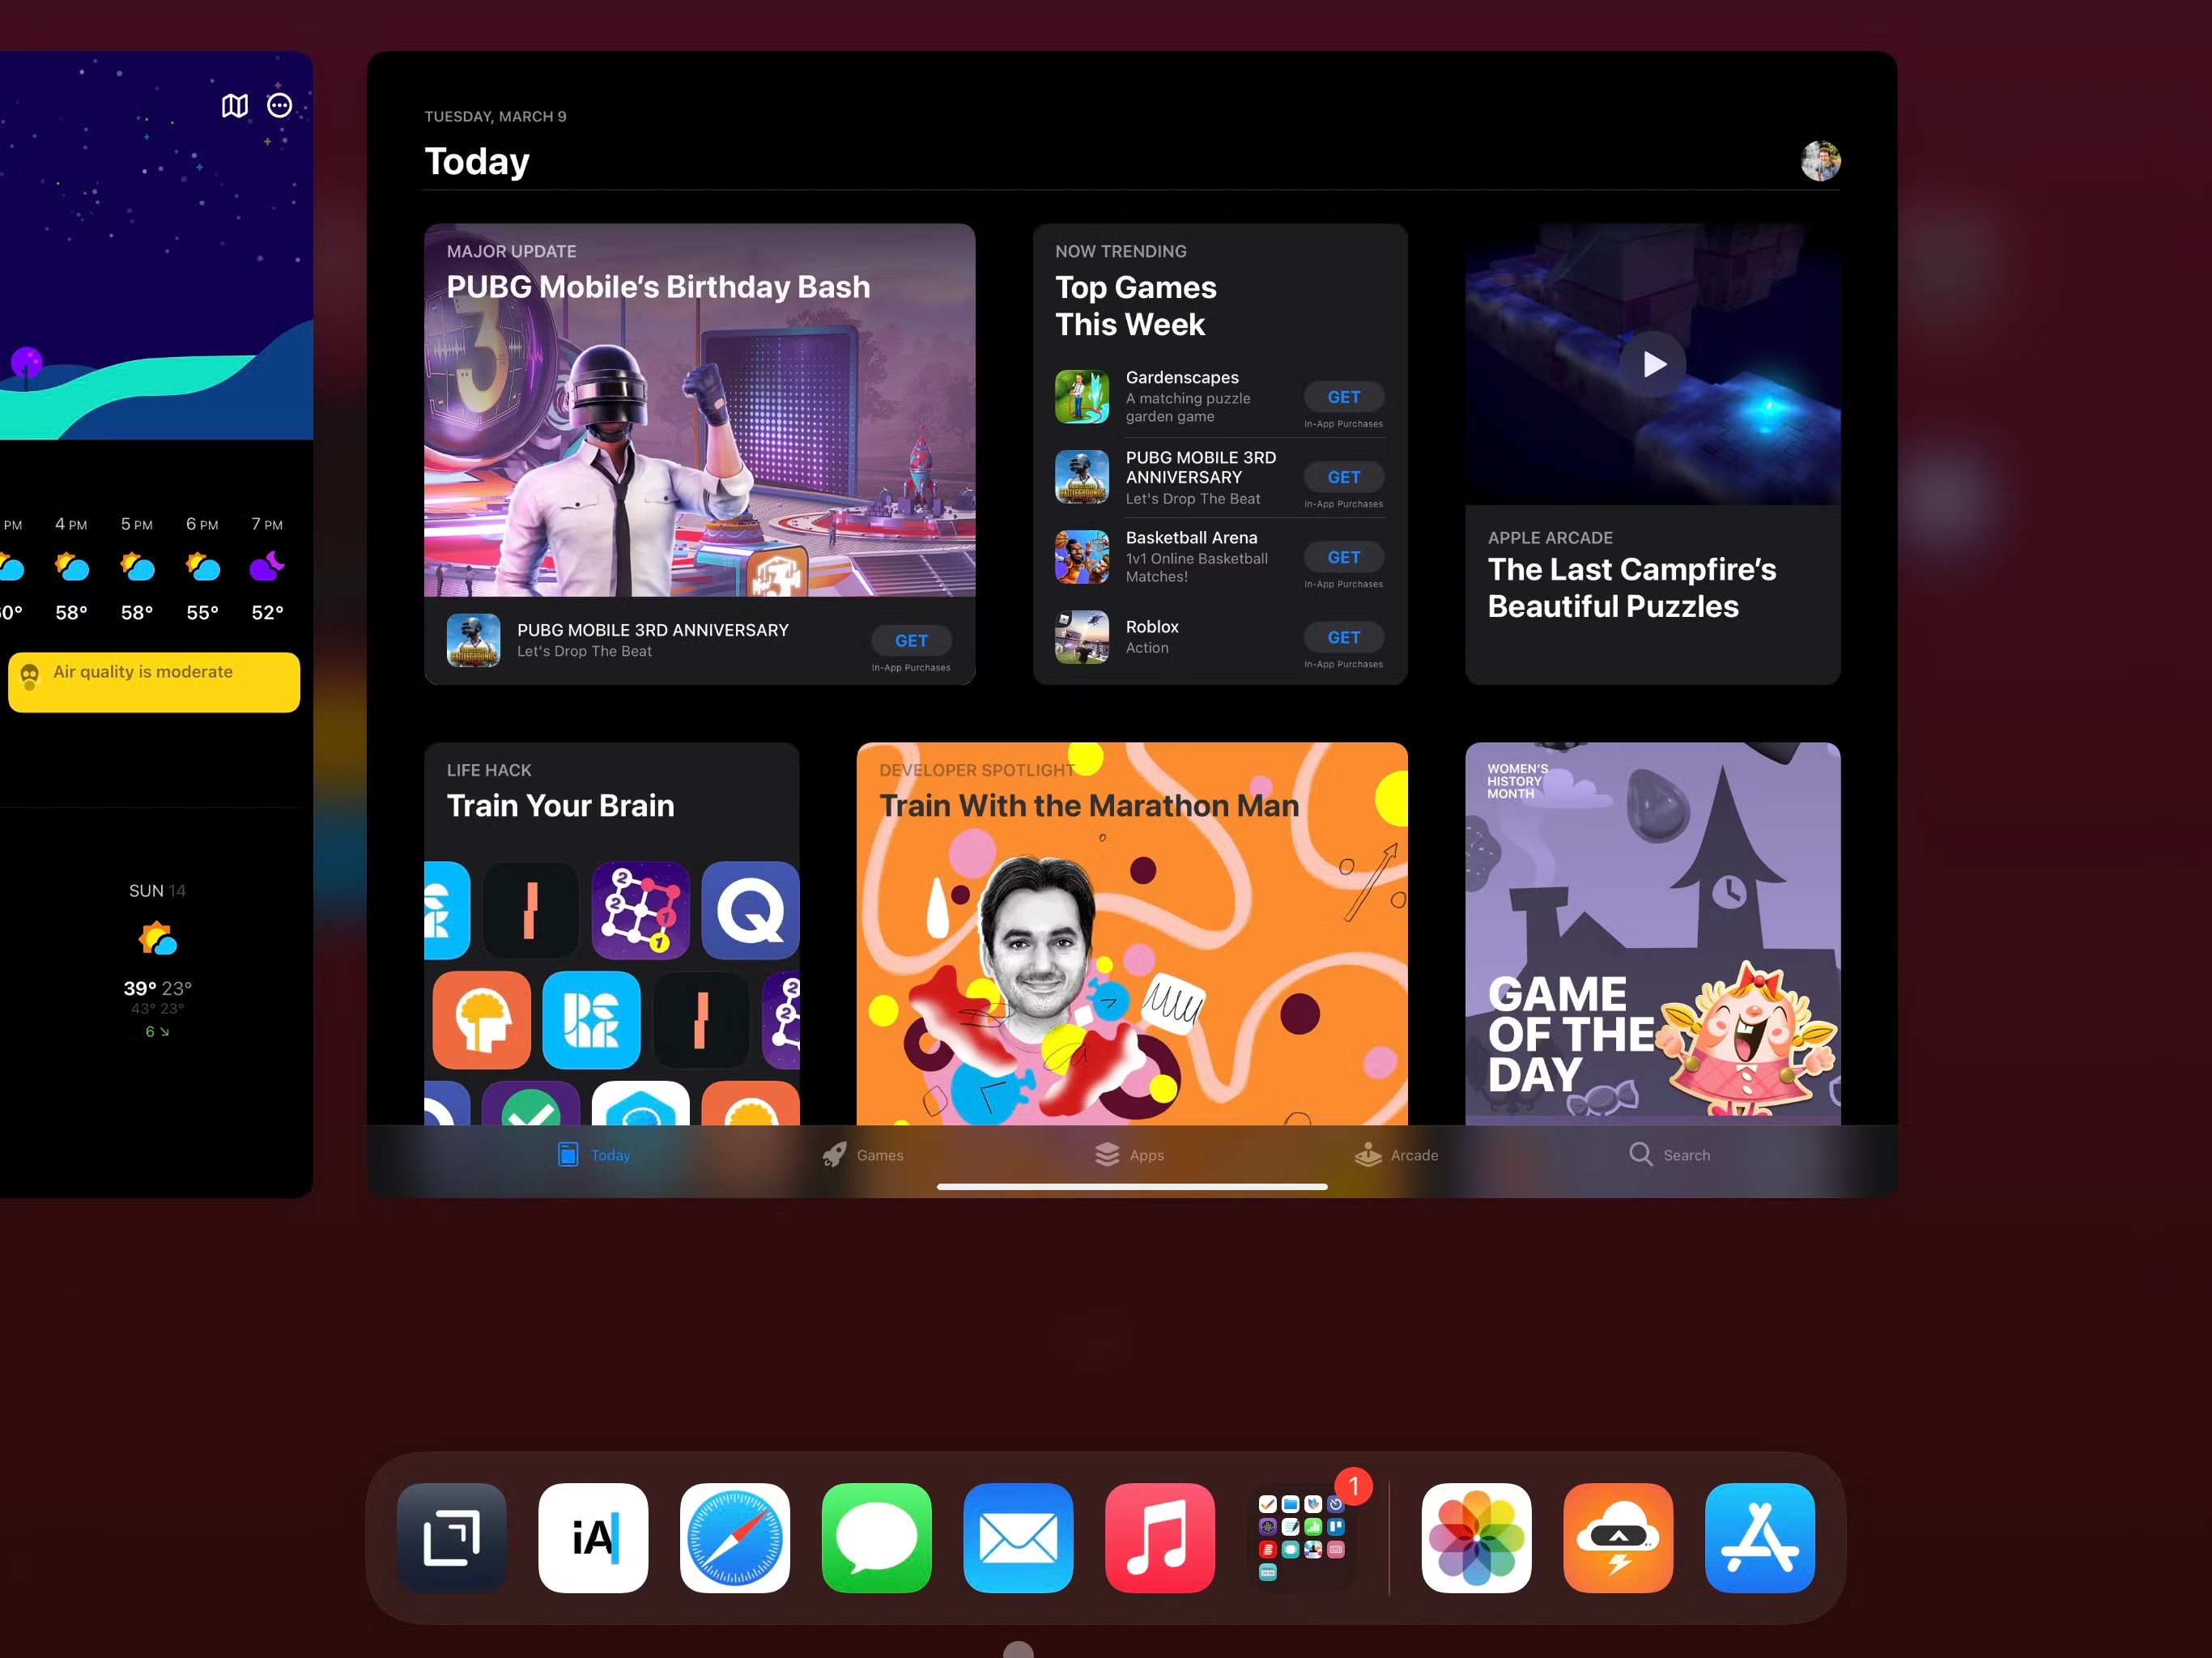
To show the App Switcher, start a three-finger swipe up to go to the Home screen but pause about halfway and take your fingers off of the trackpad. Your current app will snap into place in the App Switcher. If you find yourself on the Home screen, you’ve swiped too far.
The alternative gesture to go to the Home screen can also open the App Switcher: After swiping down to reveal the Dock, swipe down again slowly. Then release about halfway to show the App Switcher.
You can scroll through the app switcher by swiping left and right with two fingers.
The same gestures also open the Slide Over App Switcher when the cursor is hovering over a window.
9. Show and Hide Slide Over Apps
You can show apps in Slide Over with a simple one-finger gesture: Just slide the cursor into the right edge of the screen until the Slide Over window pops into view.
To hide a Slide Over app, repeat the same gesture, pushing the cursor back into the right edge.
Once you’ve shown the Slide Over window, you’ll have to click and drag the small horizontal indicator on top to move it to the left side of the screen. But there’s a faster way. If you know you want the Slide Over apps on the left side of the screen, swipe the cursor into the right edge quickly and firmly.
Doing that throws the window straight to the left edge.

To pull it back to the right side, slide the cursor into the right edge of the screen gently. Or, you can slide the cursor against the right edge quickly to hide Slide Over completely.
10. Quickly Switch Between Apps
Your trackpad can switch between apps without using the App Switcher. To quickly switch to the last-used app, swipe right with three fingers. You can swipe right repeatedly to go further back through your app history. If you need to jump forward again, swipe left with three fingers.
Even better, the three-finger left and right swipes also work for apps in Slide Over. Hover the cursor over a Slide Over app and swipe left and right with three fingers to cycle through all of the apps you’re keeping there.
With this combination of three-finger swipes, you can jump back and forth between fullscreen apps and multitasking using Slide Over on your iPad.

11. Quit Apps From the App Switcher or Slide Over
While the app switcher is onscreen, you can force quit apps by swiping up on them with two fingers. The same gesture works in the Slide Over app switcher, too.
12. Show Today View and Widgets
The iPad’s Today View is easily accessible from the trackpad. Follow one of these two methods to do so:
- If you’re on the Home screen or Lock screen, simply swipe right with two fingers to reveal your iPad’s widgets.
- If you’re in an app, slide the cursor into the top edge of your iPad to show Notification Center. Then, swipe right with two fingers to show the Today View.

13. Open the Spotlight Search Bar
On the Home screen, swipe down on the trackpad with two fingers to show the Spotlight search bar. Swipe up with two fingers outside of the search results window to dismiss it.
14. Respond to Notifications
To access a notification’s hidden actions in Notification Center, swipe left or right on the notification with two fingers. You can also click with two fingers to quickly open the full notification preview.
When you receive a notification at the top of your iPad’s screen, swipe up on it with two fingers to quickly dismiss it. Or swipe down on it with two fingers to open it. Then, swipe down on it again to dismiss it or click the app icon in its top-left corner to open the app.
Trackpad Gestures Make iPadOS Even More Powerful
Unlock the power of your iPad’s interface by practicing these trackpad gestures. Before long, you’ll be swiping around like a true iPad power user. The iPad is a versatile device and, once you’ve mastered trackpad gestures, there are even more ways to make it feel like a MacBook.