How you crop an image in Adobe Illustrator isn't quite as obvious as it is in Photoshop and InDesign. There's no crop tool in Illustrator's toolbar like there is in Photoshop.
And unlike InDesign, you can't move images around inside frames to crop them that way either. But there a few ways to crop in Illustrator, and you can crop images into a variety of different shapes.
How to Crop in Illustrator Using the Crop Function
Although there's no crop tool in Illustrator's toolbar, it does have a crop button. It just appears in a different part of Illustrator's interface.
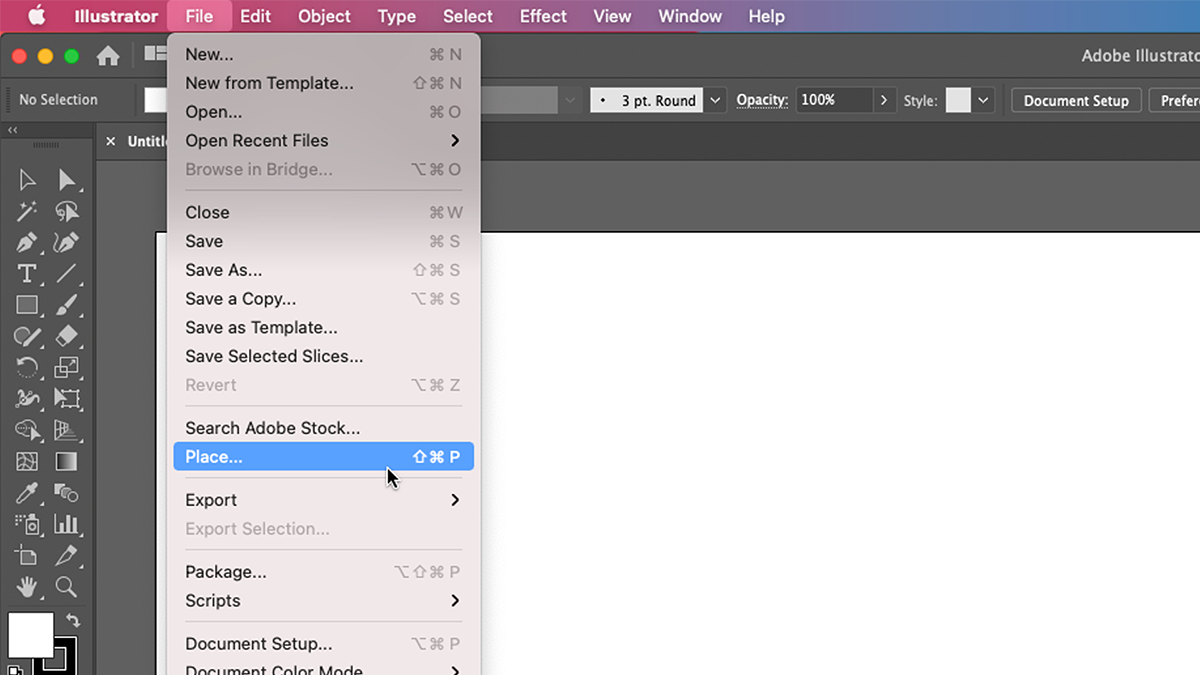
To use the crop function, start by importing an image onto a new Illustrator canvas. You can do this by selecting File > Place from the menu bar or by using the relevant Illustrator keyboard shortcut. You also drag and drop images from places like Windows Explorer, macOS Finder, or Photoshop.
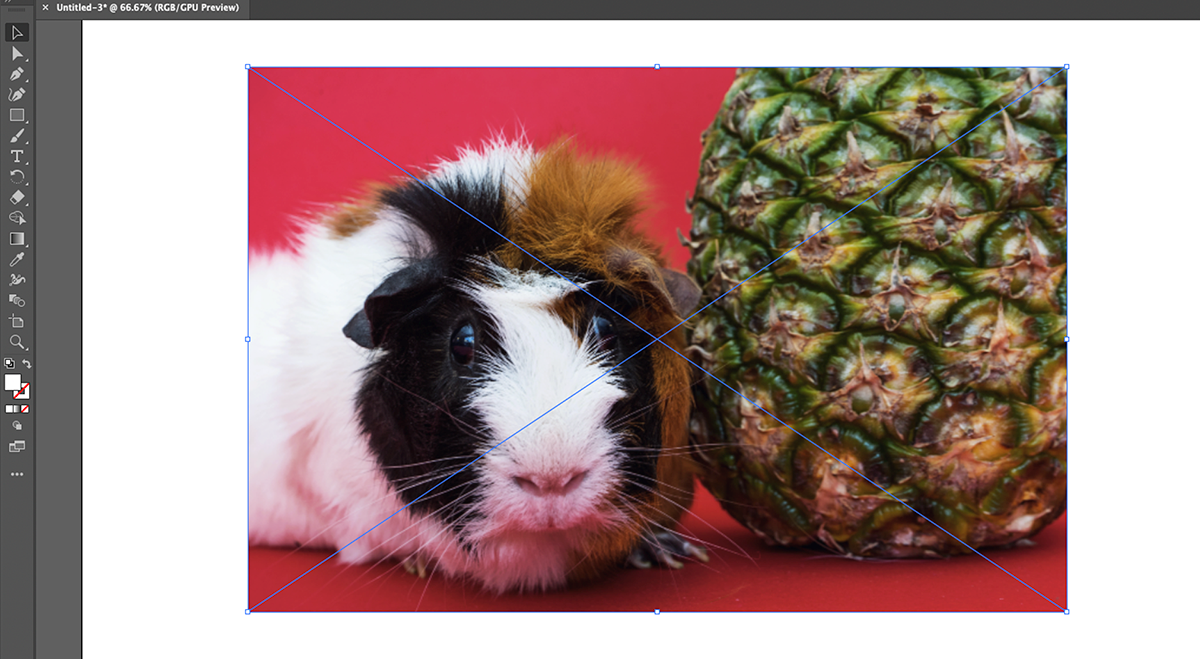
Once your image is in place, select it with either the Selection tool (V) or the Direct Selection tool (A).
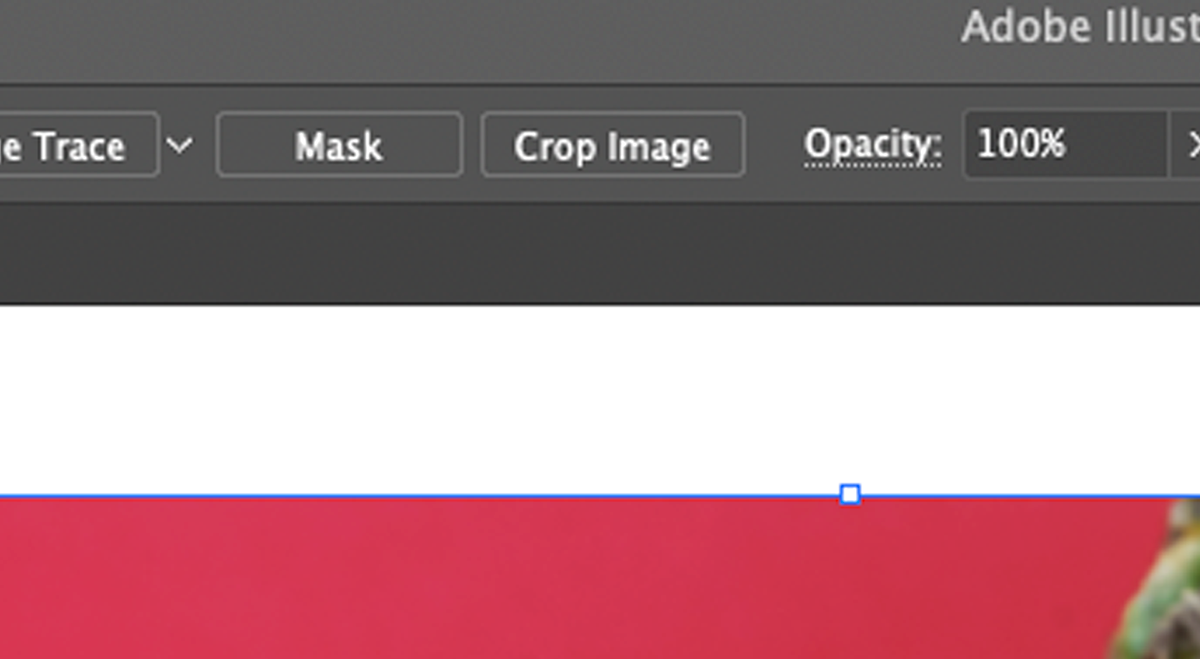
Depending on what workspace layout you're using, you might see a Crop Image button in the control panel running along the top of Illustrator.
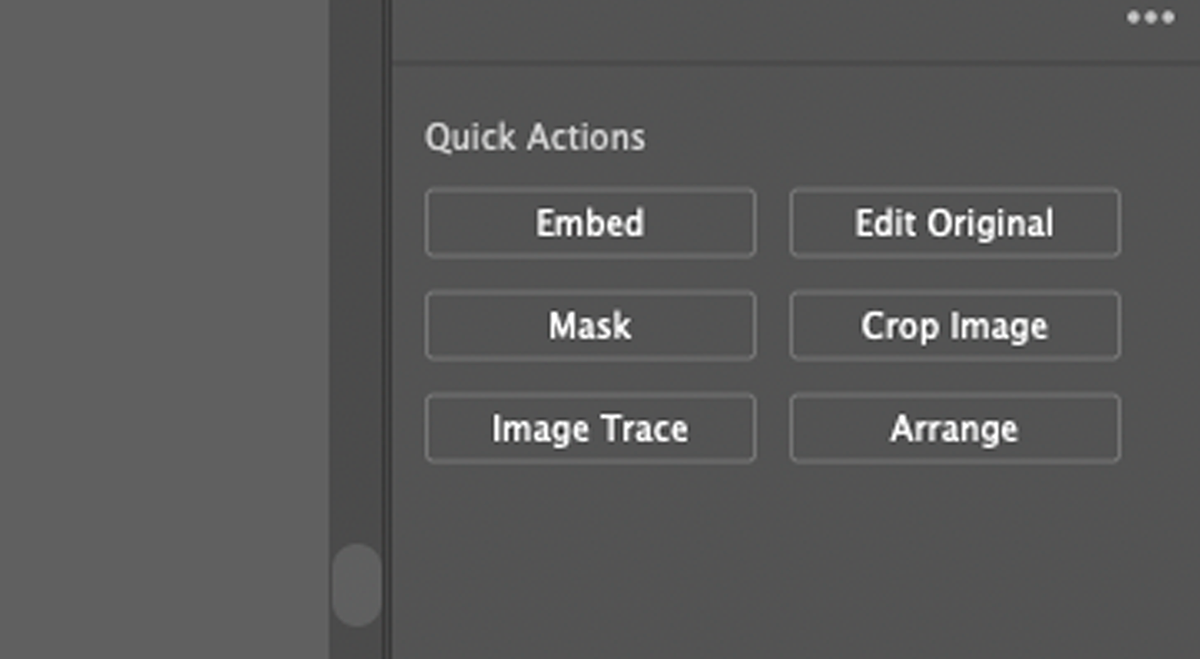
If your workspace doesn't use this panel, then look at the Properties window (if it's open). That will also have a Crop Image button, under the Quick Actions section. If you can't find this button, try changing your workspace in Window > Workspace. You might also want to reset Illustrator's interface to its default settings.
You can now move the cropping box around or click and hold on its sides to resize it. Hold down Shift if you want to maintain the aspect ratio of the selection.
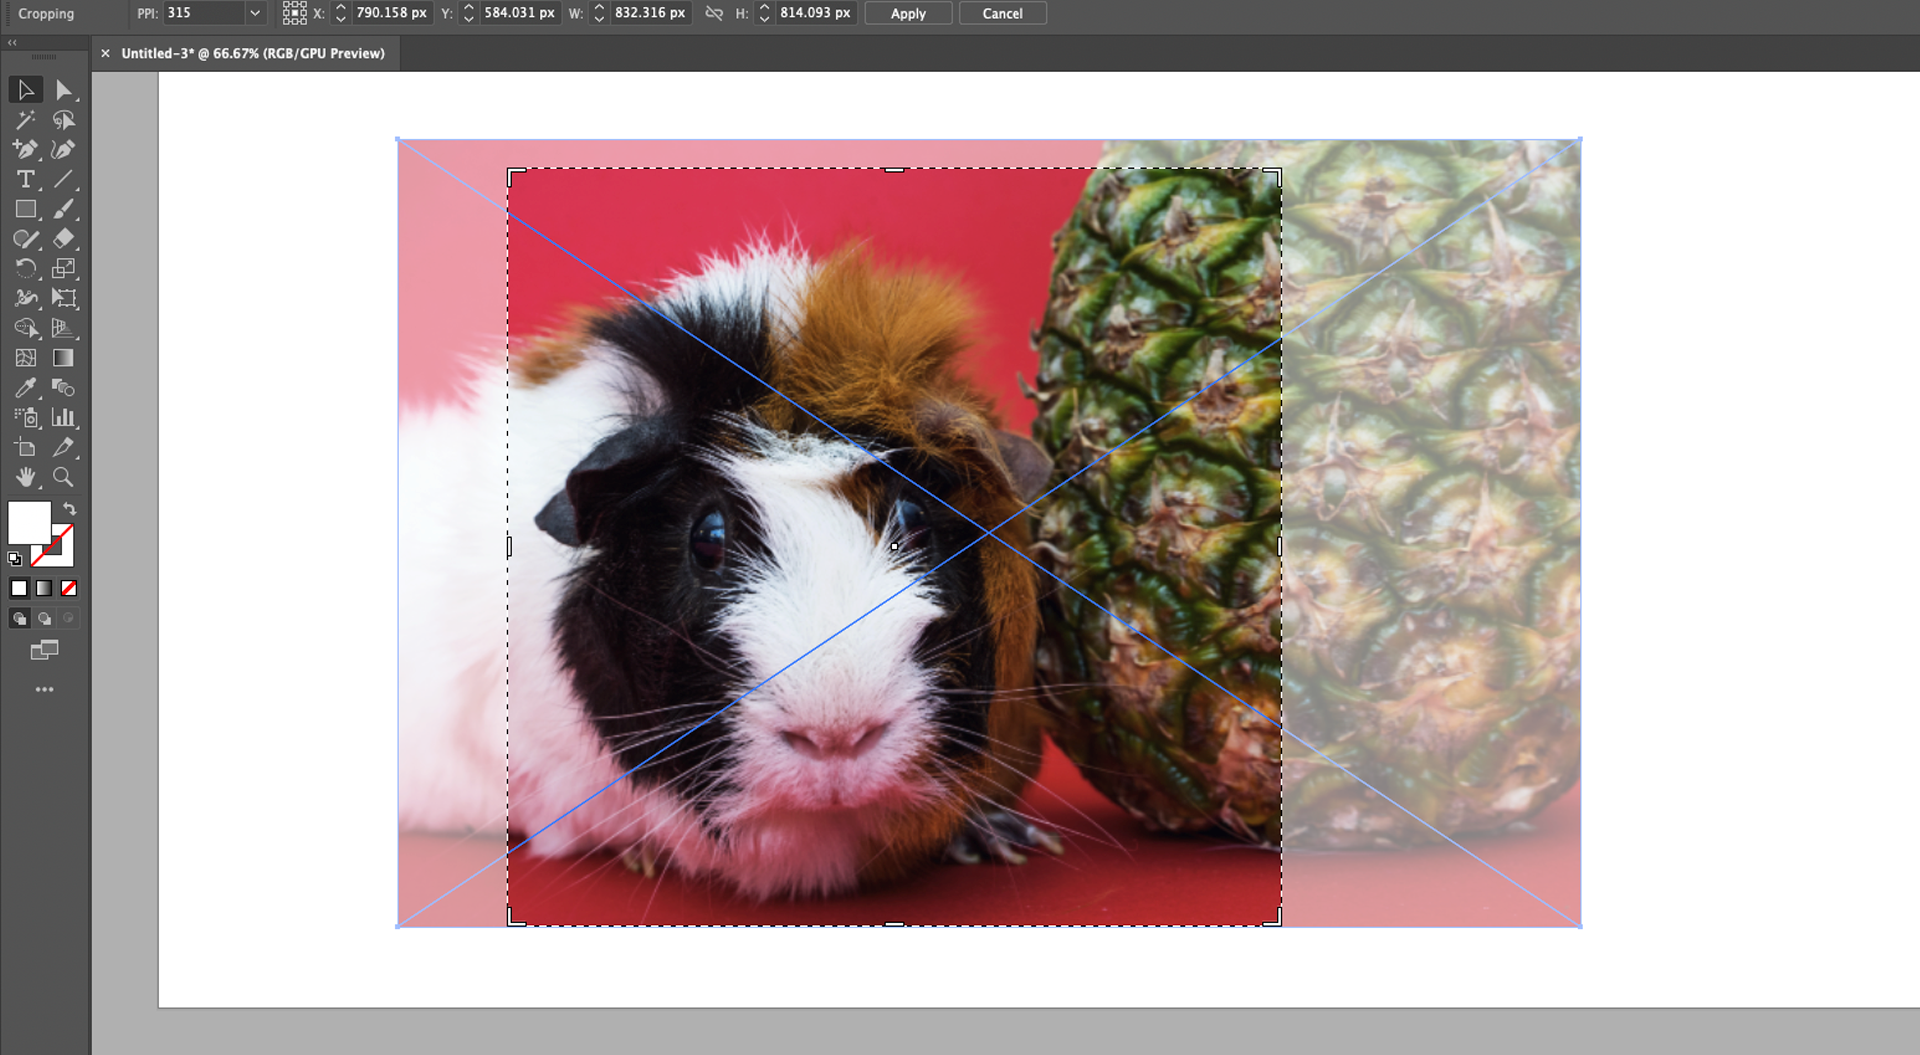
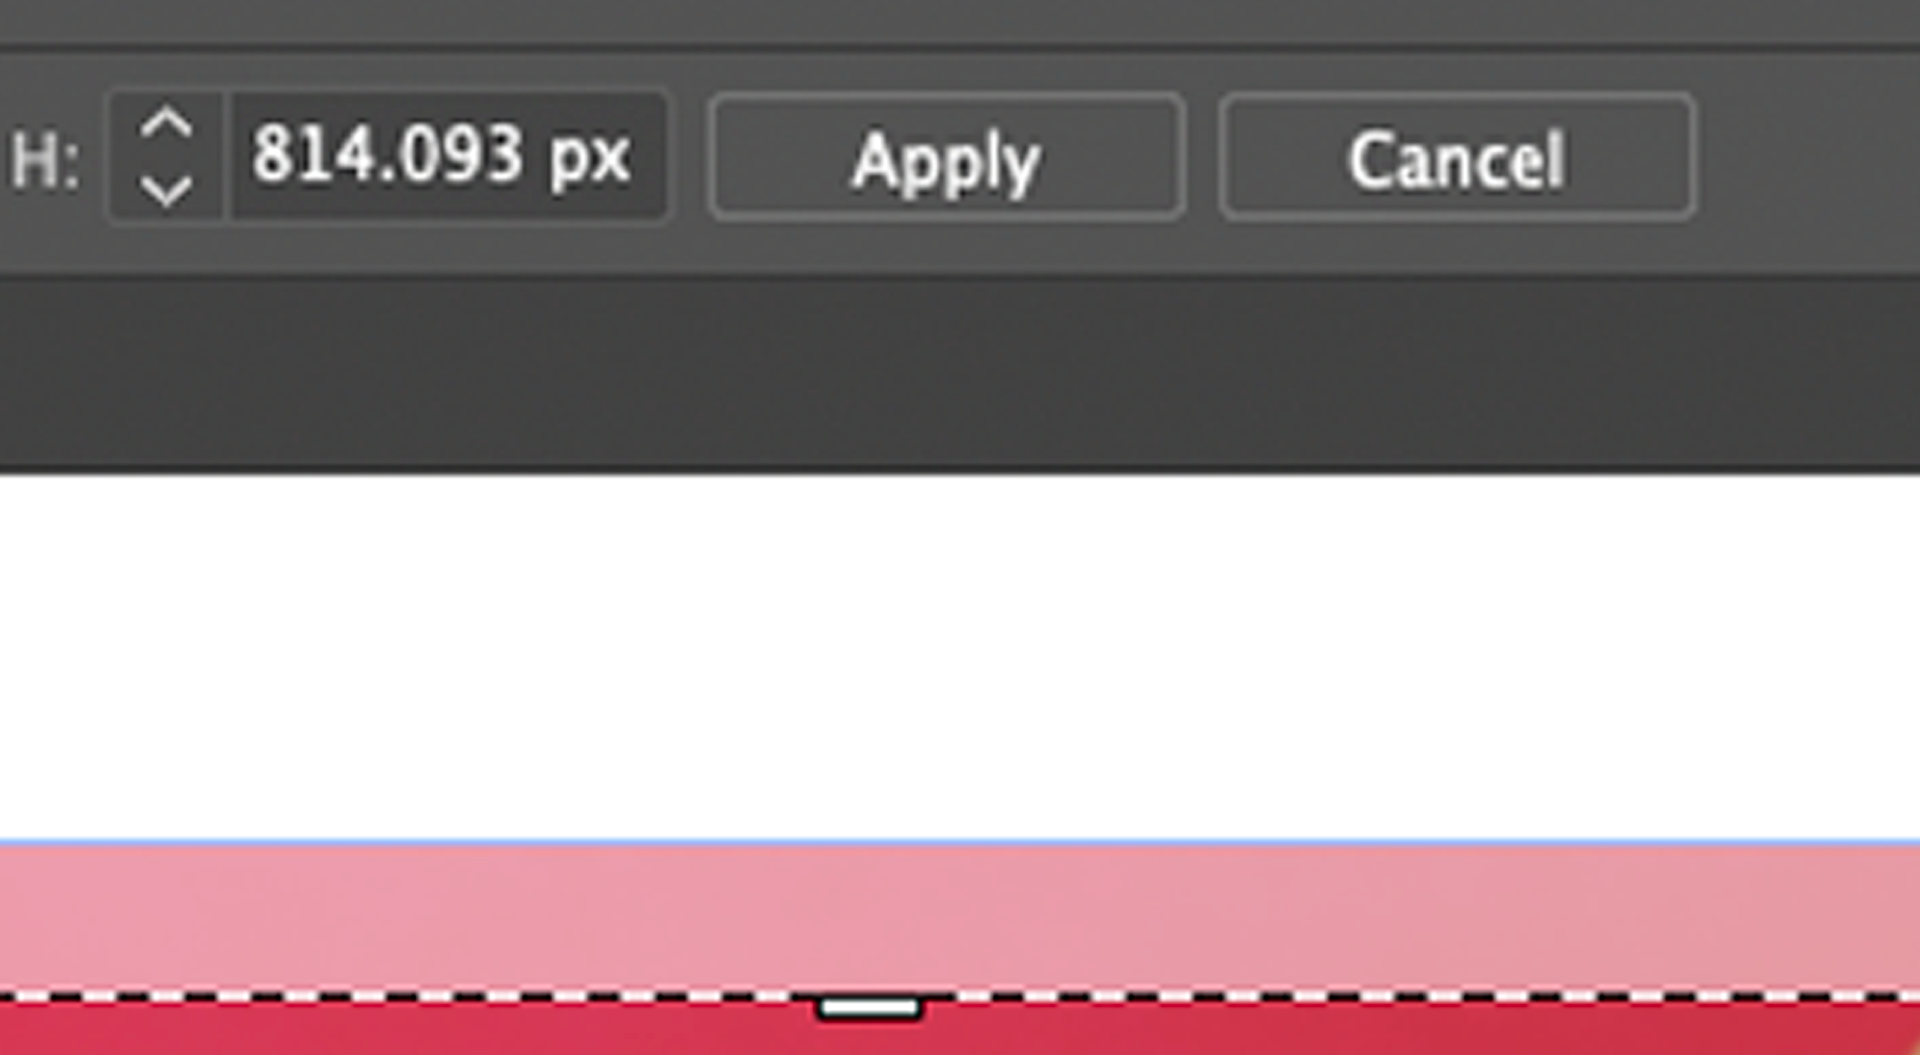
When you're happy with your cropping selection, either click the Apply button or hit Enter.
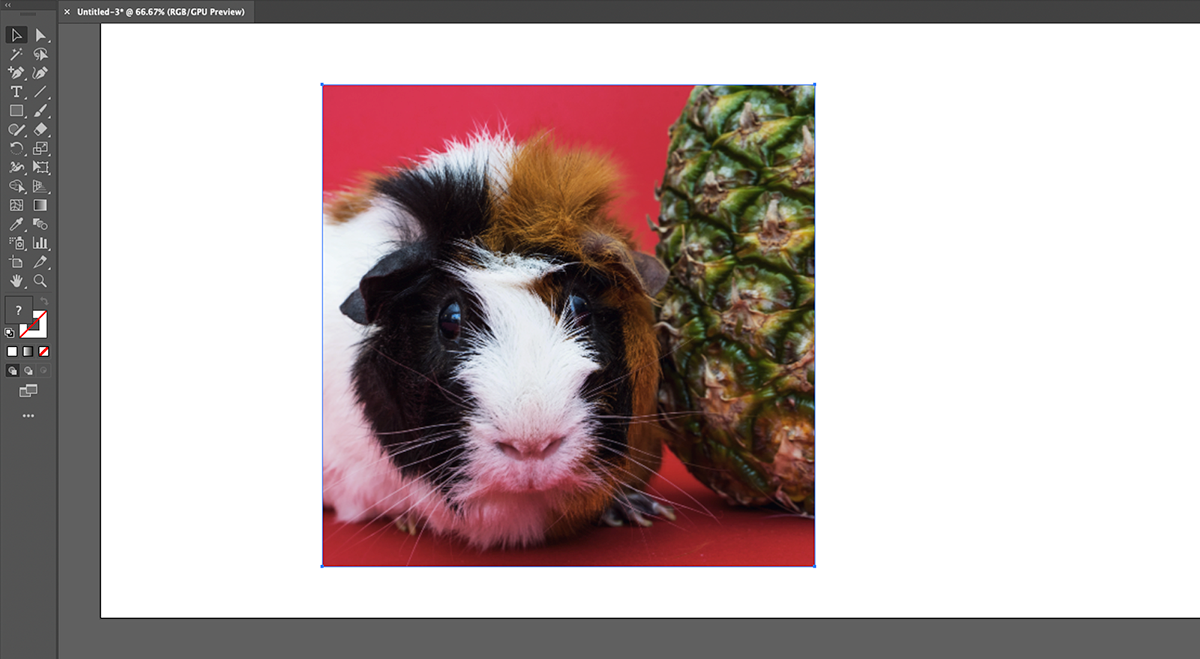
And that's it. Your image will now be cropped.
How to Crop in Illustrator Using a Clipping Mask
You can also crop images in Illustrator with a clipping mask. This takes a bit longer, but it has a big advantage: you can crop images in shapes other than rectangles and squares. It also works in older, pre-Creative Cloud versions of Illustrator, which don't have the Crop Image button.
Start by clicking and holding on the Rectangle tool. It will expand to give you more shape options, like Ellipse, Polygon, and Star.
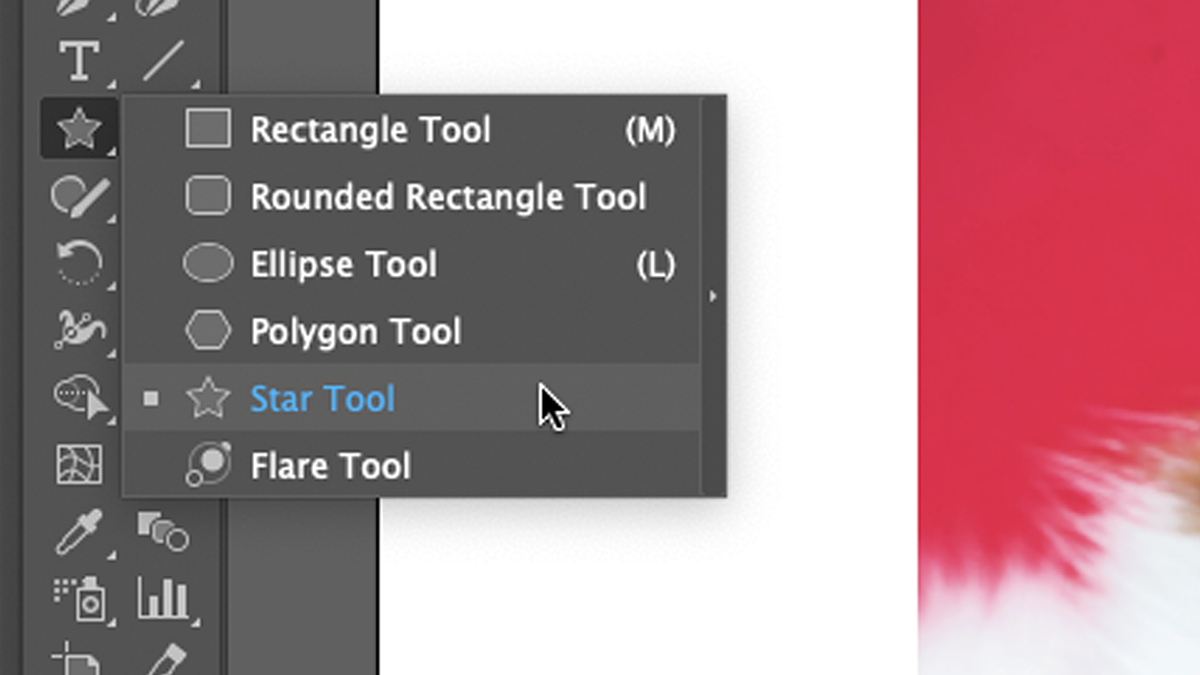
Choose one, and then lay the shape over the selection you want to make.
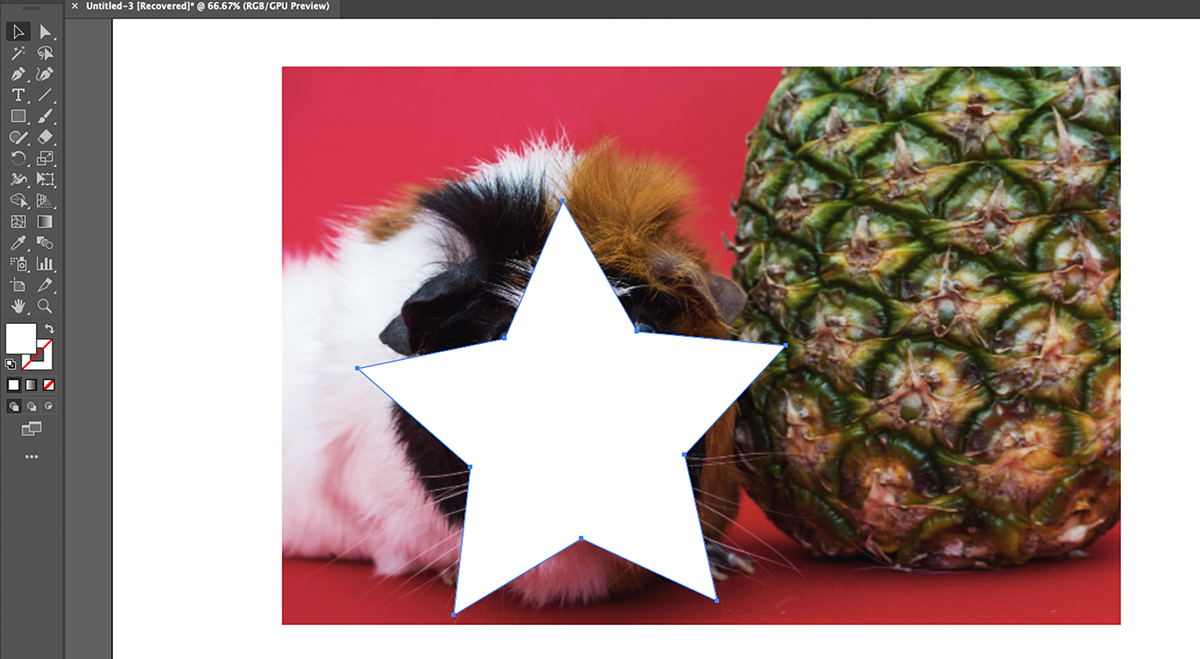
You can make your life easier here, by removing your shape's fill and increasing its stroke width. That way, you get a transparent frame, and you can see what you're cropping.
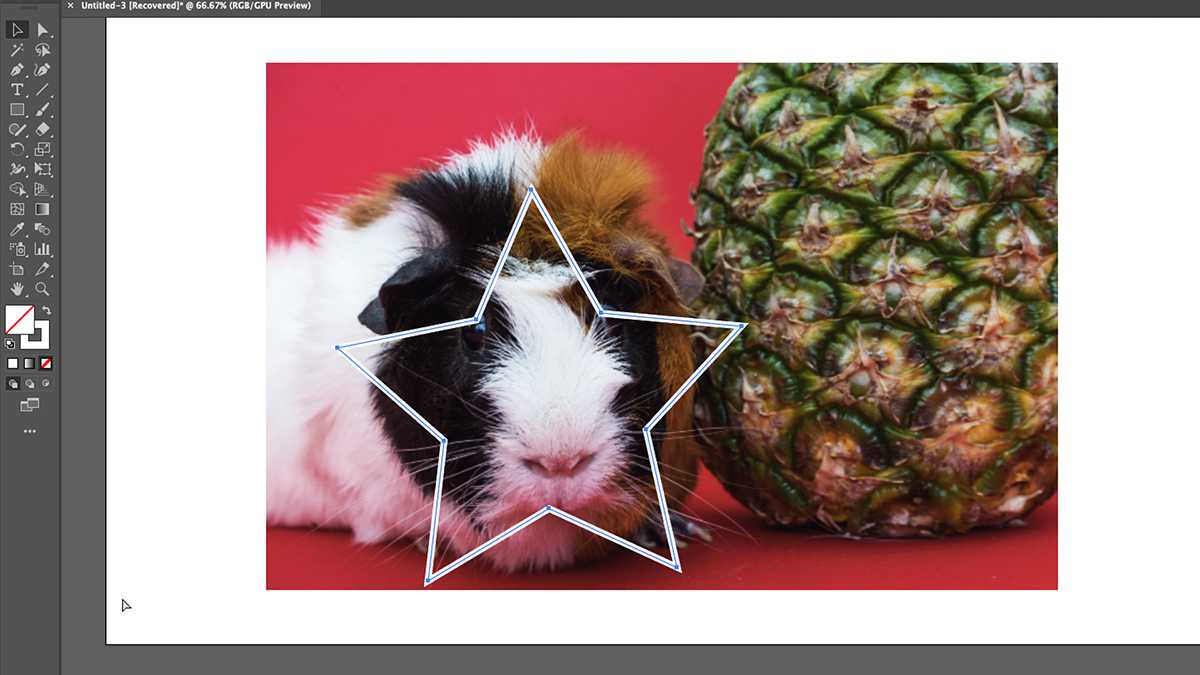
Next, you need to select both your shape and the image you want to crop.
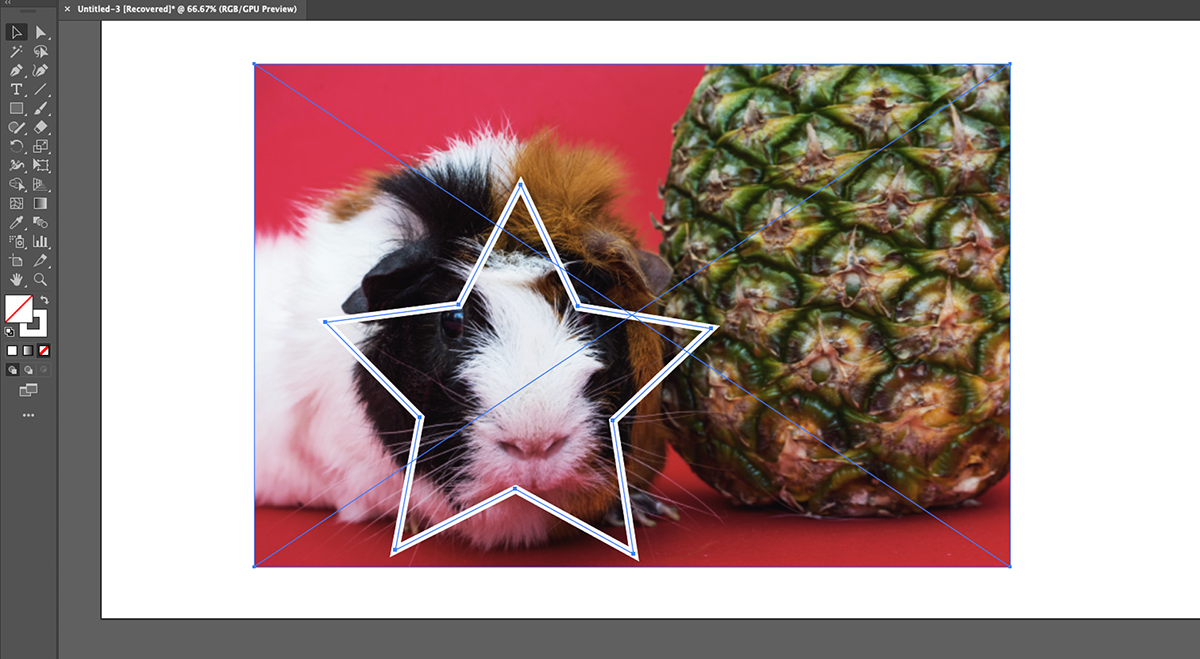
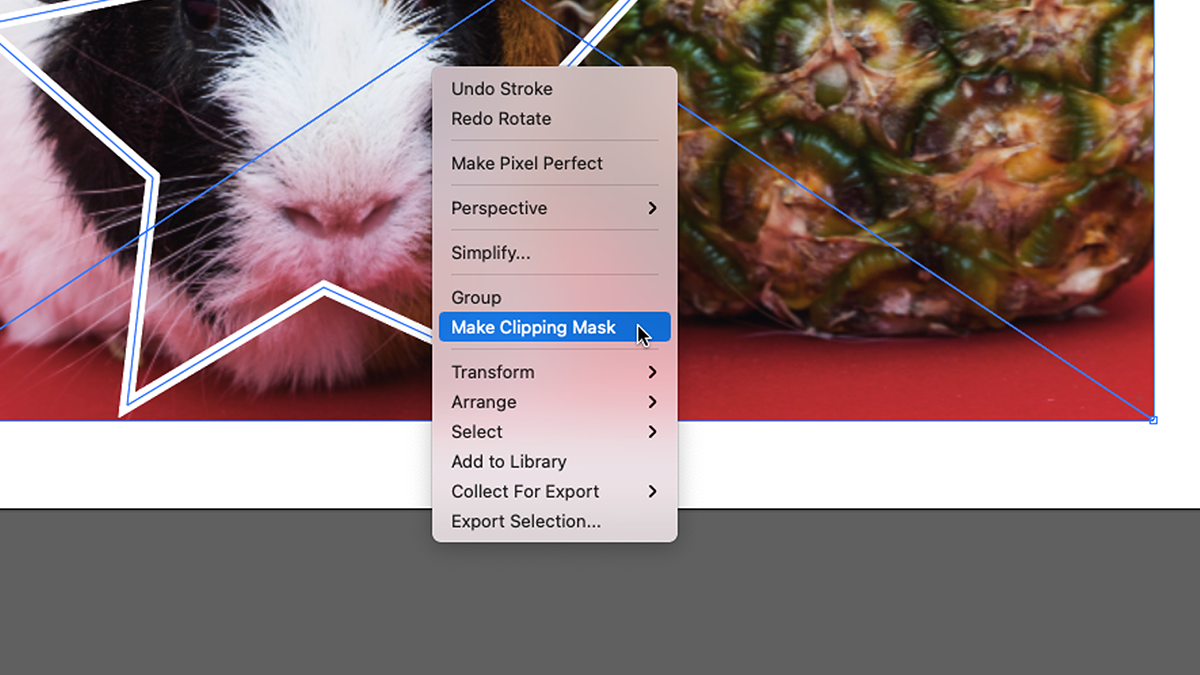
Right-click on your selection, and select Make Clipping Mask from the context menu. Or from the top menu, select Object > Clipping Mask > Make. You can also press Cmd + 7 on a Mac or Ctrl + 7 on Windows.
The clipping mask will crop your image, leaving it in whatever shape you chose.
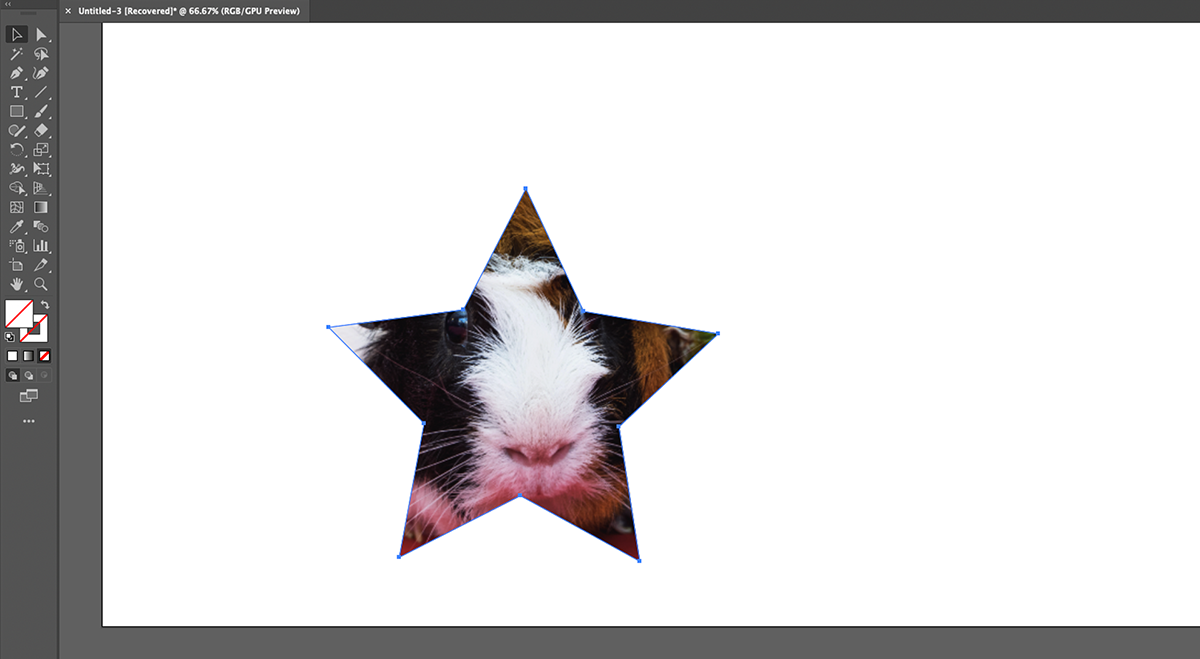
You aren't limited to using Illustrator's default shapes either. You can create your own custom shapes using the Shape Builder tool, as well as the Pen tool.
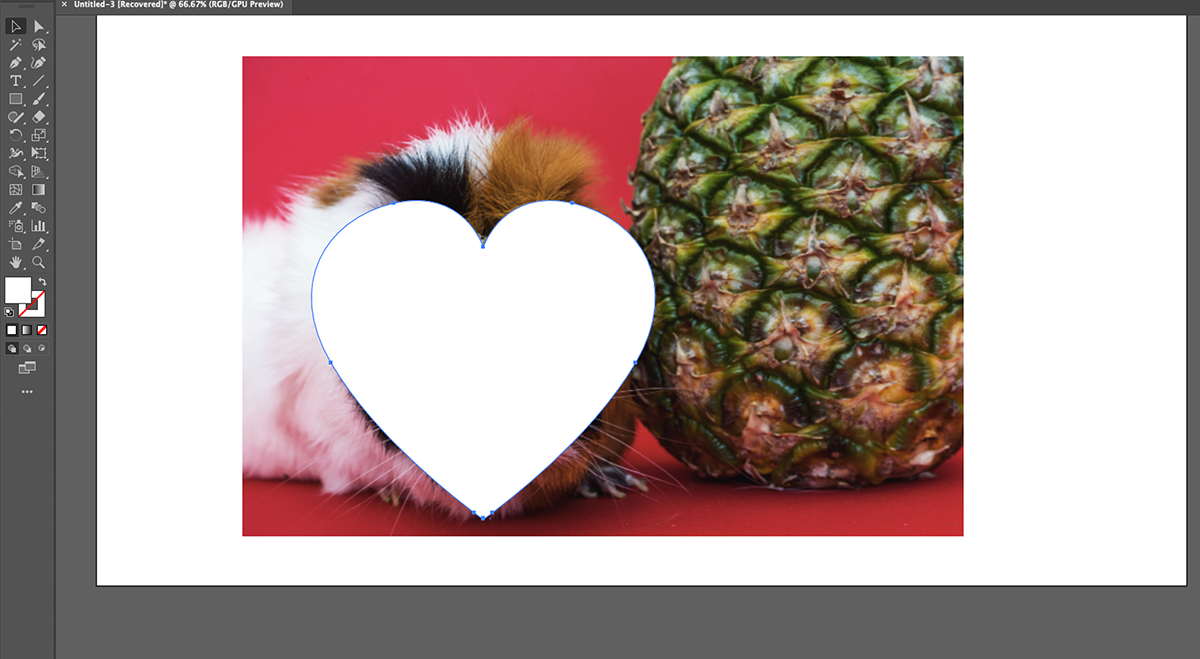
And you can crop multiple parts of your image at once too. Place all your shapes over your image, and select them all, but not your image.
Right-click, and choose Make Compound Path from the context menu. You can also find this in the menu, under Object > Compound Path > Make. Or you can press Cmd + 8 on a Mac or Ctrl + 8 on a PC.
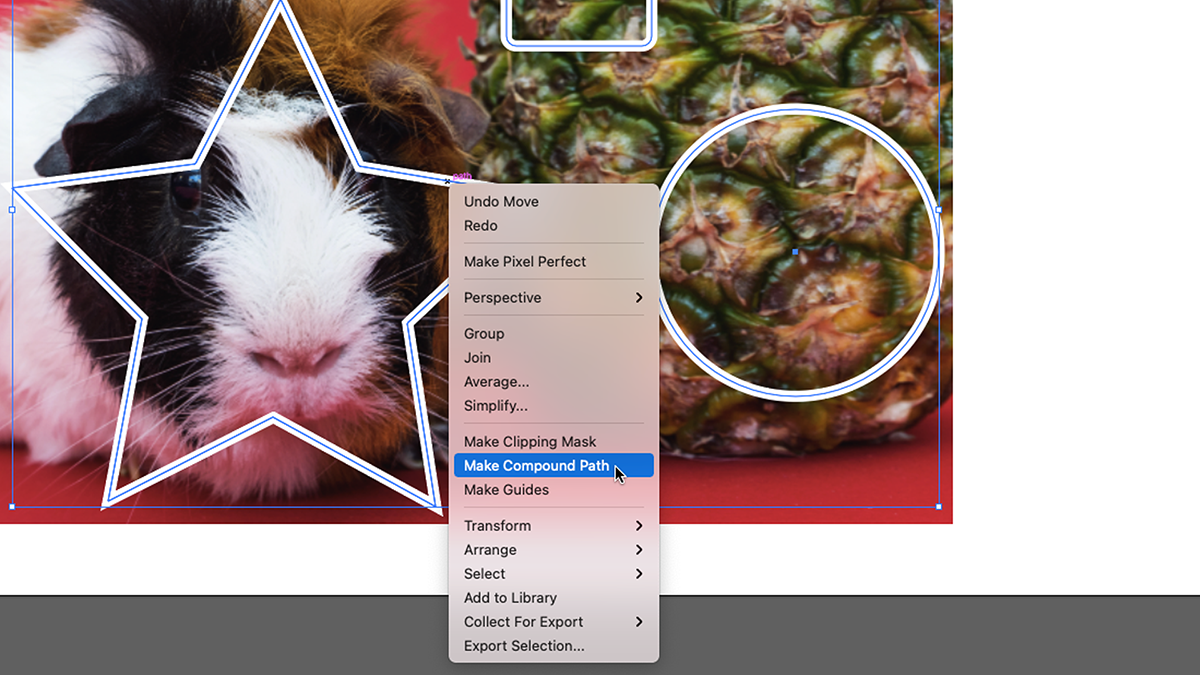
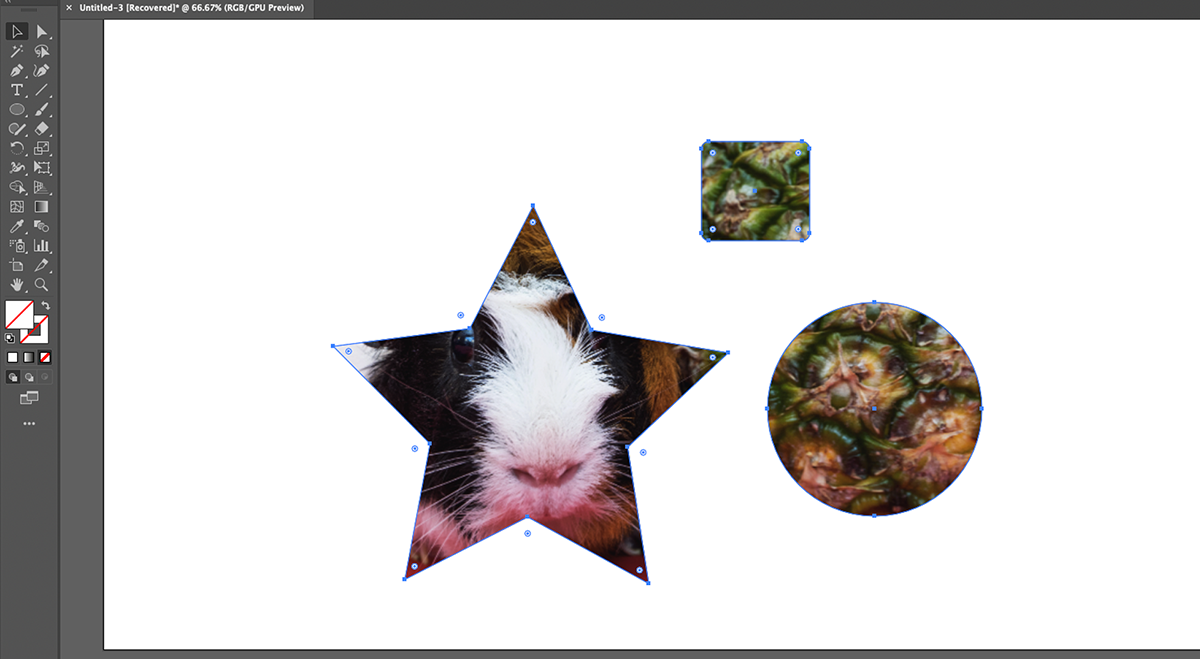
Now, select your image and all your shapes. Make the clipping mask as before, and you'll do multiple crops at once.
How to Crop in Illustrator Using Third-party Tools
Like other Adobe software, Illustrator is highly extensible. There are tons of plugins available, some for free and some you need to buy. Among the many plugins you can install, there are ones that help you crop images.
One such plugin is Rasterino. This is available as part of a subscription with Astute Graphics, and it comes as part of a package of 19 Illustrator plugins. You can try it free for seven days without having to hand over payment details.
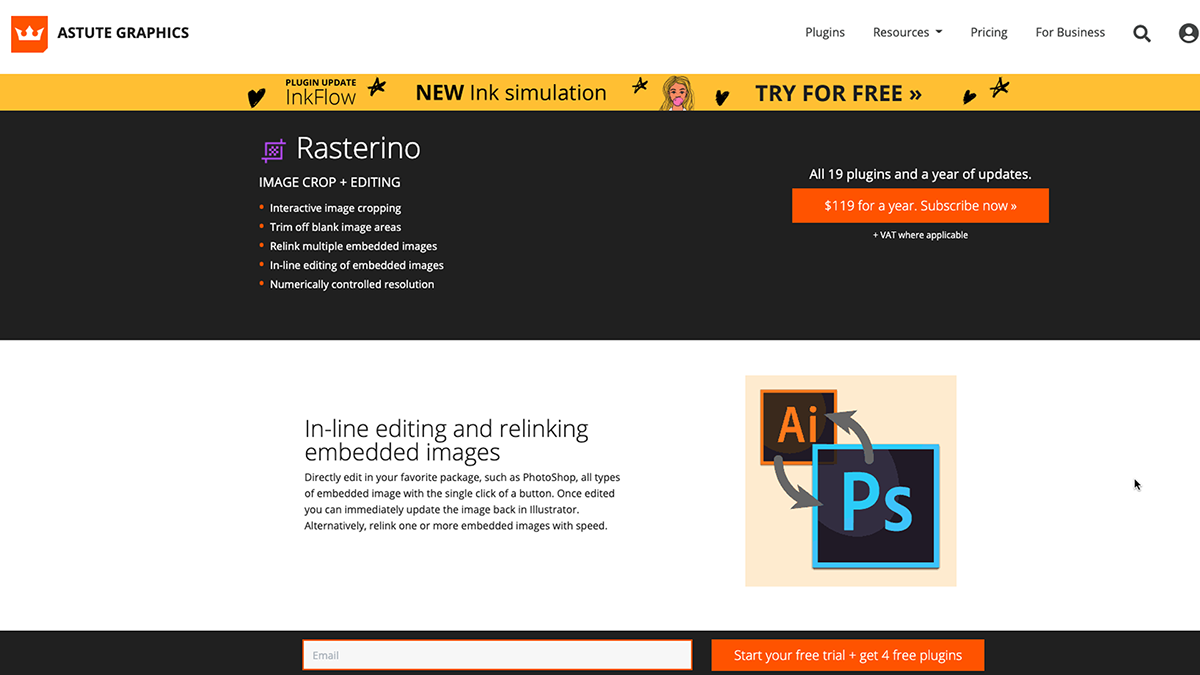
Once you've signed up, you can download the Astute Manager. From there, you can install the company's plugins, including Rasterino.
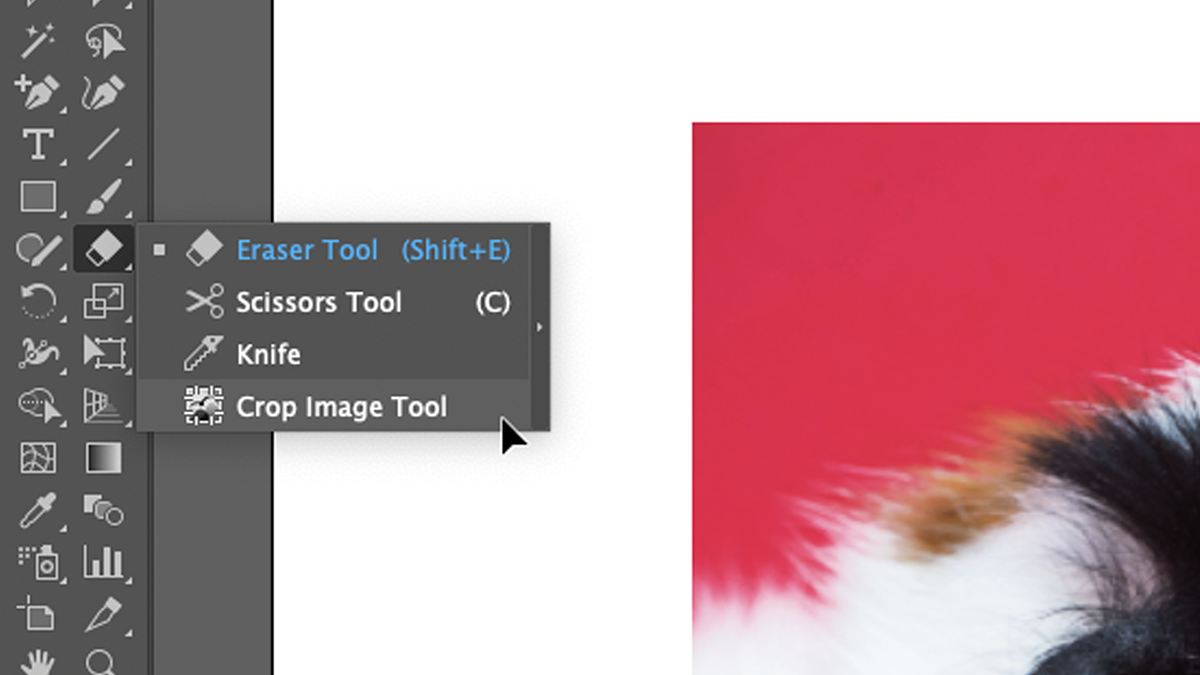
Install it, and it will add a Crop Image tool to Illustrator's toolbar. You'll find this by clicking and holding the Eraser tool to expand it. If it's not there, make sure you've selected Window > Toolbars > Advanced from the menu.
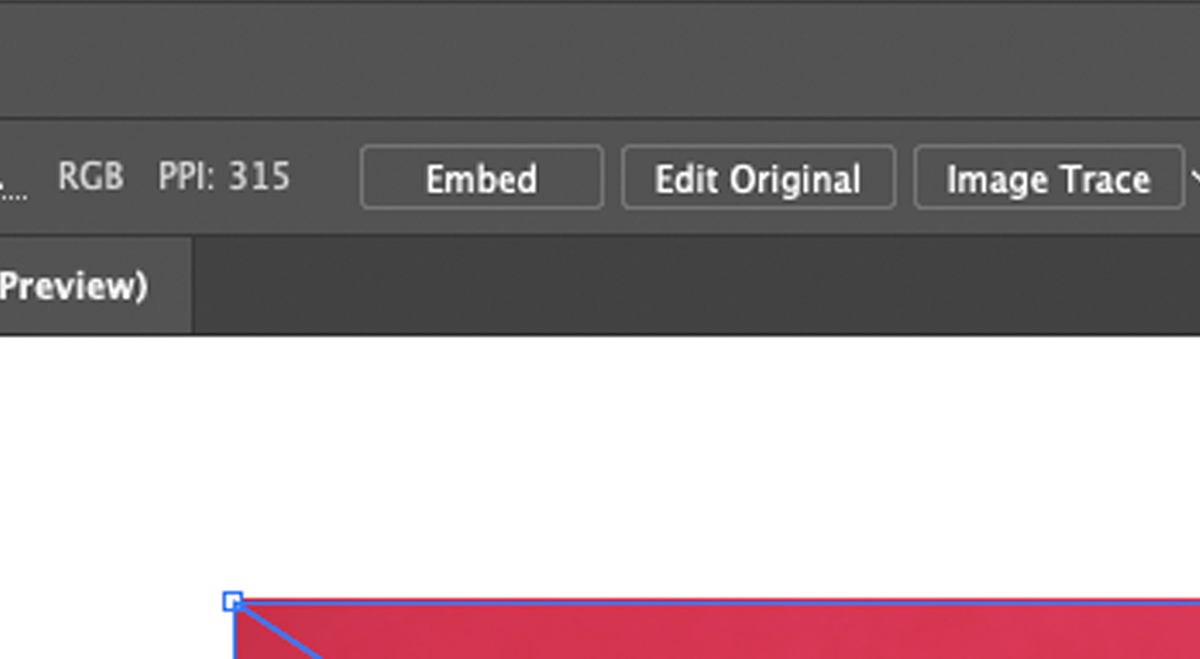
You can't immediately use the tool, though. First, you need to embed your image. To do that, select it, and then click the Embed button, which will be in the control panel at the top or in the Quick Actions section of the Properties window.
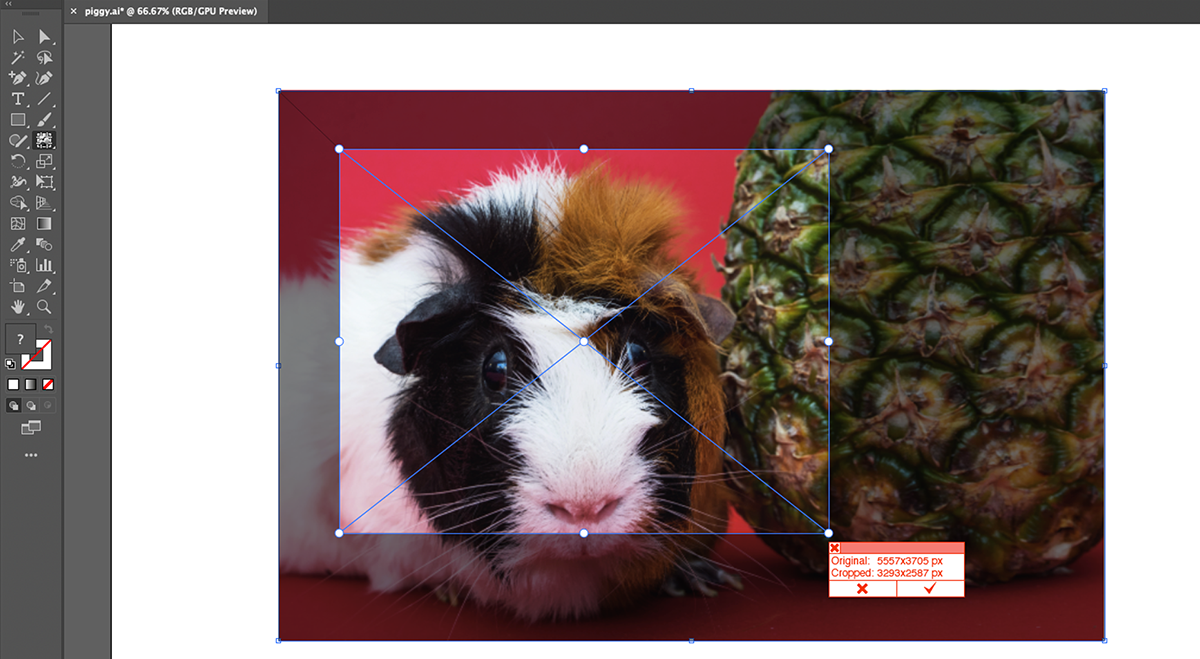
You can now use the Rasterino cropping tool to crop your image how you please. You'll see there's a new panel in the bottom right of your selection, which shows you the dimensions of your crop versus the size of the original image. Click the tick in that panel, or press Enter when you're finished, to apply the crop.
Rasterino has some other trimming features too, but it's not worth paying the $119 per year subscription fee for. The cropping techniques built into Illustrator should be more than suitable for your needs. But if you're interested in the rest of Astute Graphics' plugins, then Rasterino could be a useful addition to your arsenal.
Should You Crop Images in Illustrator at All?
Although you can crop images in Adobe Illustrator, it's not necessarily the best way to do it. If you know you want an image to be a particular shape in Illustrator, it may be easier to crop it first using a different application. The best tools for the job might be raster image editors like Photoshop or GIMP.
Of course, it really depends on what your workflow is like, and how many images you need to crop. In any case, cropping in Illustrator isn't difficult, once you know what you're doing. You can quickly crop images into squares or rectangles. And you can use clipping masks to crop images into whatever shape you like.