CSS is the language developers use to style a webpage. It controls how HTML elements are displayed on a screen, on paper, or in any other form of media. CSS provides the full customization power to style the webpage in your own image.
You can change an element's background color, font style, font color, box-shadow, margin, and numerous other properties using CSS. We'll walk you through some effective uses of box-shadow in this guide.
What Is CSS box-shadow?
The box-shadow property is used to apply a shadow to HTML elements. It's one of the most used CSS properties for styling boxes or images.
CSS Syntax:
box-shadow: [horizontal offset] [vertical offset] [blur radius] [optional spread radius] [color];- horizontal offset: If the horizontal offset is positive, the shadow will be to the right of the box. And if the horizontal offset is negative, the shadow will be to the left of the box.
- vertical offset: If the vertical offset is positive, the shadow will be below the box. And if the vertical offset is negative, the shadow will be above the box.
- blur radius: The higher the value, the more blurred the shadow will be.
- spread radius: It signifies how much the shadow should spread. Positive values increase the spread of the shadow, negative values decrease the spread.
- Color: It signifies the color of the shadow. Also, it supports any color format like rgba, hex, or hsla.
The blur, spread, and color parameters are optional. The most interesting part of box-shadow is that you can use a comma to separate box-shadow values any number of times. This can be used to create multiple borders and shadows on the elements.
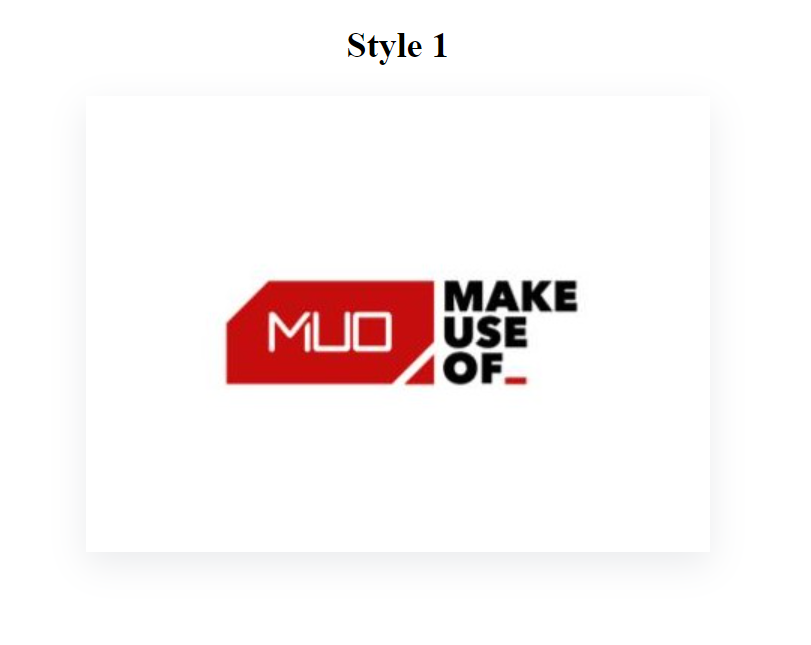
1. Add a Dim box-shadow to the Left, Right, and Bottom of the Box
You can add very dim shadows to three sides (left, right and bottom) of the box using the following box-shadow CSS with your target HTML element:
box-shadow: rgba(149, 157, 165, 0.2) 0px 8px 24px;Output:
2. Add a Dim box-shadow to All Sides
You can add light shadows to all sides of the box using the following box-shadow CSS with your target HTML element:
box-shadow: rgba(100, 100, 111, 0.2) 0px 7px 29px 0px;Output:

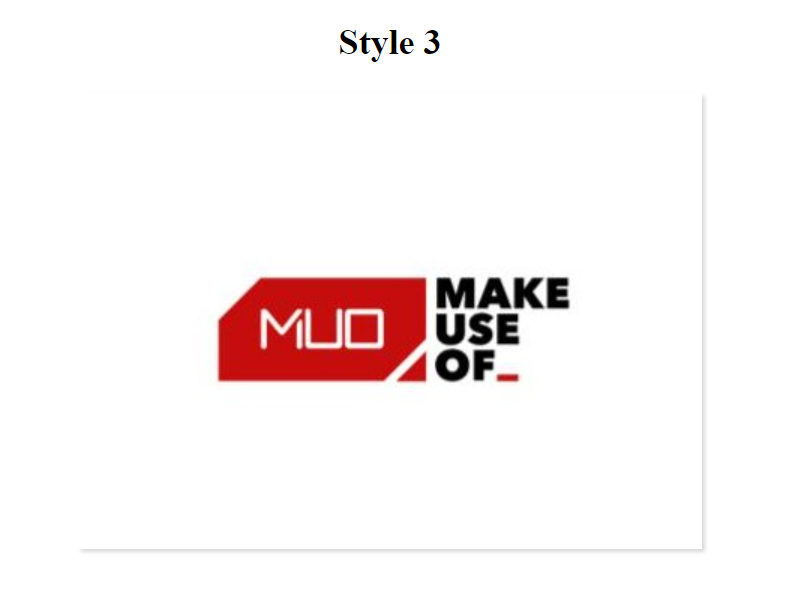
3. Add a Thin box-shadow to the Bottom and Right Sides
You can add shadows to the bottom and right side of the box using the following box-shadow CSS with your target HTML element:
box-shadow: rgba(0, 0, 0, 0.15) 1.95px 1.95px 2.6px;Output:
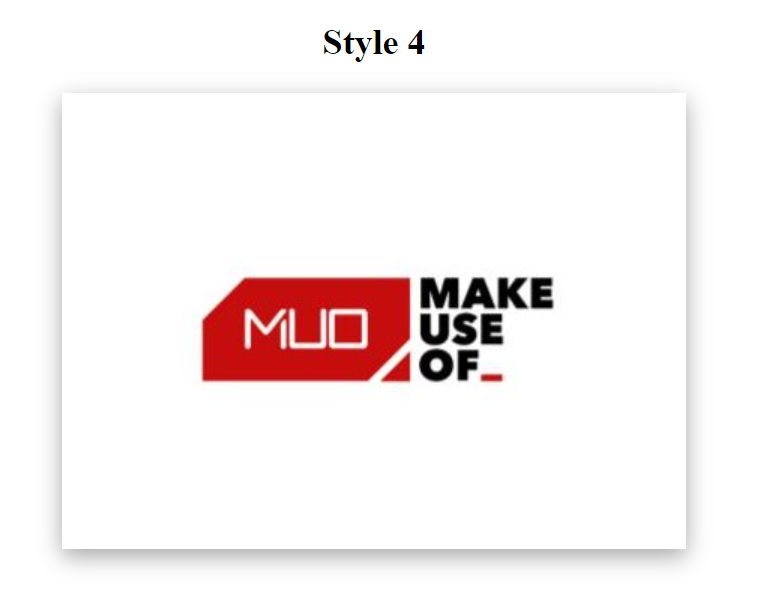
4. Add a Dark box-shadow to All Sides
You can add dark shadow to all sides of the box using the following box-shadow CSS with your target HTML element:
box-shadow: rgba(0, 0, 0, 0.35) 0px 5px 15px;Output:
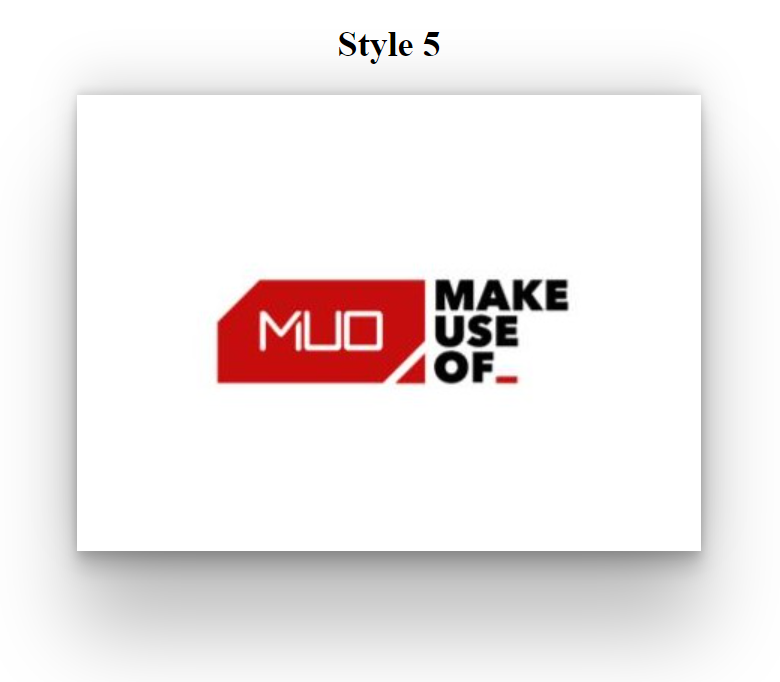
5. Add Spread Shadow to All Sides
You can add spread shadow to all sides of the box using the following command with your target HTML element:
box-shadow: rgba(0, 0, 0, 0.25) 0px 54px 55px, rgba(0, 0, 0, 0.12) 0px -12px 30px, rgba(0, 0, 0, 0.12) 0px 4px 6px, rgba(0, 0, 0, 0.17) 0px 12px 13px, rgba(0, 0, 0, 0.09) 0px -3px 5px;Output:
6. Add a Thin Border Shadow to All Sides
You can add a simple border shadow to all sides of the box using the following CSS with your target HTML element:
box-shadow: rgba(6, 24, 44, 0.4) 0px 0px 0px 2px, rgba(6, 24, 44, 0.65) 0px 4px 6px -1px, rgba(255, 255, 255, 0.08) 0px 1px 0px inset;Output:

7. Add a box-shadow to the Bottom and Left Sides
You can add a shadow to the bottom and left sides of the box using the following box-shadow CSS with your target HTML element:
box-shadow: rgba(0, 0, 0, 0.1) -4px 9px 25px -6px;Output:

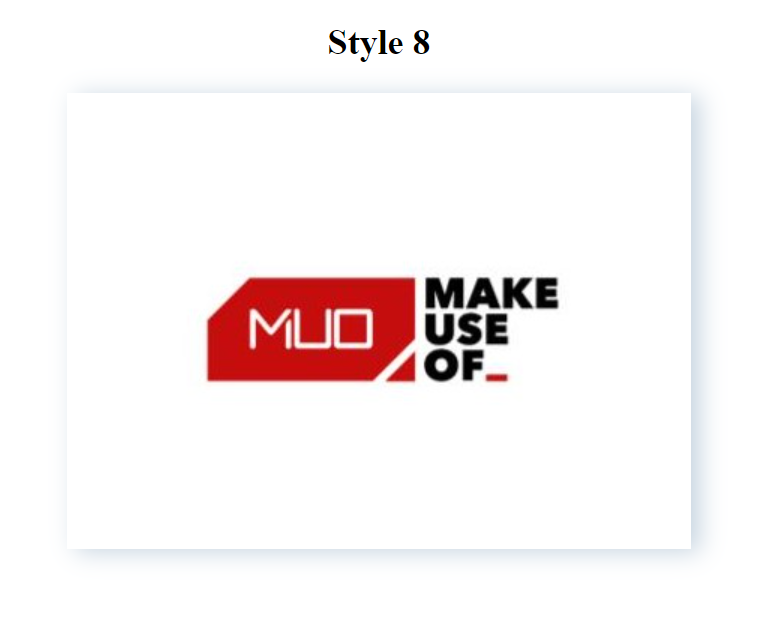
8. Add a Dim box-shadow to the Top and Left Sides, Dark Shadow to the Bottom and Right Sides
You can add a light shadow to the top and left side of the box as well as a dark shadow to the bottom and right sides of the box using the following CSS with your target HTML element:
box-shadow: rgba(136, 165, 191, 0.48) 6px 2px 16px 0px, rgba(255, 255, 255, 0.8) -6px -2px 16px 0px;Output:
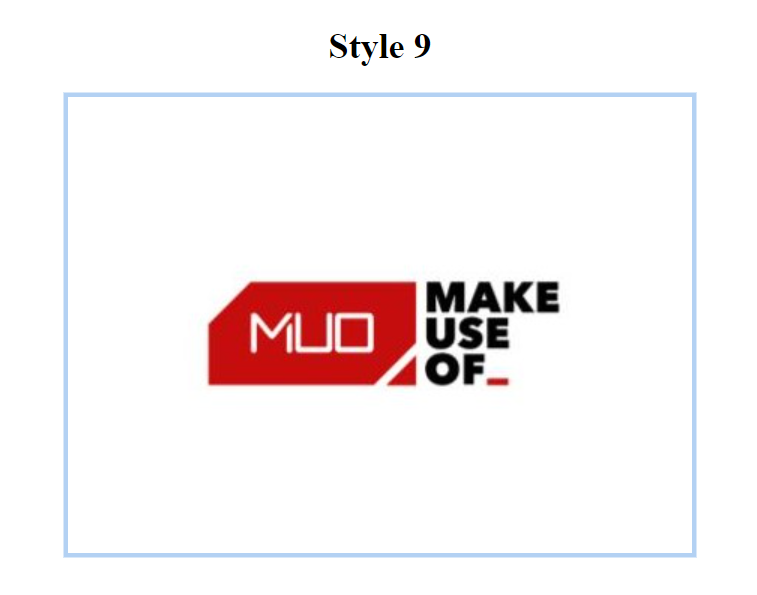
9. Add a Thin, Colored Border Shadow to All Sides
You can add a simple colored border shadow to all sides of the box using the following box-shadow CSS with your target HTML element:
box-shadow: rgba(3, 102, 214, 0.3) 0px 0px 0px 3px;Output:
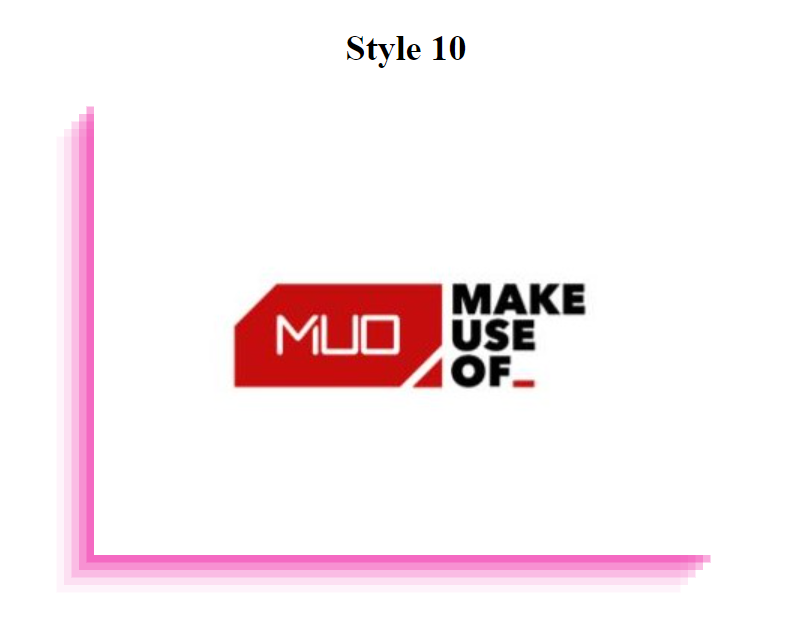
10. Add Multiple Colored Border Shadows to the Bottom and Left Sides of the Box
You can add multiple colored border shadows to the bottom and left sides of the box using the following CSS with your target HTML element:
box-shadow: rgba(50, 50, 93, 0.25) 0px 30px 60px -12px inset, rgba(0, 0, 0, 0.3) 0px 18px 36px -18px inset;Output:
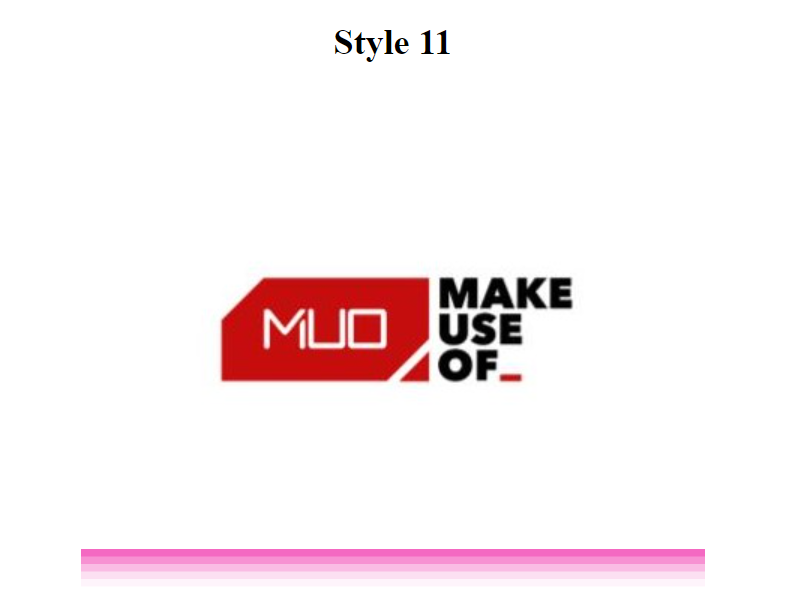
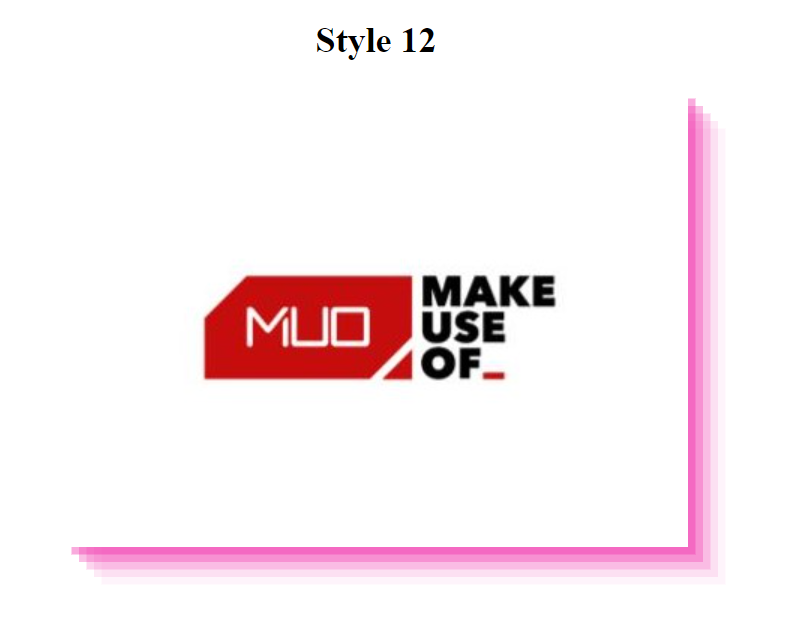
11. Add Multiple Colored Border Shadows to the Bottom
You can add multiple colored border shadows to the bottom of the box using the following box-shadow CSS with your target HTML element:
box-shadow: rgba(240, 46, 170, 0.4) 0px 5px, rgba(240, 46, 170, 0.3) 0px 10px, rgba(240, 46, 170, 0.2) 0px 15px, rgba(240, 46, 170, 0.1) 0px 20px, rgba(240, 46, 170, 0.05) 0px 25px;Output:
12. Add Multiple Colored Border Shadows to the Bottom and Right Sides of the Box
You can add multiple colored border shadows to the bottom and right sides of the box using the following CSS with your target HTML element:
box-shadow: rgba(240, 46, 170, 0.4) 5px 5px, rgba(240, 46, 170, 0.3) 10px 10px, rgba(240, 46, 170, 0.2) 15px 15px, rgba(240, 46, 170, 0.1) 20px 20px, rgba(240, 46, 170, 0.05) 25px 25px;Output:
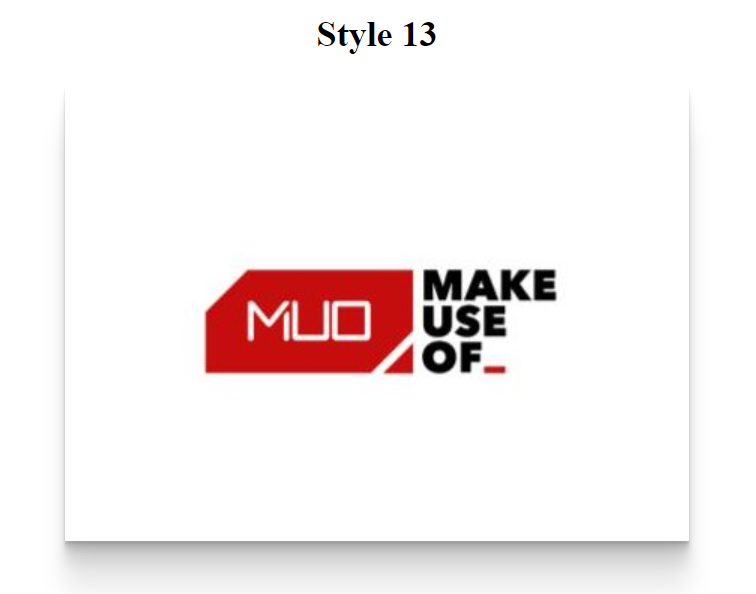
13. Add Light Shadows to the Left and Right Sides, Spread Shadow to the Bottom
You can add light shadows to the left and right sides and spread shadow to the bottom of the box using the following box-shadow CSS with your target HTML element:
box-shadow: rgba(0, 0, 0, 0.09) 0px 2px 1px, rgba(0, 0, 0, 0.09) 0px 4px 2px, rgba(0, 0, 0, 0.09) 0px 8px 4px, rgba(0, 0, 0, 0.09) 0px 16px 8px, rgba(0, 0, 0, 0.09) 0px 32px 16px;Output:
Integrate CSS With an HTML Page
Now you know how to add cool box-shadow effects using CSS, you can easily integrate them with HTML elements in multiple ways.
You can embed it in the HTML page itself or attach it as a separate document. There are three ways to include CSS in an HTML document:
Internal CSS
Embedded or Internal Style Sheets are inserted within the <head> section of an HTML document using the <style> element. You can create any number of <style> elements in an HTML document, but they must be enclosed between the <head> and </head> tags. Here's an example demonstrating how to use Internal CSS with an HTML document:
<!DOCTYPE html>
<html lang="en" dir="ltr">
 <head>
 <meta charset="utf-8">
 <title>CSS box-shadow</title>
 <style type="text/css">
 .heading {
 text-align: center;
 }
 .image-box {
 display: block;
 margin-left: auto;
 margin-right: auto;
 box-shadow: rgba(0, 0, 0, 0.35) 0px 5px 15px;
 }
 </style>
 </head>
 <body>
 <div>
 <h2 class="heading">Style 4<h2>
 <img class="image-box" src="MUO.jpg">
 </div>
 </body>
</html>
Inline CSS
Inline CSS is used to add unique style rules to an HTML element. It can be used with an HTML element via the style attribute. The style attribute contains CSS properties in the form of "property: value" separated by a semicolon (;).
All the CSS properties must be in one line i.e. there should be no line breaks between the CSS properties. Here's an example demonstrating how to use inline CSS with an HTML document:
<!DOCTYPE html>
<html lang="en" dir="ltr">
 <head>
 <meta charset="utf-8">
 <title>CSS box-shadow</title>
 </head>
 <body>
 <div>
 <h2 class="heading" style="text-align: center;">Style 4<h2>
 <img src="MUO.jpg" class="image-box" style="box-shadow: rgba(0, 0, 0, 0.35) 0px 5px 15px; display: block; margin-left: auto; margin-right: auto;">
 </div>
 </body>
</html>
External CSS
External CSS is the most ideal way to apply styles to HTML documents. An external style sheet contains all the style rules in a separate document (.css file), this document is then linked to the HTML document using the <link> tag. This method is the best method for defining and applying styles to the HTML documents as the affected HTML file requires minimal changes in the markup. Here's an example demonstrating how to use external CSS with an HTML document:
Create a new CSS file with the .css extension. Now add the following CSS code inside that file:
.heading {
 text-align: center;
}
.image-box {
 display: block;
 margin-left: auto;
 margin-right: auto;
 box-shadow: rgba(0, 0, 0, 0.35) 0px 5px 15px;
}
Lastly, create an HTML document and add the following code inside that document:
<!DOCTYPE html>
<html lang="en" dir="ltr">
 <head>
 <meta charset="utf-8">
 <title>CSS box-shadow</title>
 <link rel="stylesheet" href="styles.css">
 </head>
 <body>
 <div>
 <h2 class="heading">Style 4<h2>
 <img class="image-box" src="MUO.jpg">
 </div>
 </body>
</html>
Note that the CSS file is linked with the HTML document via <link> tag and href attribute.
All the above three methods (Internal CSS, Inline CSS and External CSS) will display the same output-
Make Your Webpage Elegant With CSS
By using CSS you have full control over the styling of your webpage. You can customize every HTML element using various CSS properties. Devs from all over the world are contributing to CSS updates, and they've been doing so since its release in 1996. As such, beginners have a lot to learn!
Luckily, CSS is beginner-friendly. You can get some excellent practice in by starting with a few simple commands and seeing where your creativity takes you.