From falling snow to fire, magic spells, and crazy hallucinogenic backgrounds, particle systems offer versatile and customizable means to create interesting graphics and special effects.
In this article, some of the particle systems and effects that Adobe After Effects offers will be covered. We'll also demonstrate just how particle systems operate in action.
Without further ado, let's jump in!
What Is a Particle System?
Particle systems allow us to simulate physics-based effects and phenomena by using a collection of much smaller objects or sprites, which make up a larger whole image.
To simplify this concept, imagine you are watching a waterfall crashing onto the ground in front of you. The overall image is of a gigantic, moving body of water, but if we break it down, that illusion of a moving shape of water actually consists of billions of individual particles.
With a particle system, you create a particle Emitter; a point on the screen at which the particles will be generated. You then set the number of particles (also known as the sprites on the screen), how large they are, how quickly they are generated, how fast they fall or rise (depending on your physics settings), and how long they remain onscreen before dying.
It may sound complicated at first, but it's actually quite straightforward. Let's look at some of the particle systems that are available within After Effects. You'll find the three built-in particle systems in the Effects window.
1. CC Particle System
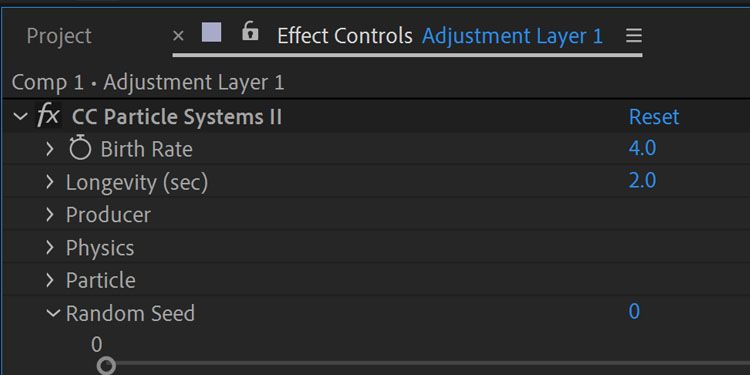
The CC Particle System is the most basic particle system available in After Effects. It's a good one to start with if you're practicing with particle systems. It is a 2D effect, meaning you're limited to what you can render on the X and Y axes.
You aren't able to apply your own images or layers as particle sprites, so you're limited only to the shapes that the effect provides. This includes shaded spheres, bubbles, and cubes.
2. CC Particle World
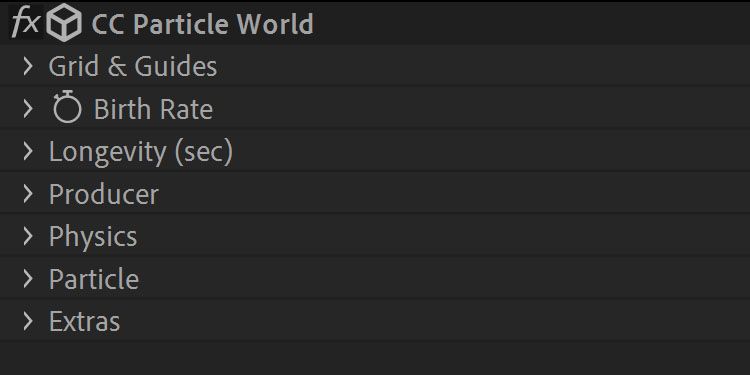
CC Particle World is what we'll look at in our example later in the article. It's a more advanced version of CC Particle System. It also offers some extra settings, including the ability to choose your own custom layers and work on a 3D plane.
This means the particle system can be used in conjunction with a camera layer and work within the 3D layer system.
3. Particle Playground
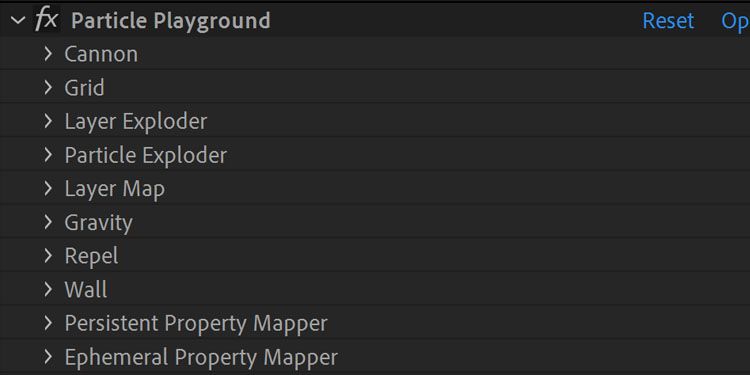
Particle Playground is the most complex of these three plugins and is markedly different from CC Particle World and System in the way it functions.
It has more advanced features, including the ability to set how particles react between themselves and work with layer maps. It also enables you to program your particle behaviors with less of a focus on relying on presets.
Once you're comfortable with the other two plugins, it's worth trying Particle Playground.
How to Create an Animated Backdrop With Particle World
Now that we've run through all three of the particle plugins available, let's practice creating a basic graphic using Particle World. For context, we're going to create a backdrop for an imaginary video greeting message.
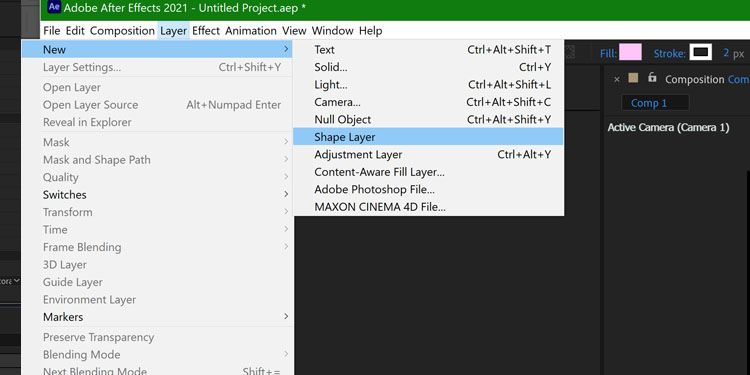
Let's start by creating a new composition and adding a Shape Layer.
Now, let's apply the Particle World effect from the Effects Panel. You'll then be able to adjust your settings via Effect Controls.
By default, you'll see a basic particle effect appear in your composition.
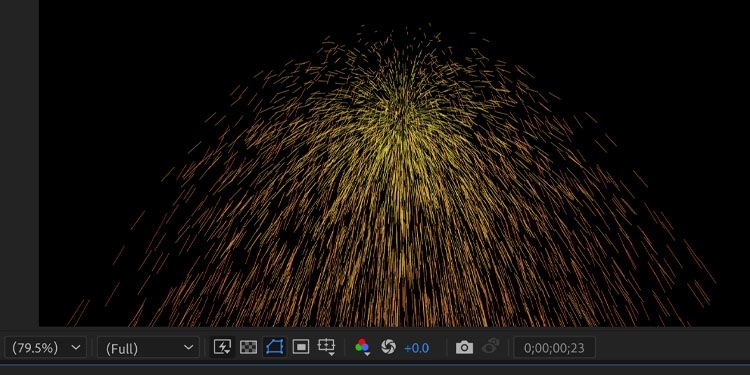
If we jump to the Effect Controls panel, we can now start to adjust the settings to achieve the effect we want.
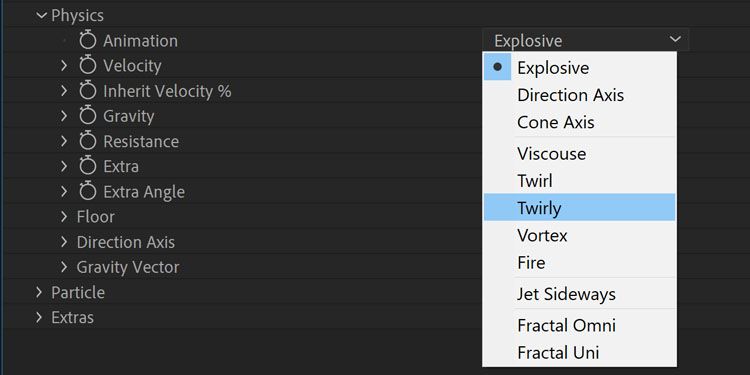
Let's start by changing our physics settings and adjusting the Animation preset. Selecting Twirly will change the movement of the particles. Instead of moving outwards in all directions, the particles will move in a whirlwind-like pattern, where the particles spiral around the Emitter point.
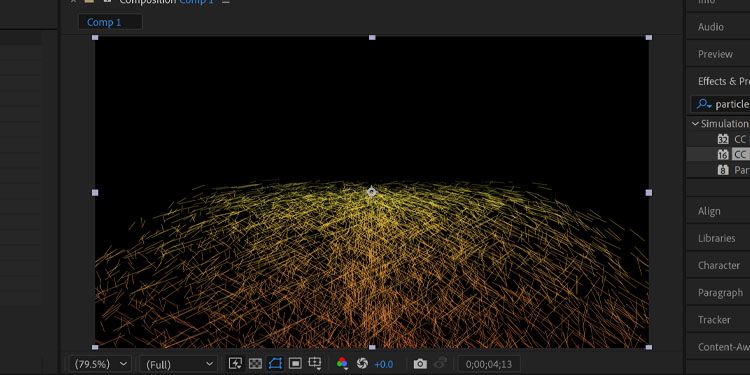
Much like rigid objects in applications like Blender, particles are affected by a physics system. Now, let's adjust the Gravity setting. This dictates just how slowly the particles will fall, with 0 representing no gravity, and therefore, no falling at all.
The particles will continue to move around the emitter, but will no longer fall downwards.
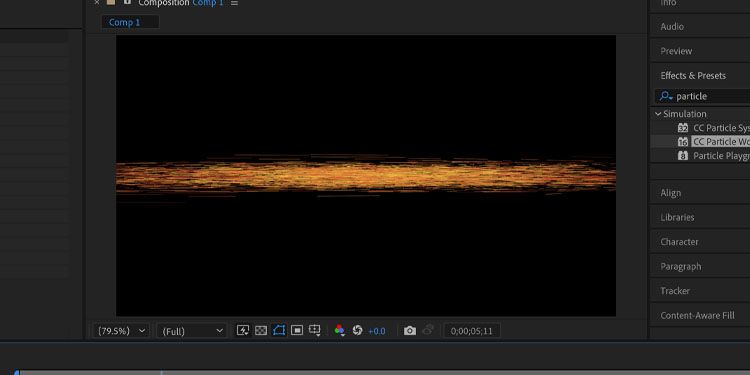
At this point, it is harder to get an idea of how the particles are moving from this angle. Create a new Camera Layer and rotate 90 degrees along the X-axis. A top-down view will show that the particles continue to move in the vortex-like pattern around the central emitter point.
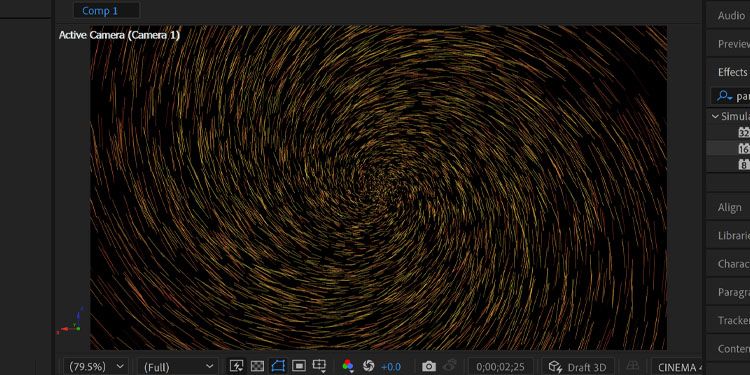
You'll no doubt notice that the animation is moving very fast and particles are disappearing very quickly once generated. This is where we need to balance a few settings to achieve a more measured effect.
Let's start with the Longevity setting. This determines how long a particle will remain onscreen once it is generated. Let's push it up from one (the default) to four.
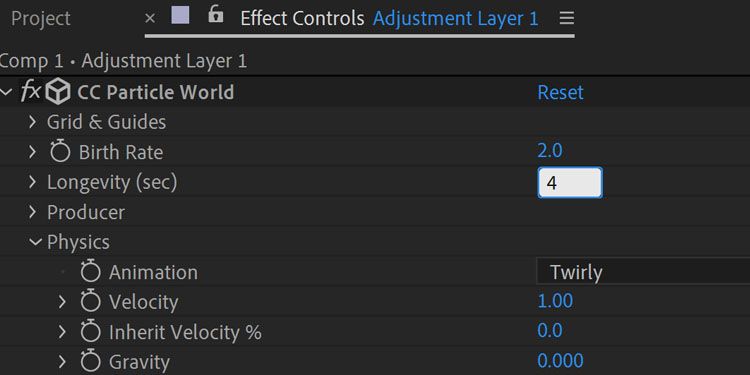
You'll notice that the movement of the particles becomes much more pronounced, as they remain onscreen for longer.
The speed of the movement is still quite fast. To change this, we can adjust the Resistance setting in the Physics tab, which dictates how much the particles will push back against the forces of motion. Let's set that to 10.
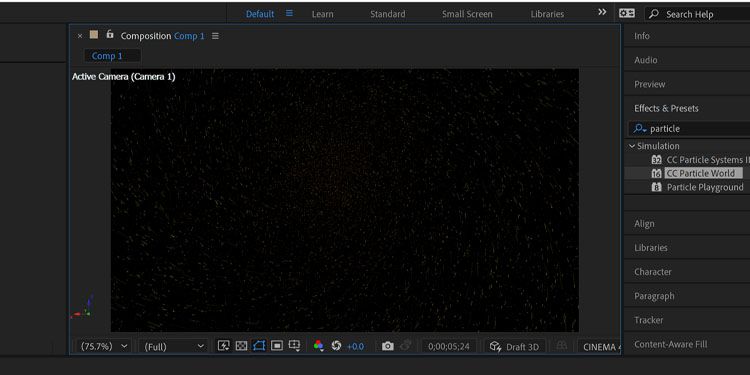
They are now moving much slower. This means that they also traveled slower from the emitter point, and now appear further away. Let's offset that by zooming in with the Camera layer.
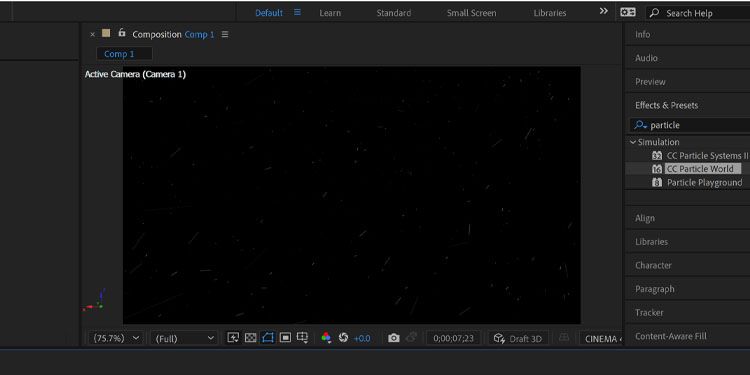
We now have the motion set up, but the default line particle is quite bland, so we're going to change it. Let's imagine that we're making a backdrop for a Valentine's Day greeting video—so we need hearts!
Navigate to Particle > Particle Type. Let's change Line to Textured Disk. Your particles will now disappear because we haven't yet set a texture.
In this example, we're going to use a basic image of a heart. You can use a similar image—just download it and add it to your composition as a layer. Once in, make sure you uncheck the eye icon so it is no longer visible.
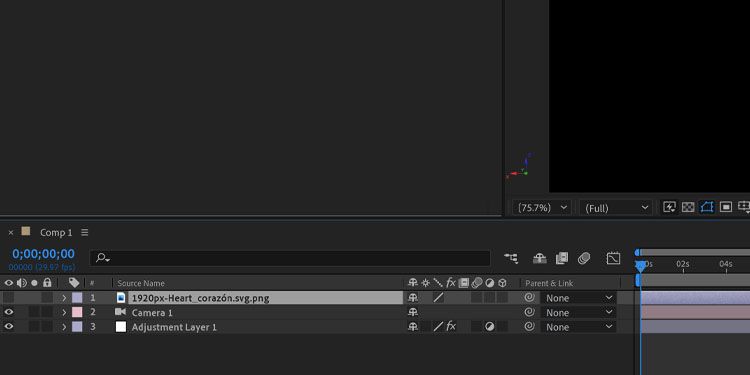
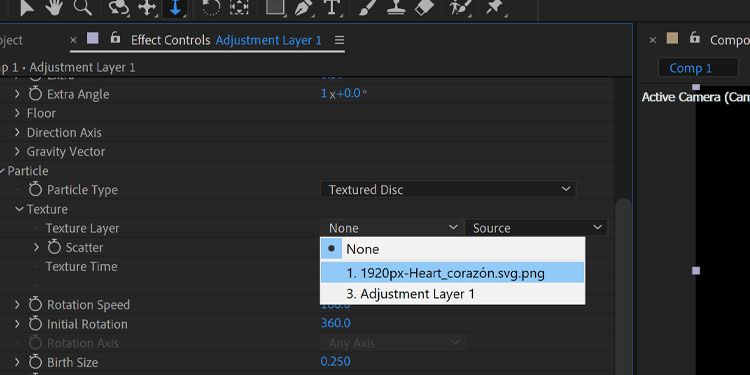
Now, navigate to your Particle settings, and select Texture. From the Texture Layer dropdown box, select your heart layer.
The lines have now been replaced by the hearts, but there's a problem—they're a little too big.
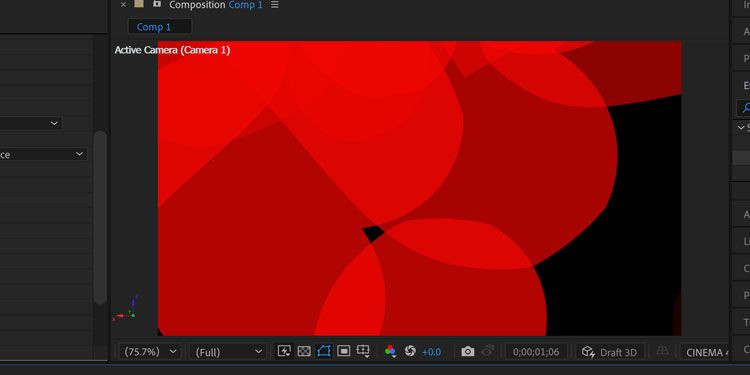
We can adjust this by navigating to the Particle setting, and changing the Birth Size and Death Size parameters, which determine how big the particles are when they are generated, and how big they are when they disappear.
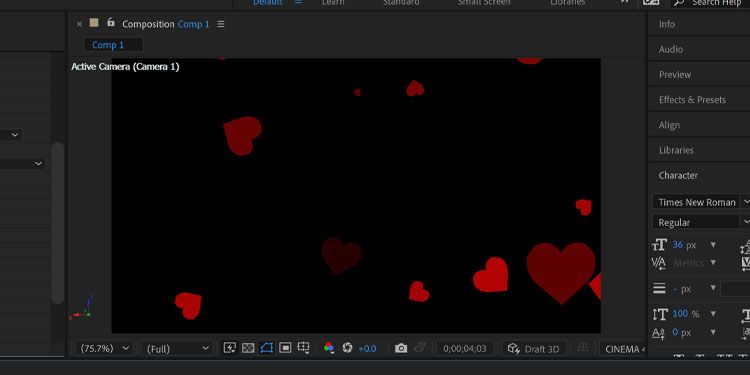
Finally, if that doesn't feel like enough hearts, we can adjust the Birth Rate setting. It's always advisable to play around with this near the end of the process. This way, you can test your settings, as adding more particles can become quite RAM intensive.
Let's change the Birth Rate to 10.
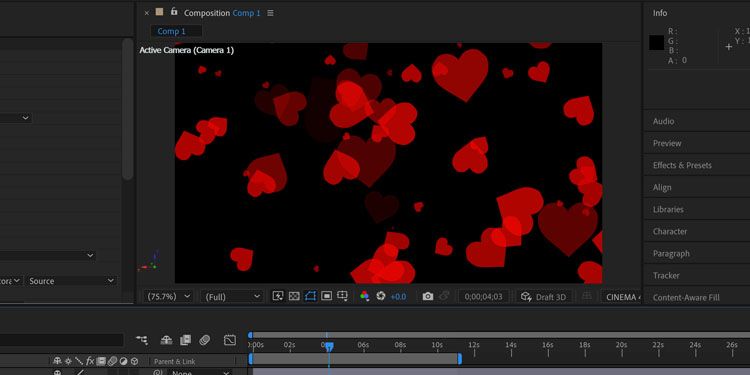
Finally, let's add another pink-colored shape layer underneath, as well as some text to really tie up the loose ends.

And voilà! We now have an animated hearts backdrop for our greeting message, all created with a particle system.
But, as a final test of how drastically we can change how particle systems look while keeping the core settings the same, let's move away from the Valentine's Day theme. Let's lose the hearts, the text, and the pink backdrop.
Return to the Particle settings and change your Particle Type to Shaded Sphere.
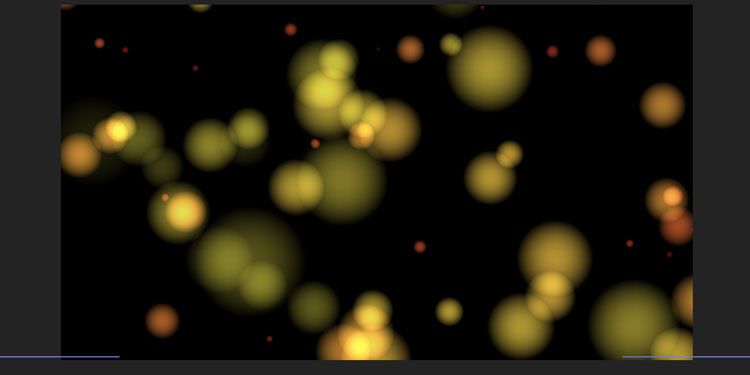
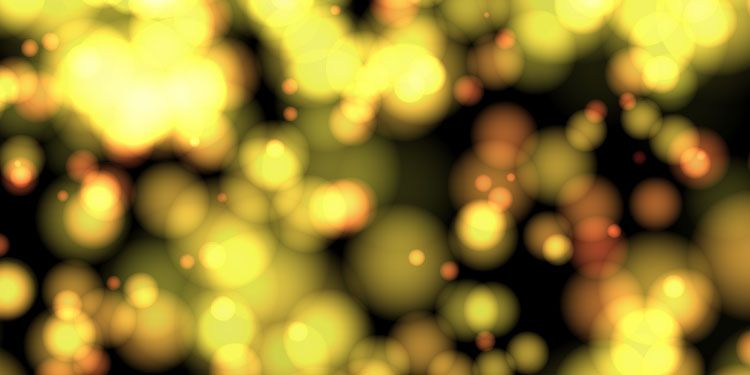
And finally, let's up the Birth Rate to 50 to create a mass of shining lights—the perfect backdrop for a dynamic title sequence.
Mastering Particle Systems in After Effects
That was just a quick run-through of how to get started with particle systems in Adobe After Effects. There are many settings and features within Particle World to explore that haven't been covered here, so get out there and start experimenting!