Do you feel overwhelmed and dread opening your Gmail account? If so, it is time to start using folders to help you navigate through your emails.
The Gmail folder system allows you to catalog your emails and keep them organized and sorted. We're going to show you how to create folders in Gmail so that you'll be more productive.
How to Create Folders in Gmail
Technically, Gmail does not have folders, but rather labels that function as folders. You can use the labels to categorize your emails in the same way that folders do in other email programs. Create a folder by following these steps:
- Sign in to your Google account.
- Press the cog icon in the top right-hand corner, which is Settings, and then click on See all settings, which will take you to Labels.
- Click on Labels and then scroll down until you reach the labels subsection.
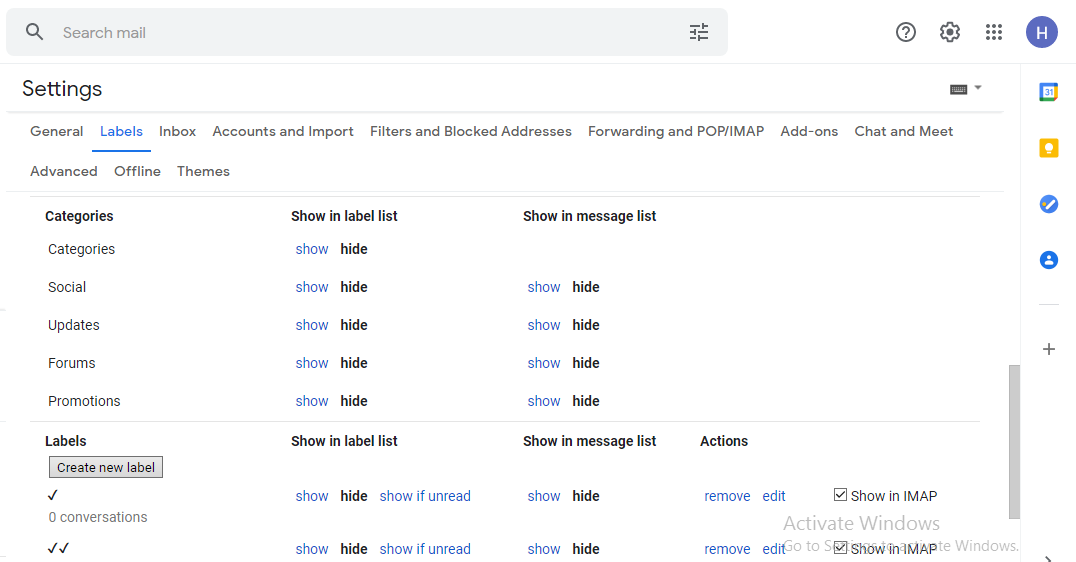
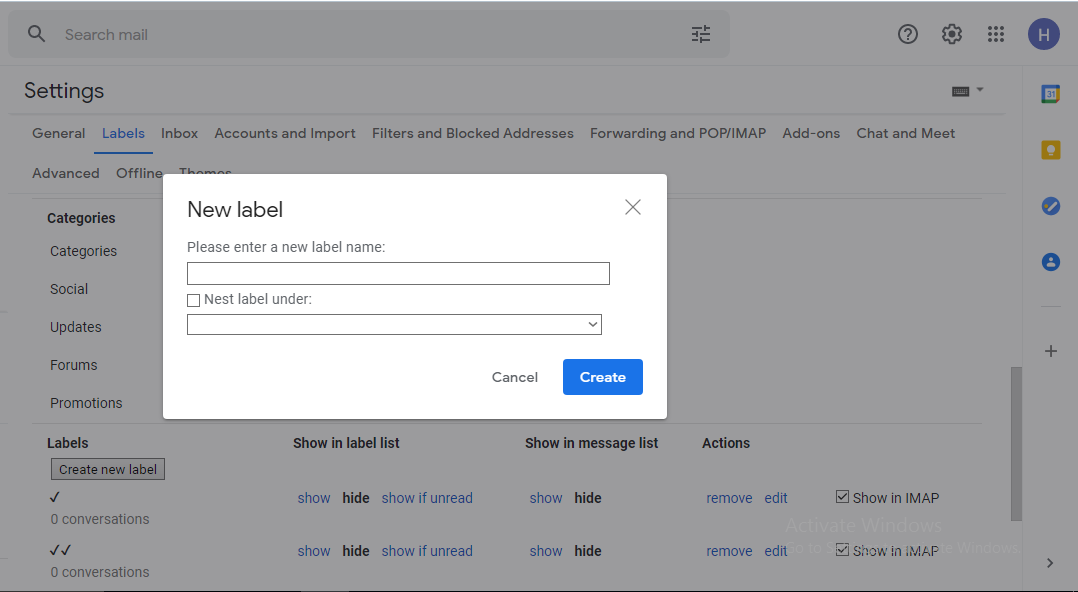
4. To create a new label, select the Create new label tab. A pop-up will appear.
5. To name your folder, type a label name. You can create a subfolder by ticking the Nest label under and naming it.
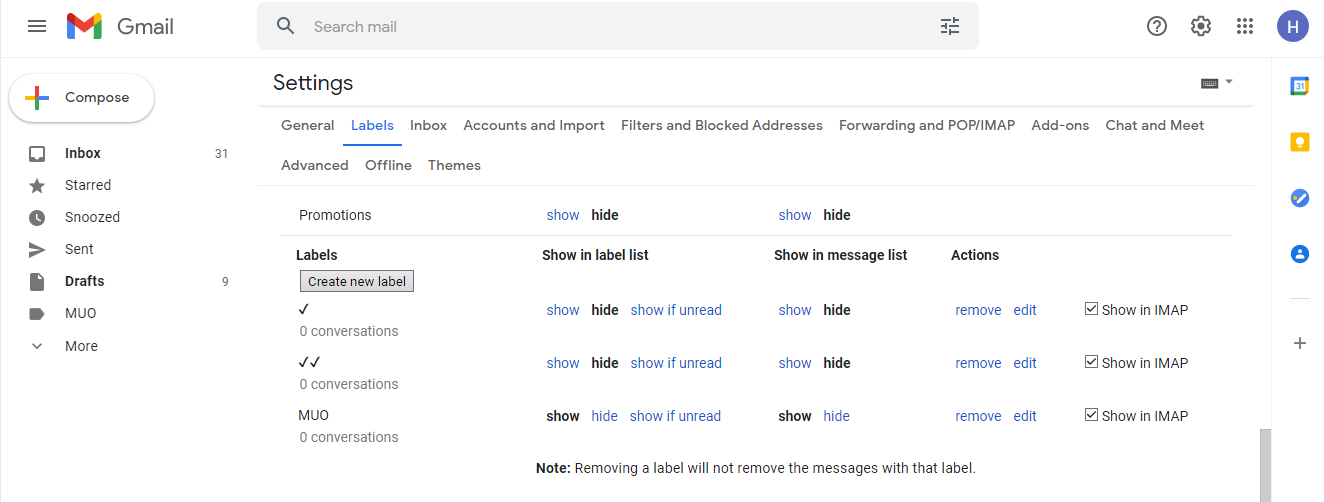
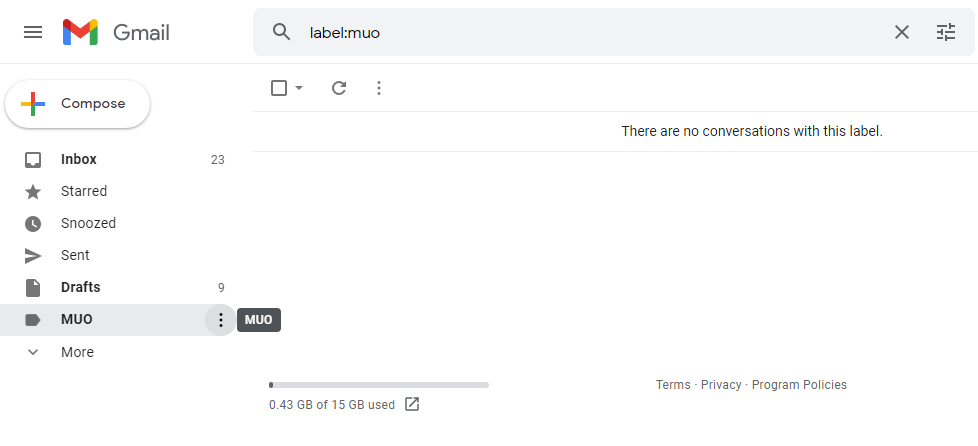
6. The label is ready. Refresh the page, and you will see it on the left-hand panel of your inbox.
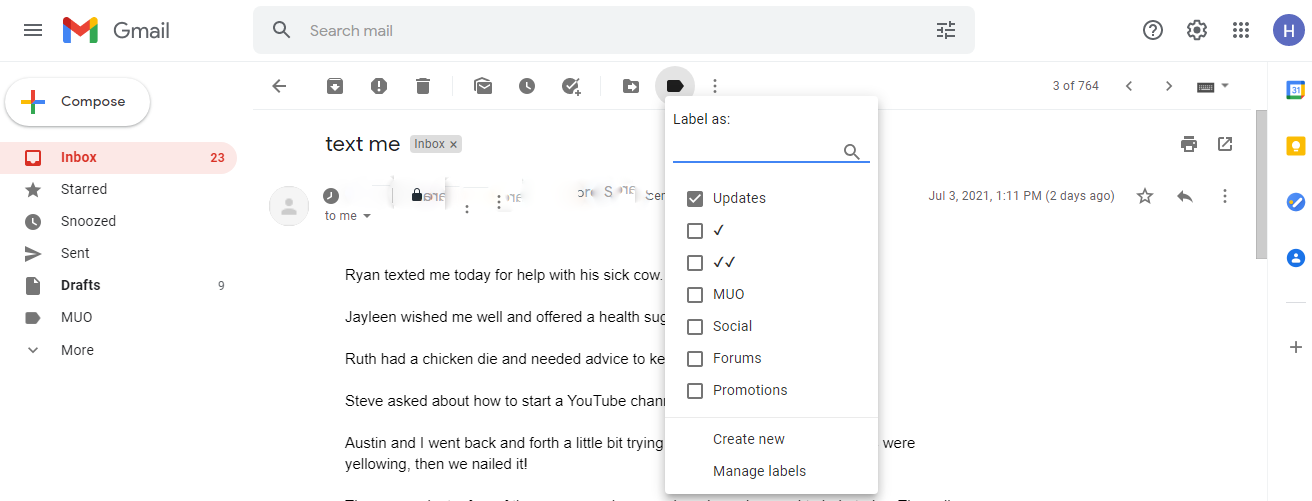
7. To use your newly created folder, simply drag and drop the emails you want in the folder from your inbox. You can also create a folder and put emails in it as they land in your inbox.
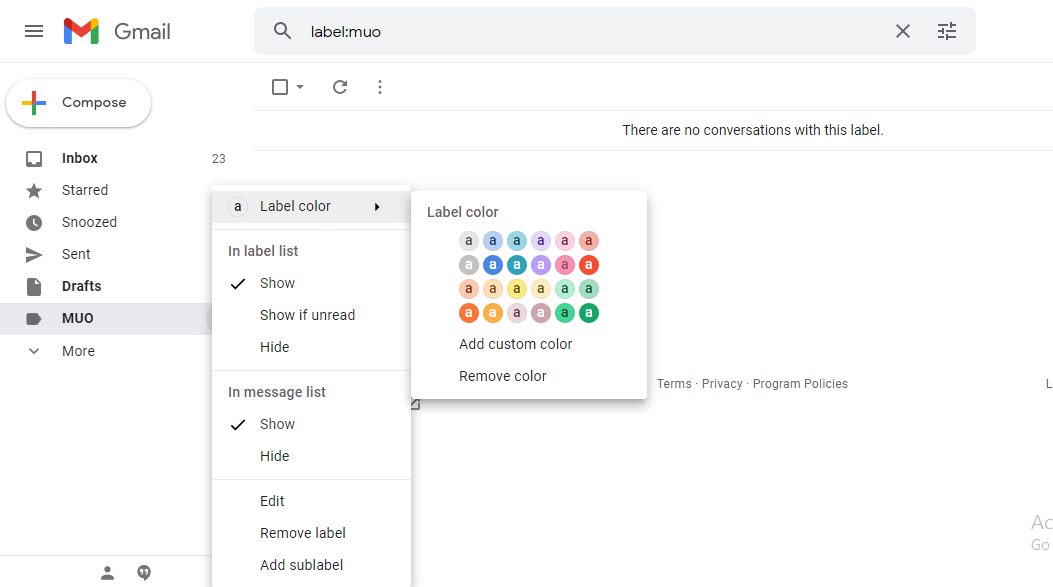
8. You can color-code your label by clicking the three dots icon under the Label tab.
9. To set the color your want, click on your preferred color or click Add custom color to customize to your desired color.
Sort Your Emails Using Folders in Gmail
Emails can easily run you over and negatively impact your productivity. However, it does not have to be the case.
With the labels feature in Gmail, you can create folders to keep all your mail well organized and improve your productivity. So be sure to start using folders to keep your emails organized.