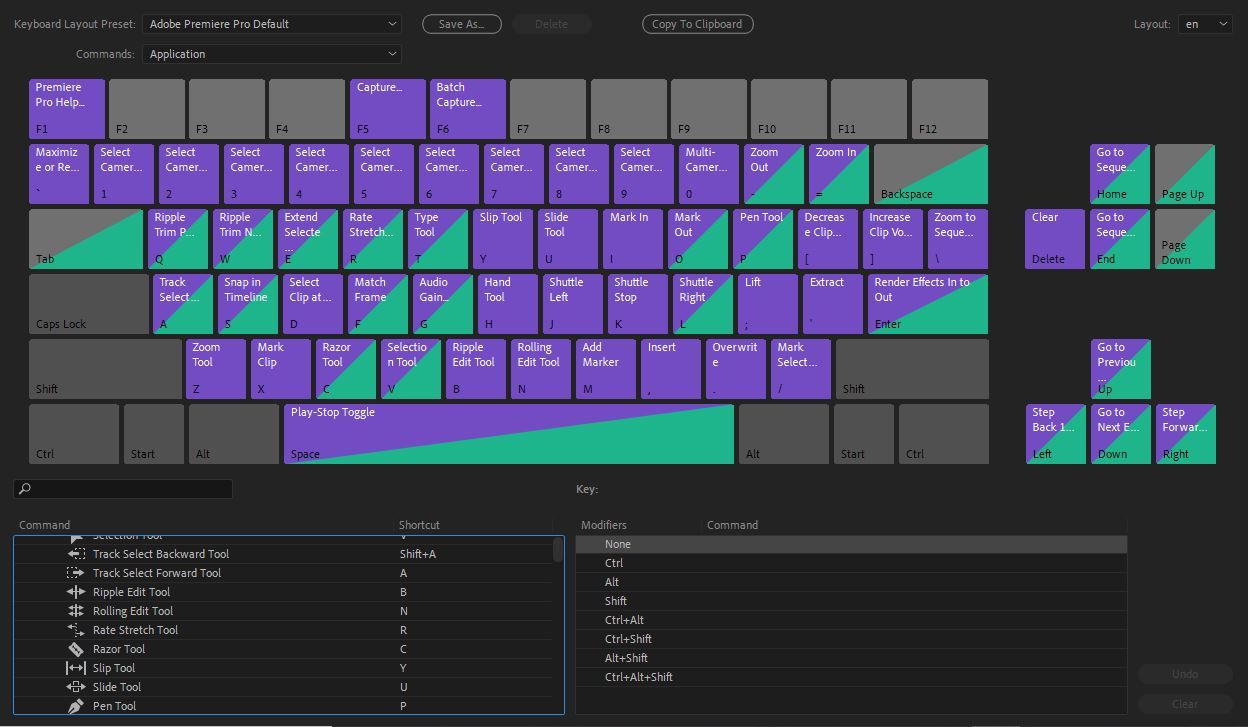
You're probably more than familiar with all of the keyboard shortcuts that Premiere Pro has by default. Why wouldn't you be? The provided list of hotkeys is balanced, time-honored, and easy to retain.
If you find yourself reaching for something not represented on the official layout, however, you should consider mapping out your own custom keyboard layout in Premiere. It's one of the biggest favors you can do for yourself as a video editor.
Why Customize Your Premiere Pro Keyboard Shortcuts?
When you're first learning the ropes, Premiere's default keyboard shortcuts will be more than enough to get you from here to there. They cover all of the most common, widely-used functions.
As you advance in your career, however, you will inevitably be entrusted with bigger and more unwieldy assignments. New needs will present themselves. You'll probably notice yourself keeping an internal list of obstacles that you frequently stumble over.
Every problem has a solution. Identifying your own and coming up with unique ways of resolving them is all part of the process
To get the ball rolling, you can either pull up the Keyboard Customization window found at the bottom of the Edit dropdown, or you can use the shortcut Ctrl + Alt + K to do the same.

Let's go over the main reasons why you should consider creating custom keyboard shortcuts.
1. Work More Efficiently

It goes without saying that the faster you're able to deliver, the more likely you are to be hired again. That's why it's important to shave off every precious second standing between where you stand and the finish line.
If you don't know where to begin, sit down and map out a typical project pipeline once the footage hits your desk. What is usually the first thing that you need to do? What slows you down on a regular basis?
Time is money. When you're really in the zone, the last thing that you want is to get disrupted. Fiddling around with the program is annoying and time-consuming. Having custom keyboard shortcuts saves you the hassle.
2. Tailor Your Shortcuts to Your Workflow
The default Premiere keyboard layout includes shortcuts for multi-cam workflows, letting you cut between up to eight different cameras. If your studio floorplan includes 15 different sources of footage, however, upgrading your setup to match your on-set circumstances will make your life in post much easier.
We've all got different stuff going on. If you find that you never touch the Hand tool or the Zoom tool, the H key and the Z key might be prime real estate that should be utilized for something else.
This includes more than adding new shortcuts to your keyboard layout or doing away with others entirely. Some commands that involve three or even four keys at once can and should be simplified.
Even something as basic as the Cut command is made much more accessible by assigning it to a single key, one more central than the default Ctrl + X shortcut.
3. Keep Your Project Organized

If you haven't already, you should consider assigning each number on your keyboard a different label color. Why?
They give you a quick and easy way to identify all of the different types of footage in your sequence at a glance. The easier that your timeline is to read on the fly, the less time that you'll need to spend deciphering what's in front of you.
When you constantly make an effort to stay organized in Premiere, you're able to competently work with sequences that are rich, complex, and multi-layered, all without losing sight of anything important along the way. Making these organizational tools easier and faster to use means that you're much more likely to actually use them.
There are plenty of other ways to make organizing your timeline and your overall project easier. You can also try assigning keys to a few different Marker colors aside from the green one that the M key lays down by default. Your collaborators can, for instance, use one color for general comments, another for critique, and perhaps another for sections that they like.
4. Stay Comfortable While You Work
Most professional editors will agree that, just like with any other desk job, maintaining your poise and posture will make working at length a much more pleasant experience.
The best editors keep their hands on the keyboard whenever possible. While wheeling around with the mouse is nothing that you can avoid entirely, the more that you're able to do from your home row of keys, the more comfortable your workflow will feel.
No bones about it: human beings are lazy, and we video editors are very much included. When everything that you need is well within reach, we tend to cut far fewer corners.
5. It's Just Convenient

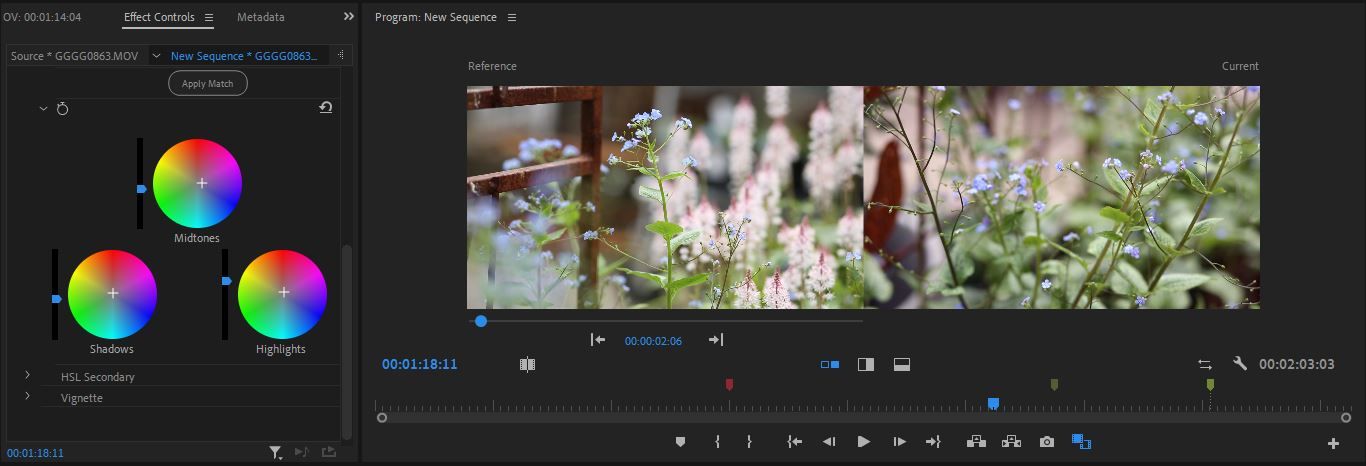
Those who spend a lot of time coloring with Lumetri have probably noticed that there is no default shortcut assigned to the Remove Attributes command. Adding one to your custom Premiere keyboard layout will make working your project over way less frustrating. It will give you a quicker way to pull up the side-by-side Comparison View between your grade and the raw source material.
From toggling proxies on and off to hopping effortlessly between your Next Marker to your Previous Marker, there are many miscellaneous accommodations that have no place on the default Premiere Pro keyboard layout. Many of them will delight you.
Plus, custom Premiere keyboard shortcuts can make commands, like checking out the properties of a clip and revealing it in the Finder or within the project. Taking a deep dive into what the program covertly offers will show you everything that you're missing out on.
Set Yourself Up for Success
After gradually modifying your own layout of hotkeys over time, your custom keyboard setup will grow into something that you'll be able to take pride in. Is there anything more gratifying as a professional than leveling up your game?
The answer to that question: absolutely not. Once you've got your own bag of tricks down pat, there will be no turning back for you.