Commercial 3D printing has been around since the late 1980s, but it took a combination of the RepRap open-source 3D printer movement and countless Chinese clones of the Prusa i3 design to make it affordable for the masses.
Unfortunately, if you want a 3D printer that's better than an entry-level 3D printer but not as industrial as the more expensive commercial alternatives, you don't have many viable options.
That is, unless you take the DIY route with the next open-source 3D printing revolution in the making: the Voron project. Building a Voron 3D printer is a great way to radically improve your 3D printing game without breaking the bank.
Here’s how to get your hands on one and how to get started.
What Is the Voron Project?
The Voron project was founded in 2015 by Apple engineer Maksim Zolin with the goal of designing a “true home micro-manufacturing machine.”
A year later, Zolin created a 3D printer that was faster, quieter, and more capable than its expensive commercial counterparts. The one-man endeavor attracted passionate engineers and 3D printing hobbyists, who now make up the Voron Design collective.
It's hard to miss Zolin's Apple pedigree in the user-friendly and streamlined documentation and knowledgebase of the Voron project. While other open-source 3D printer projects force you to scrounge information across multiple forums, the official Voron website includes everything.
This makes it a relatively hassle-free means to build your own 3D printer, especially for those who’ve already built one using mainstream Prusa or Creality knocked-down kits.
Why Make a Voron 3D Printer?
Affordable 3D printers are designed to print polylactic acid (PLA) filaments. However, its low heat resistance and tendency to creep (deform) under mechanical stress renders it unviable for structural or engineering applications.
While these entry-level 3D printers are great for learning the basics of 3D printing, you'll need to upgrade if you want to print more serious engineering plastics like ABS and nylon—and that can be an expensive and frustrating affair.
In most cases, building an enclosure and upgrading the print head costs nearly as much as buying a new 3D printer that's purpose-built for these materials.
That's precisely why Voron's DIY 3D printers are ideal. You’re essentially trading your time for money saved on a professional pre-built 3D printer. As a bonus, building it yourself also equips you to maintain and repair it on your own.
Choosing the Right Voron 3D Printer
There are five Voron printers in total. This includes Voron 0, Voron 1 (Trident), Voron 2, Voron Switchwire, and Voron Legacy.
The entire line-up takes the unique approach of relegating traditional 3D printer control boards to running the firmware and relaying pre-processed G-codes (numerical control commands).
The actual processing is handled by the significantly more powerful Raspberry Pi single board computer. This not only improves print quality, but it also allows Voron 3D printers to hit the sort of speeds that would otherwise overwhelm existing consumer-grade 3D printer control boards.
Voron Legacy
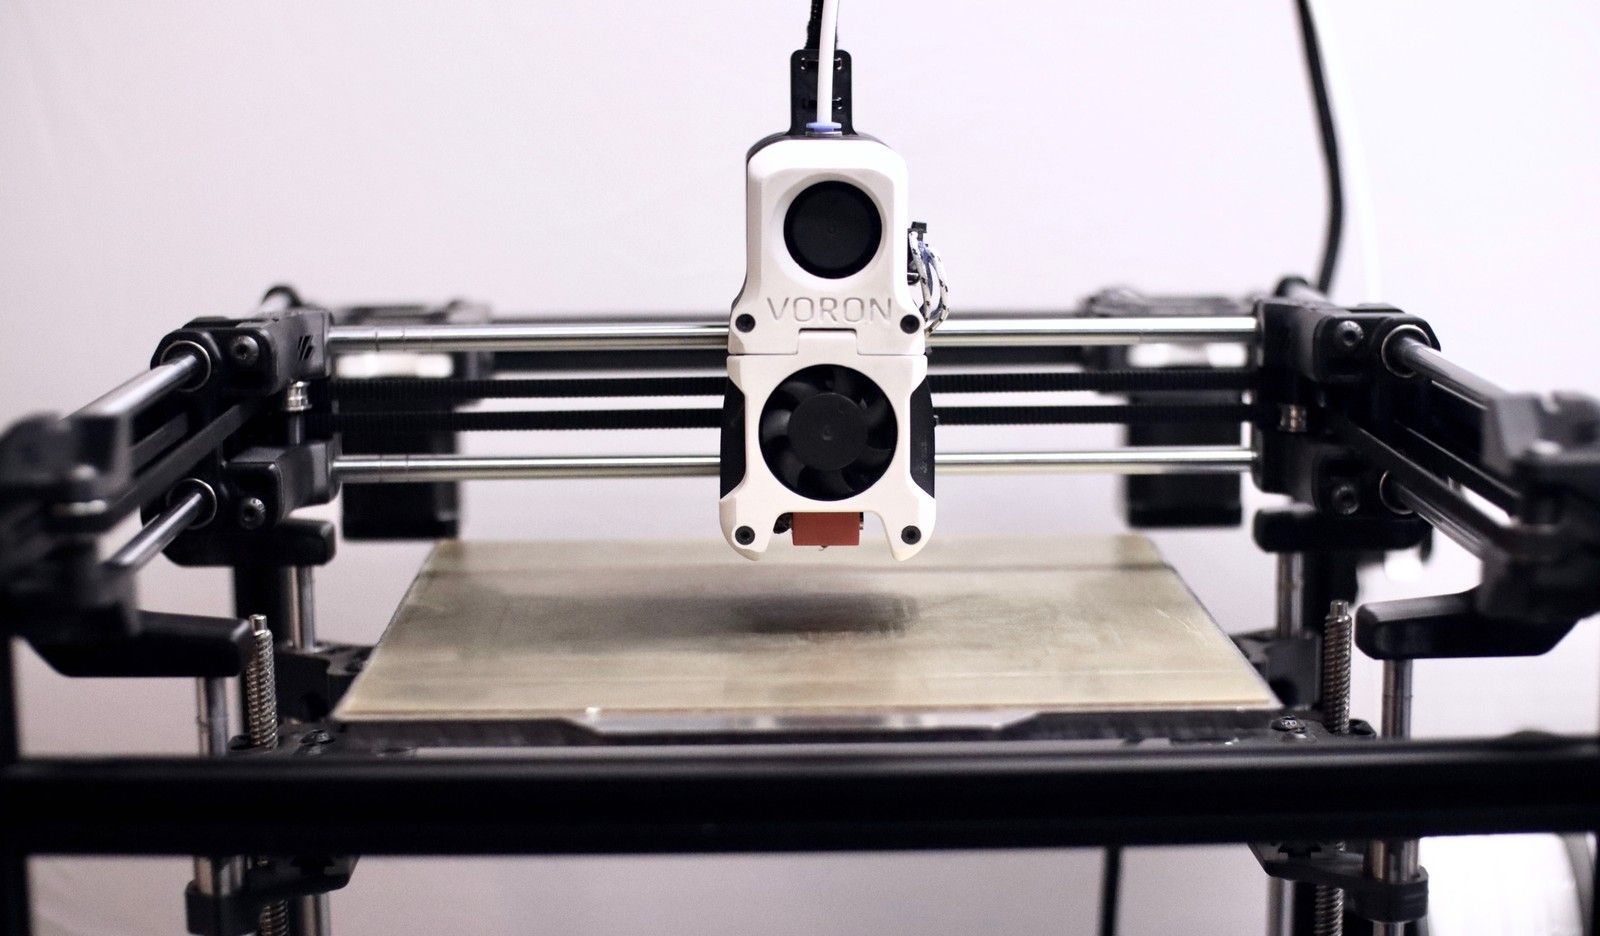
Every Voron printer to date, except the Legacy, is designed to be fully enclosed. This is critical for printing challenging materials such as ABS and nylon, which tend to warp and delaminate when exposed to ambient air temperatures.
The Voron Legacy partly serves as a tribute to the early RepRap project printers with its antiquated linear rod-equipped motion system. However, that compromise also restricts the total build cost to between $600 and $800.
Voron Switchwire
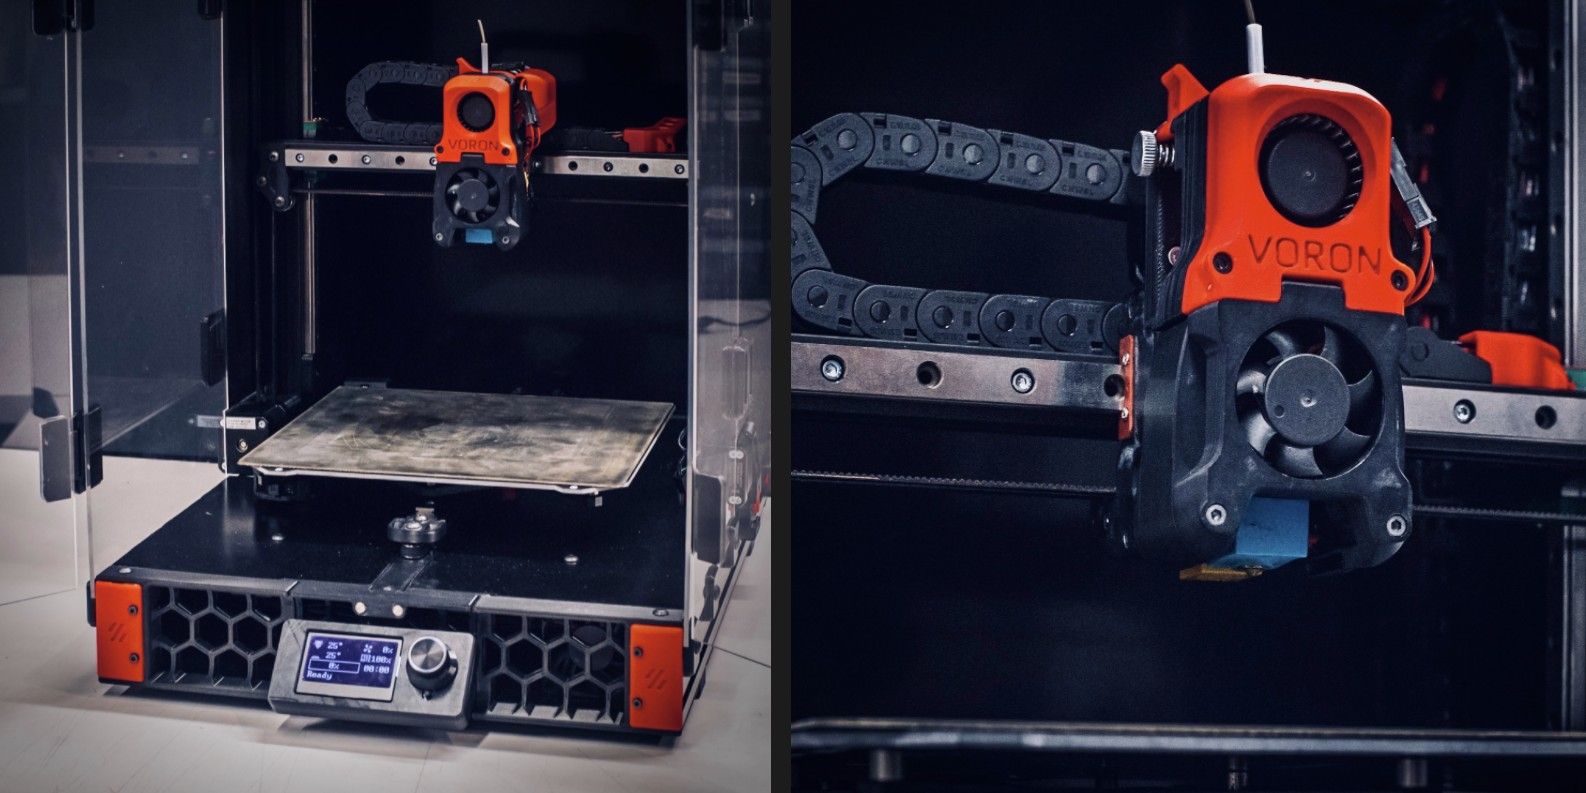
The Voron Switchwire is only marginally more expensive, costing between $700 to $900, while employing superior linear bearings for the core motion system.
But there’s a catch! The Switchwire employs the CoreXZ motion system, unlike the rest of the Voron lineup’s superior CoreXY kinematics.
Think of the Switchwire as an upgraded Prusa i3 design with linear bearings and a faster belt-driven Z-axis. In fact, the build cost of this printer can be significantly reduced if you can scavenge parts from an existing Prusa 3D printer.
Voron 0
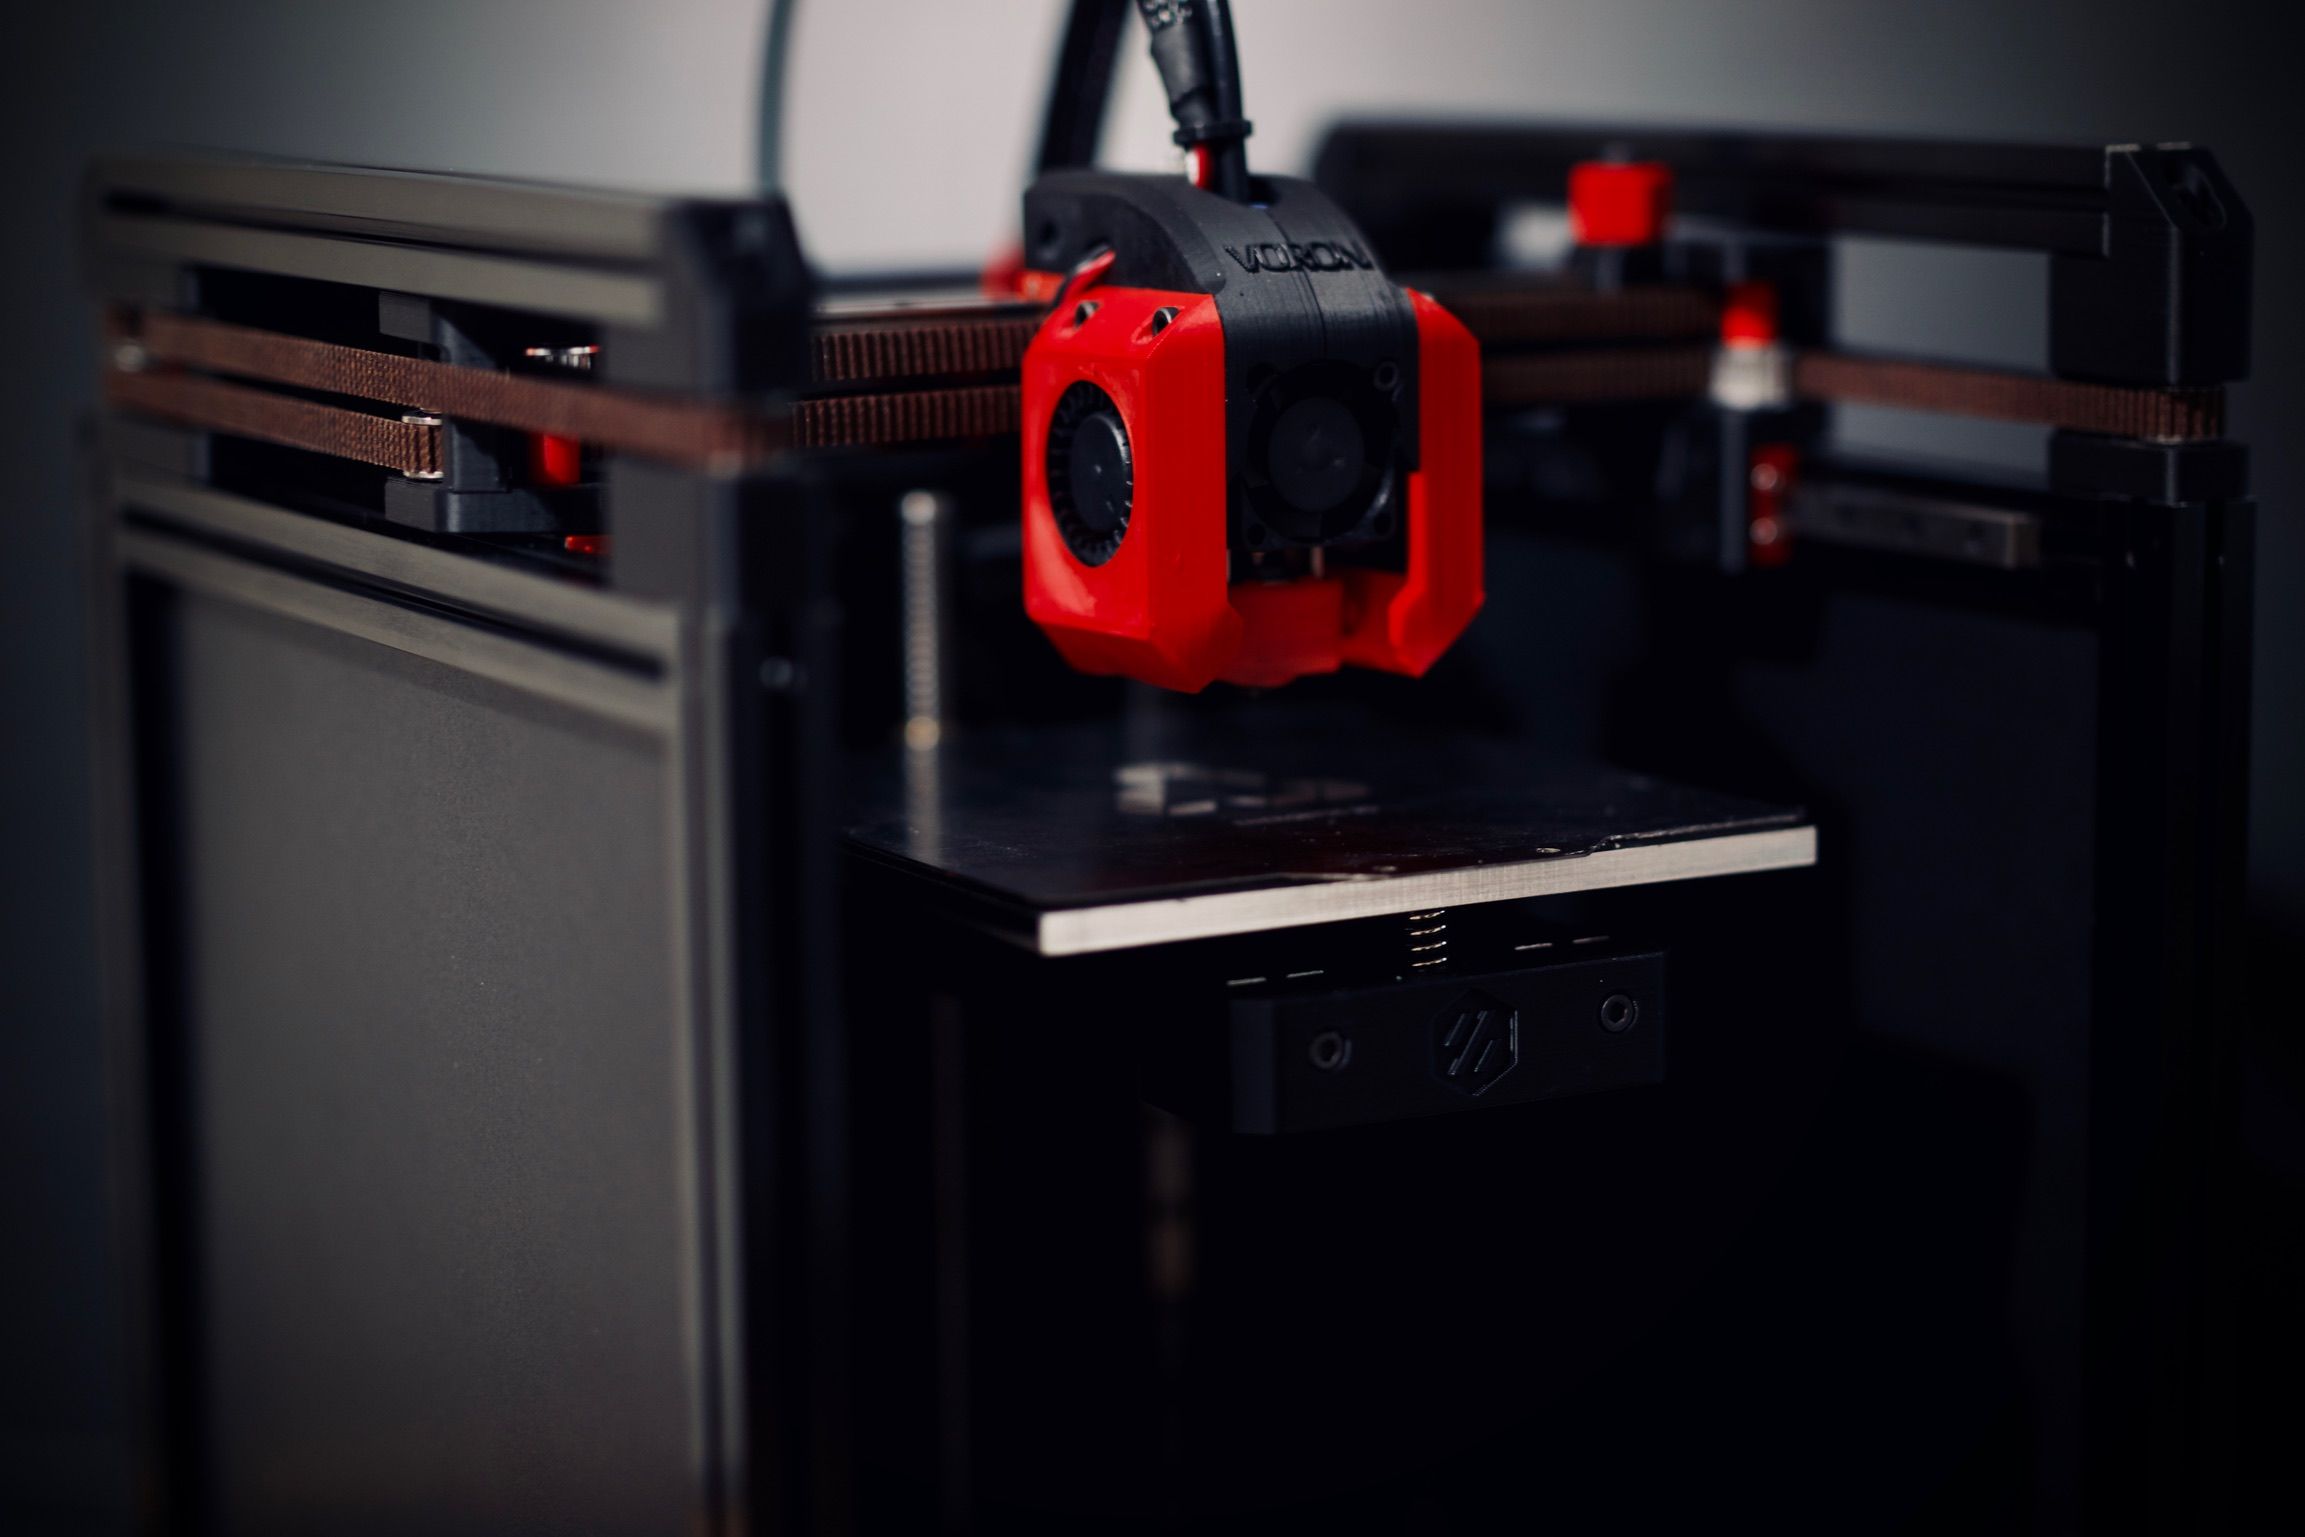
The Switchwire and Legacy are somewhat low-cost options, but the Voron 0 combines their best aspects and manages to be much cheaper at between $400 to $600.
It retains the agility of the Legacy’s CoreXY kinematics without compromising on the precision of the Switchwire’s linear bearings.
The only catch is its absolutely tiny build area of 120x120mm. This allows it to get away with a cantilevered bed supported by a single Z-axis leadscrew, thereby saving space as well as money.
Voron 1
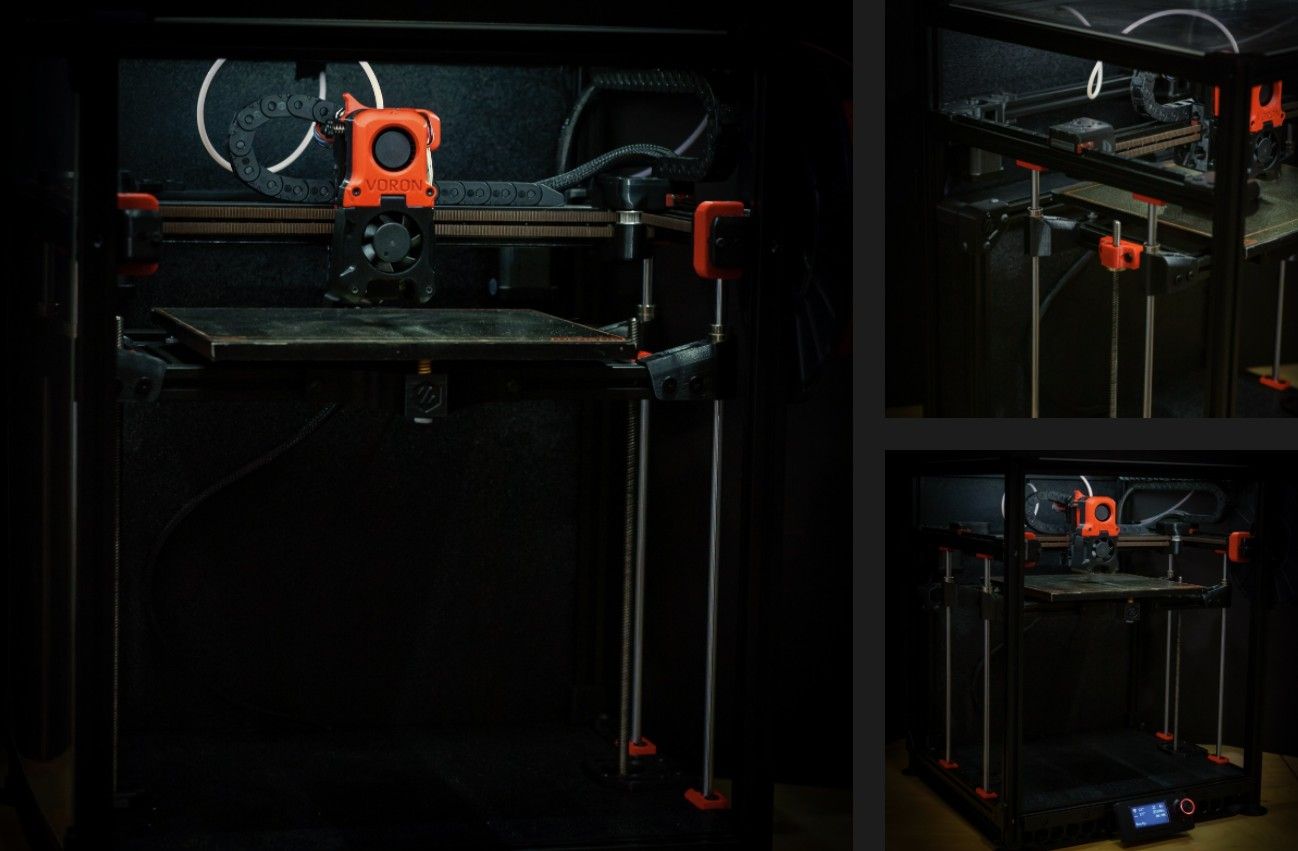
The Voron 1 is essentially a larger Voron 0, bearing 250x250mm or 300x300mm build plates supported by four linear rods.
The larger bed also necessitates two Z-axis leadscrews, stepper motors, and a mains-powered heater—and all of these drive the cost up to $1,300 depending on your choice of build area.
The latest iteration of the Voron 1, the Trident, is a significant redesign incorporating a third Z-axis. This makes it capable of automatic bed tramming (levelling), but it also significantly increases the overall cost.
Voron 2
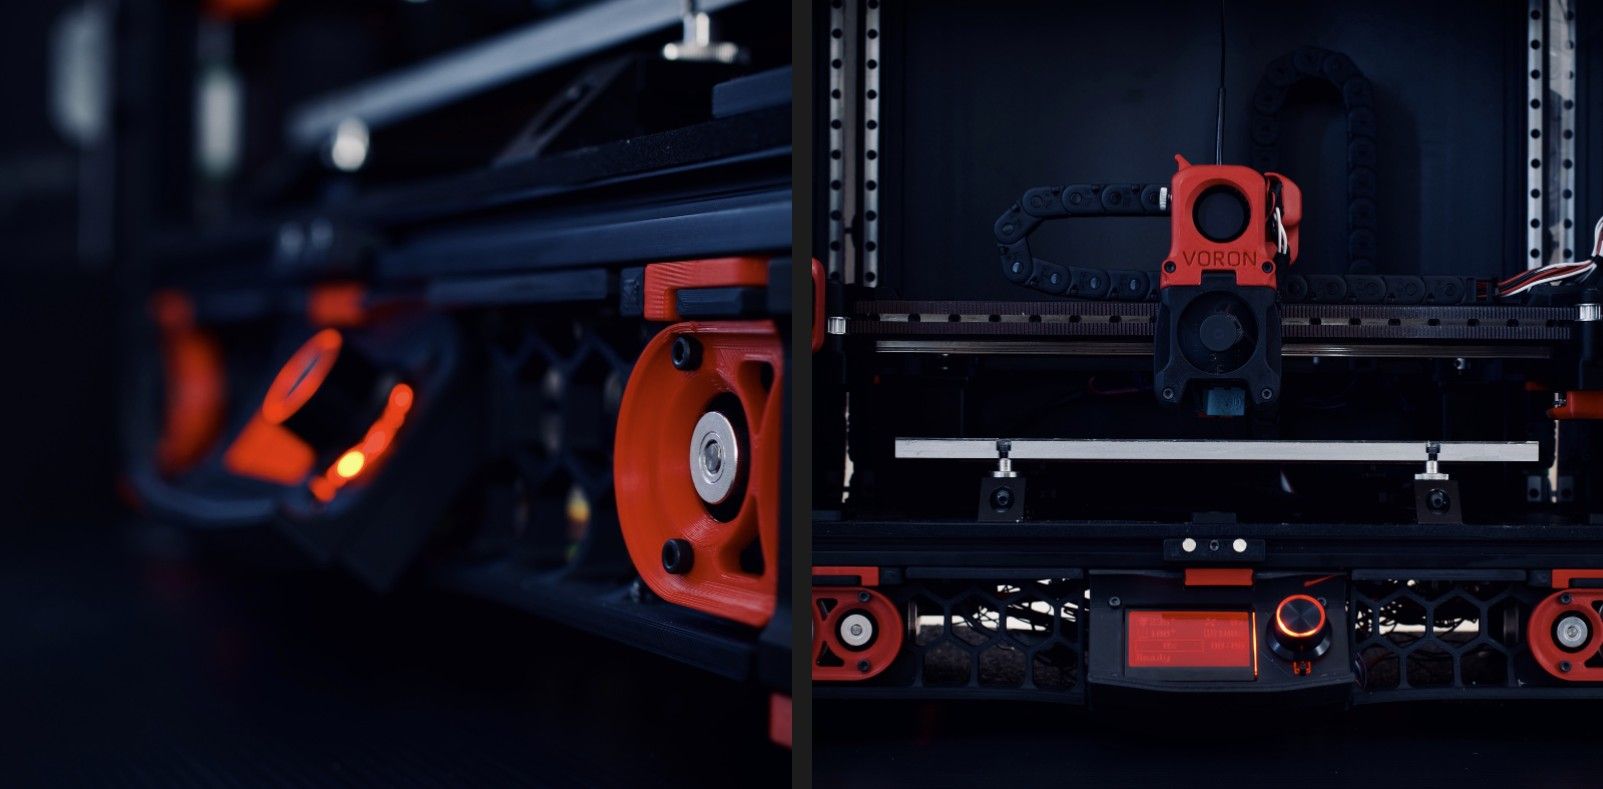
At this point, you might as well pony up anywhere between $1,500 and $1,900 for the 250mm, 300mm, or 350mm versions of the Voron 2. The entire motion system is belt driven, with the heavy stepper motors being tucked away outside the build area.
This allows the print head to be moved with astonishing speed and precision, while also insulating the motors from elevated enclosure temperatures.
Although that also holds true to a fair degree for all other Voron printers, the Voron 2 is the mother of all CoreXY designs featuring a completely stationary bed devoid of any leadscrews.
Instead, four discrete stepper motors move the entire gantry housing the print head along the Z-axis. That, in turn, makes fully-automated four-point gantry tramming possible.
However, its engineering sophistication and complexity also makes it a bit more challenging to build.
Things to Consider Before Getting Started
There are a few things worth knowing before you even refer to the Voron project’s stellar documentation.
Your first Voron printer should be built to stock specifications. This makes printer tuning and troubleshooting manageable without additional wildcards complicating things. Avoid the temptation of trying out one of the several modified parts at the outset.
Small is better, at least at the start. You can build larger versions of most Voron printers, but this comes at the cost of accuracy and reliability—not to mention the added expenses and headaches of getting a large printer frame aligned properly. Build only as large as you need.
With the exception of Voron 0, all other variants involve heated beds powered by mains voltages. Be absolutely sure to follow all instructions and safety measures pertaining to this aspect. Failure to do so could result in electrocution and/or house fires. That also means using quality wire crimping tools. Cheap ones are known to cause loose connections, which are common ignition sources in 3D printers.
If this is your first Voron rodeo, it isn’t uncommon for a printer build to take anywhere from a couple of days to a week. It's wise to clear your schedule ahead of time to avoid rushing through the build process.
Voron Printer Configuration, BOM, and Manuals
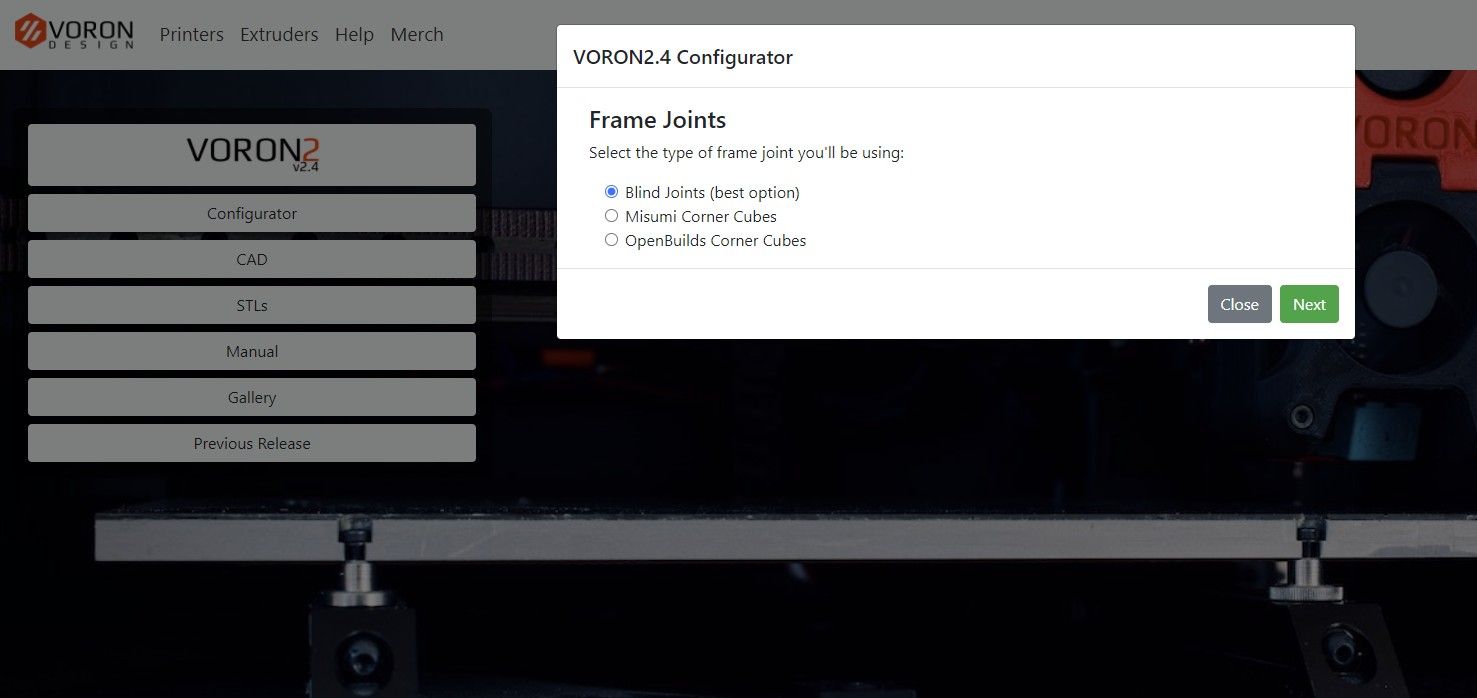
Getting everything you need to build a Voron 3D printer is fairly straightforward. Visit the official Voron Design website and navigate to the printer of your choosing. Click on the Configurator button.
This will generate a customized bill of materials (BOM) using a configuration wizard that walks you through the process. That's how you acquire the downloadable BOM and component sourcing guide, complete with hyperlinks to multiple online retailers.
Thereafter, download the manual as well as STL and CAD files from the printer page. The STL archive contains all 3D printable parts, whereas the CAD files come in handy as an optional visual reference during printer assembly. The illustrated manual does a great job of making the build process idiot proof.
When in Doubt, Ask the Voron Community
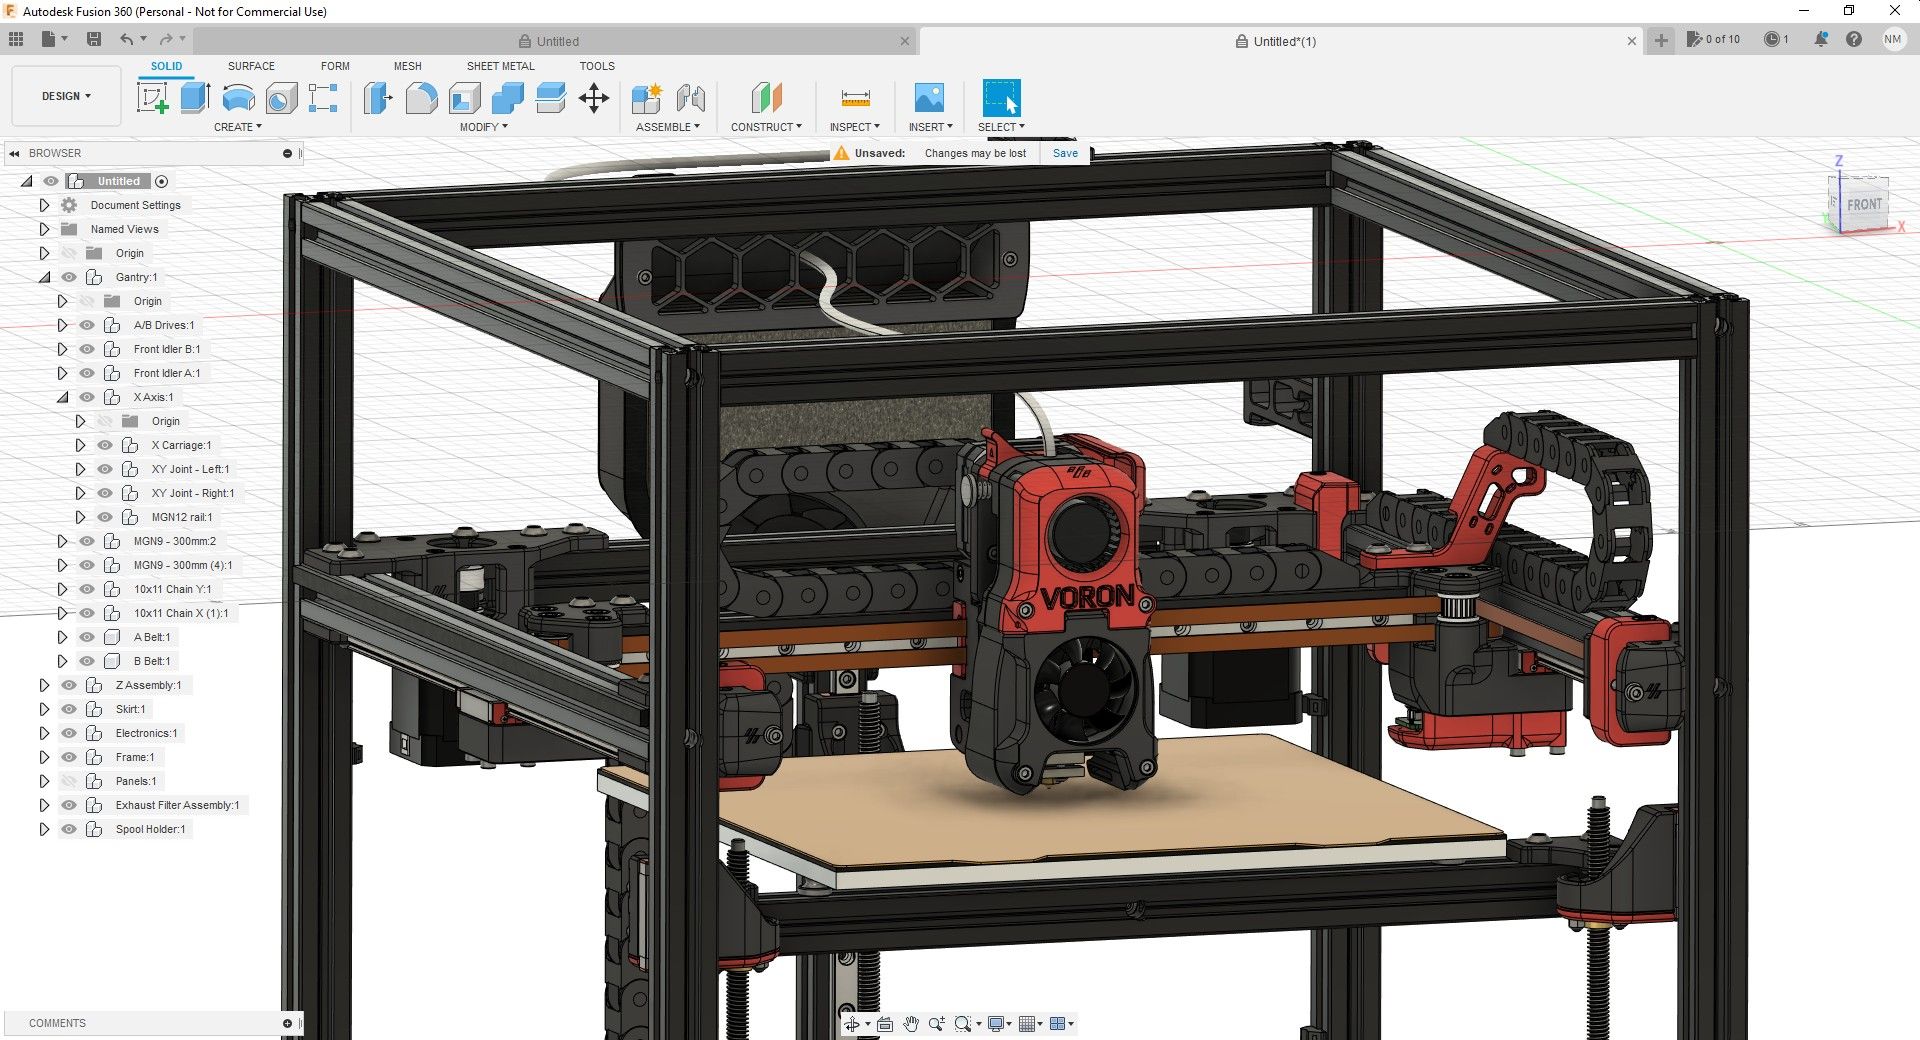
The official website’s documentation section contains comprehensive instructions for every single aspect of the build. However, if you are a visual learner, we highly recommend checking out the Nero 3dp YouTube channel.
It is a veritable treasure trove of video build guides, sourcing tips, and entire livestreams where these printers are built from scratch.
Finally, the official VORON Design Discord server is the best place to ask for help when you encounter hiccups. Simply checking out the pinned comments in relevant sections should address most common questions and issues.
Acquiring 3D-Printed Parts Without a 3D Printer
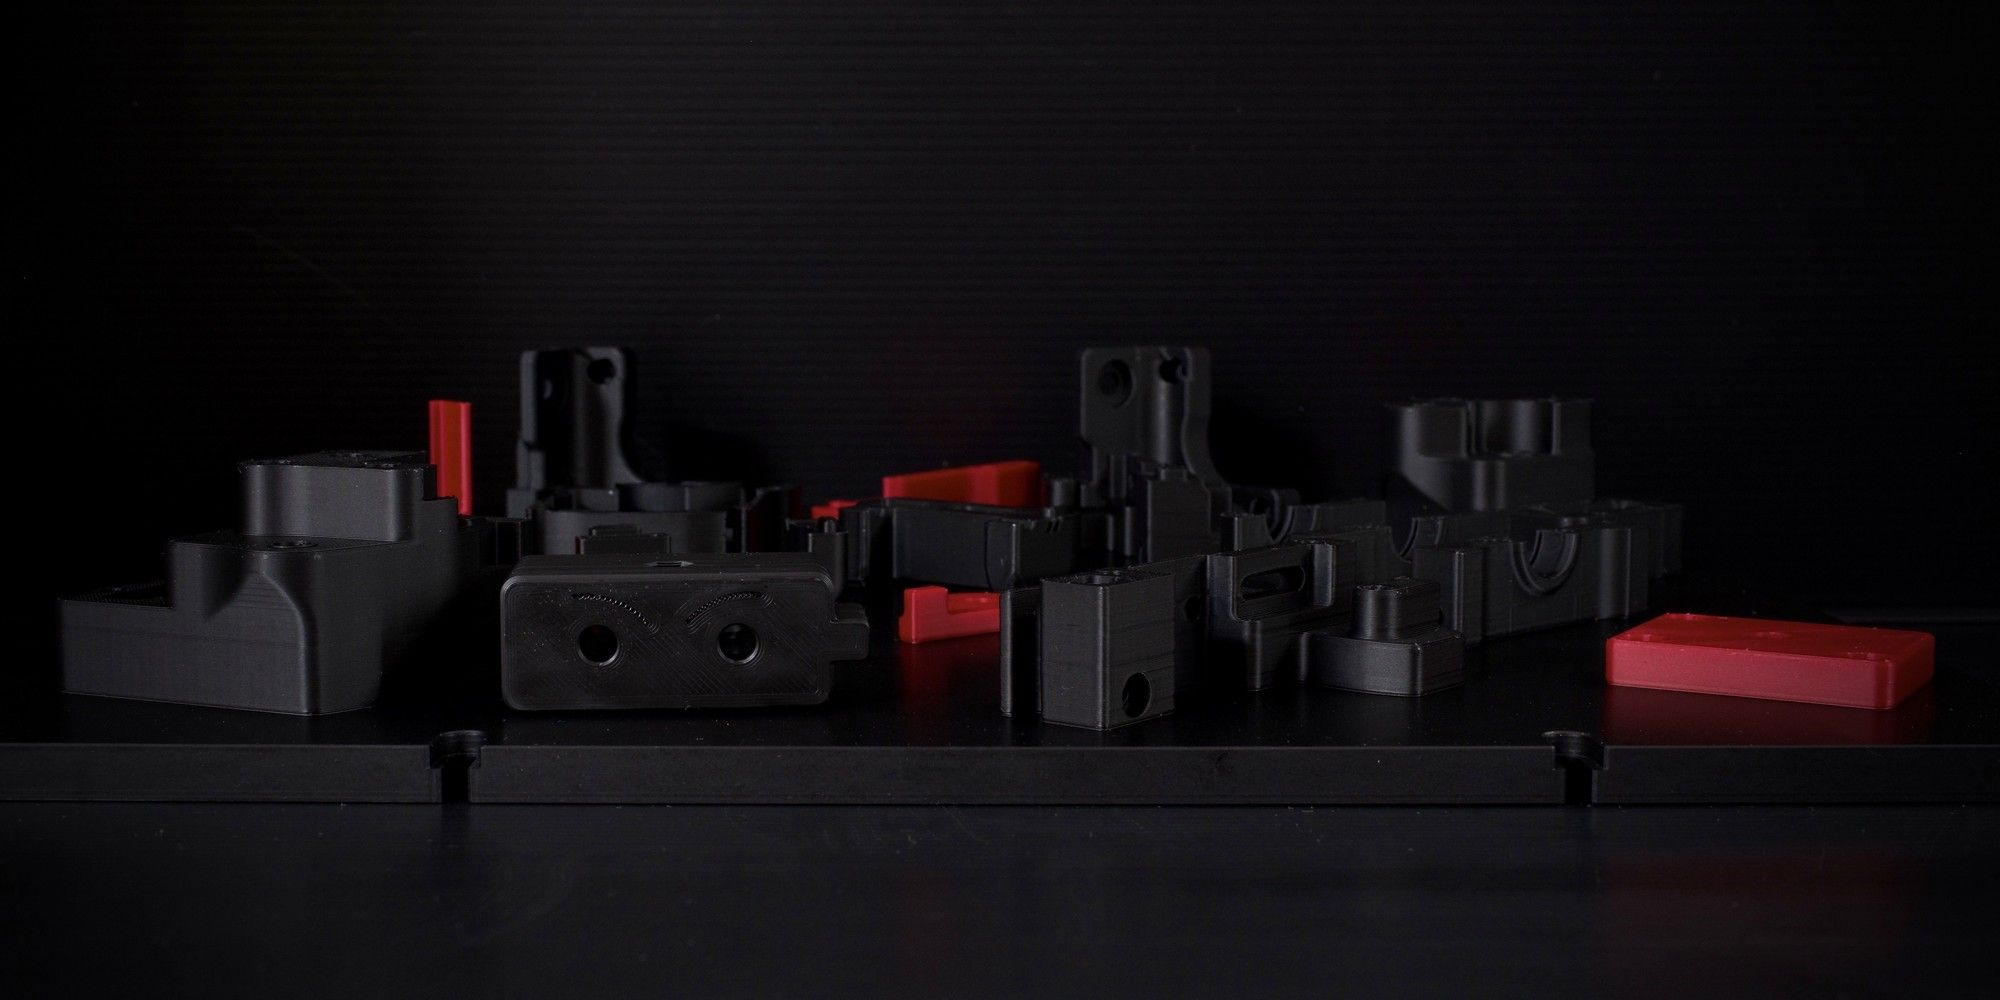
Ideally, a Voron should be your second or subsequent 3D printer. But those without the means to 3D print the requisite ABS parts can use the Voron Print It Forward (PIF) program.
This is a non-profit initiative where vetted Voron community members 3D print and ship parts to those in need for a small fee. Parts requests can be made from the official PIF website.
Final Note: Don’t Be Lazy
Ideally, the parts for Voron 3D printers are expected to be procured from reliable suppliers such as MISUMI, Digi-Key Electronics, and other vendors listed in the official sourcing guide. The recent growth of the Voron project has spawned third-party sellers offering convenient ready-to-build kits.
The Voron team doesn’t officially endorse such kits, primarily because poor quality components could potentially cause loss of life and property. Not surprisingly, Voron community members have reported kits with inconsistent quality. When in doubt, it’s just wiser to follow the official instructions and source components yourself.