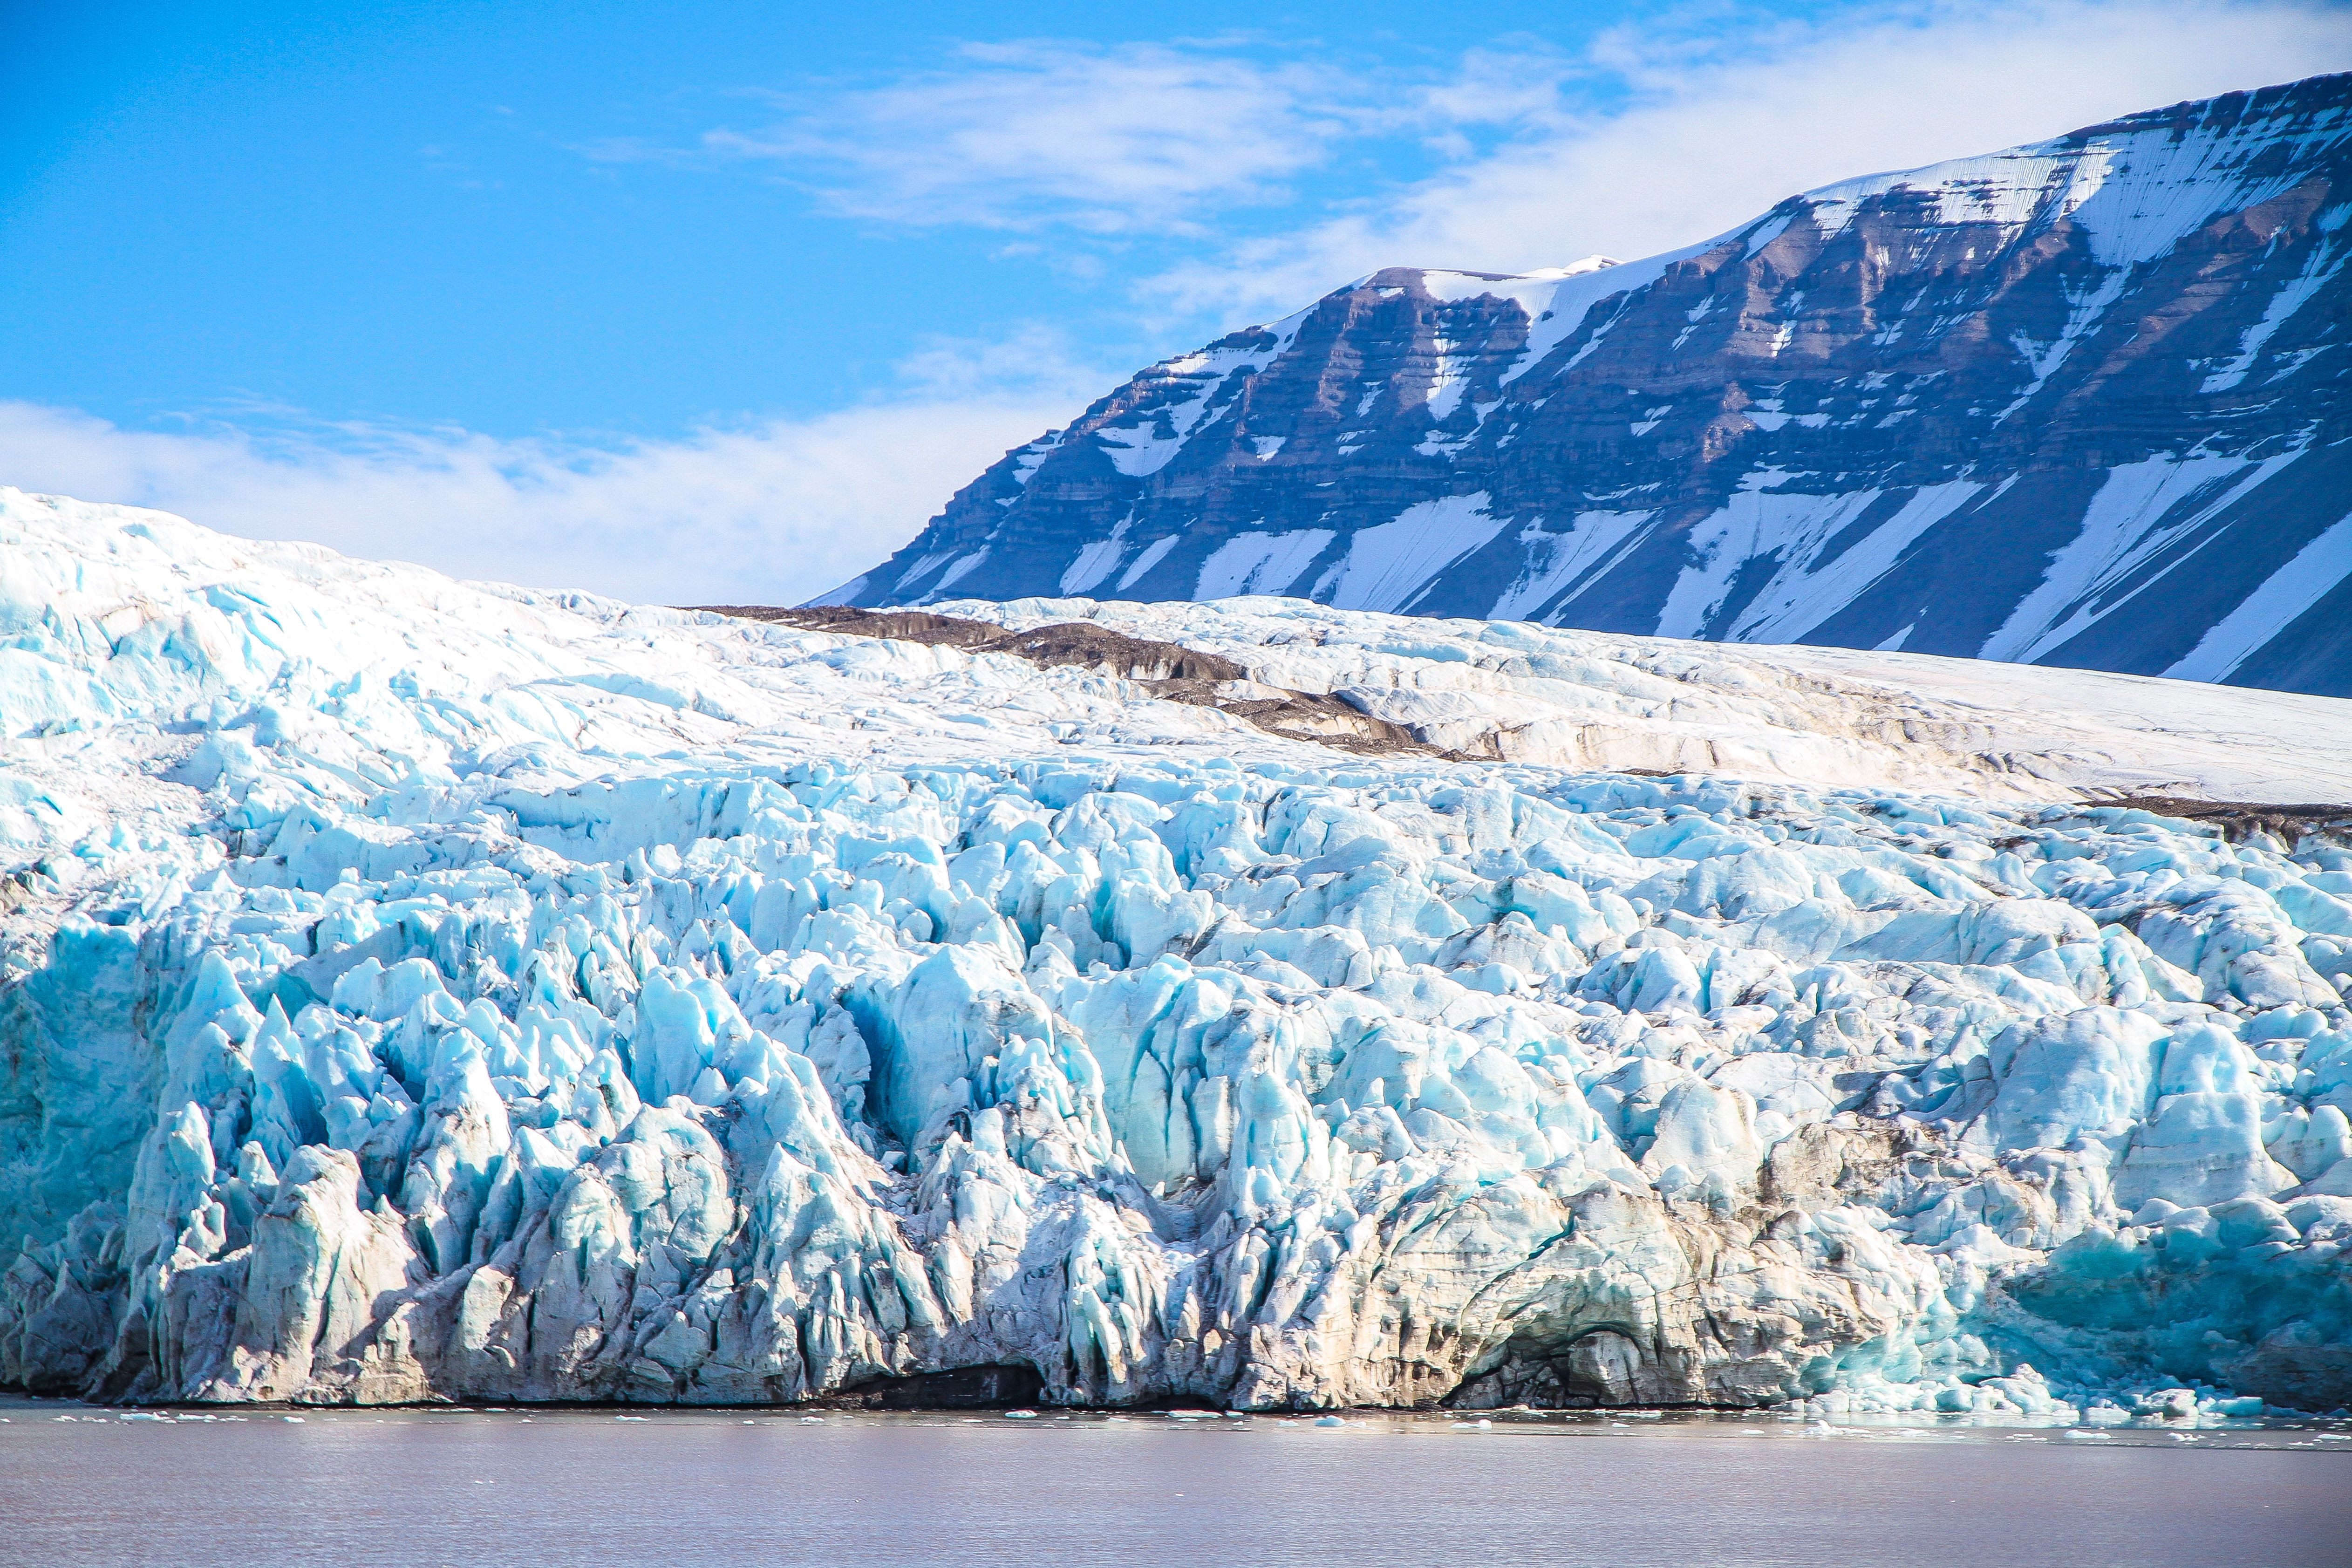
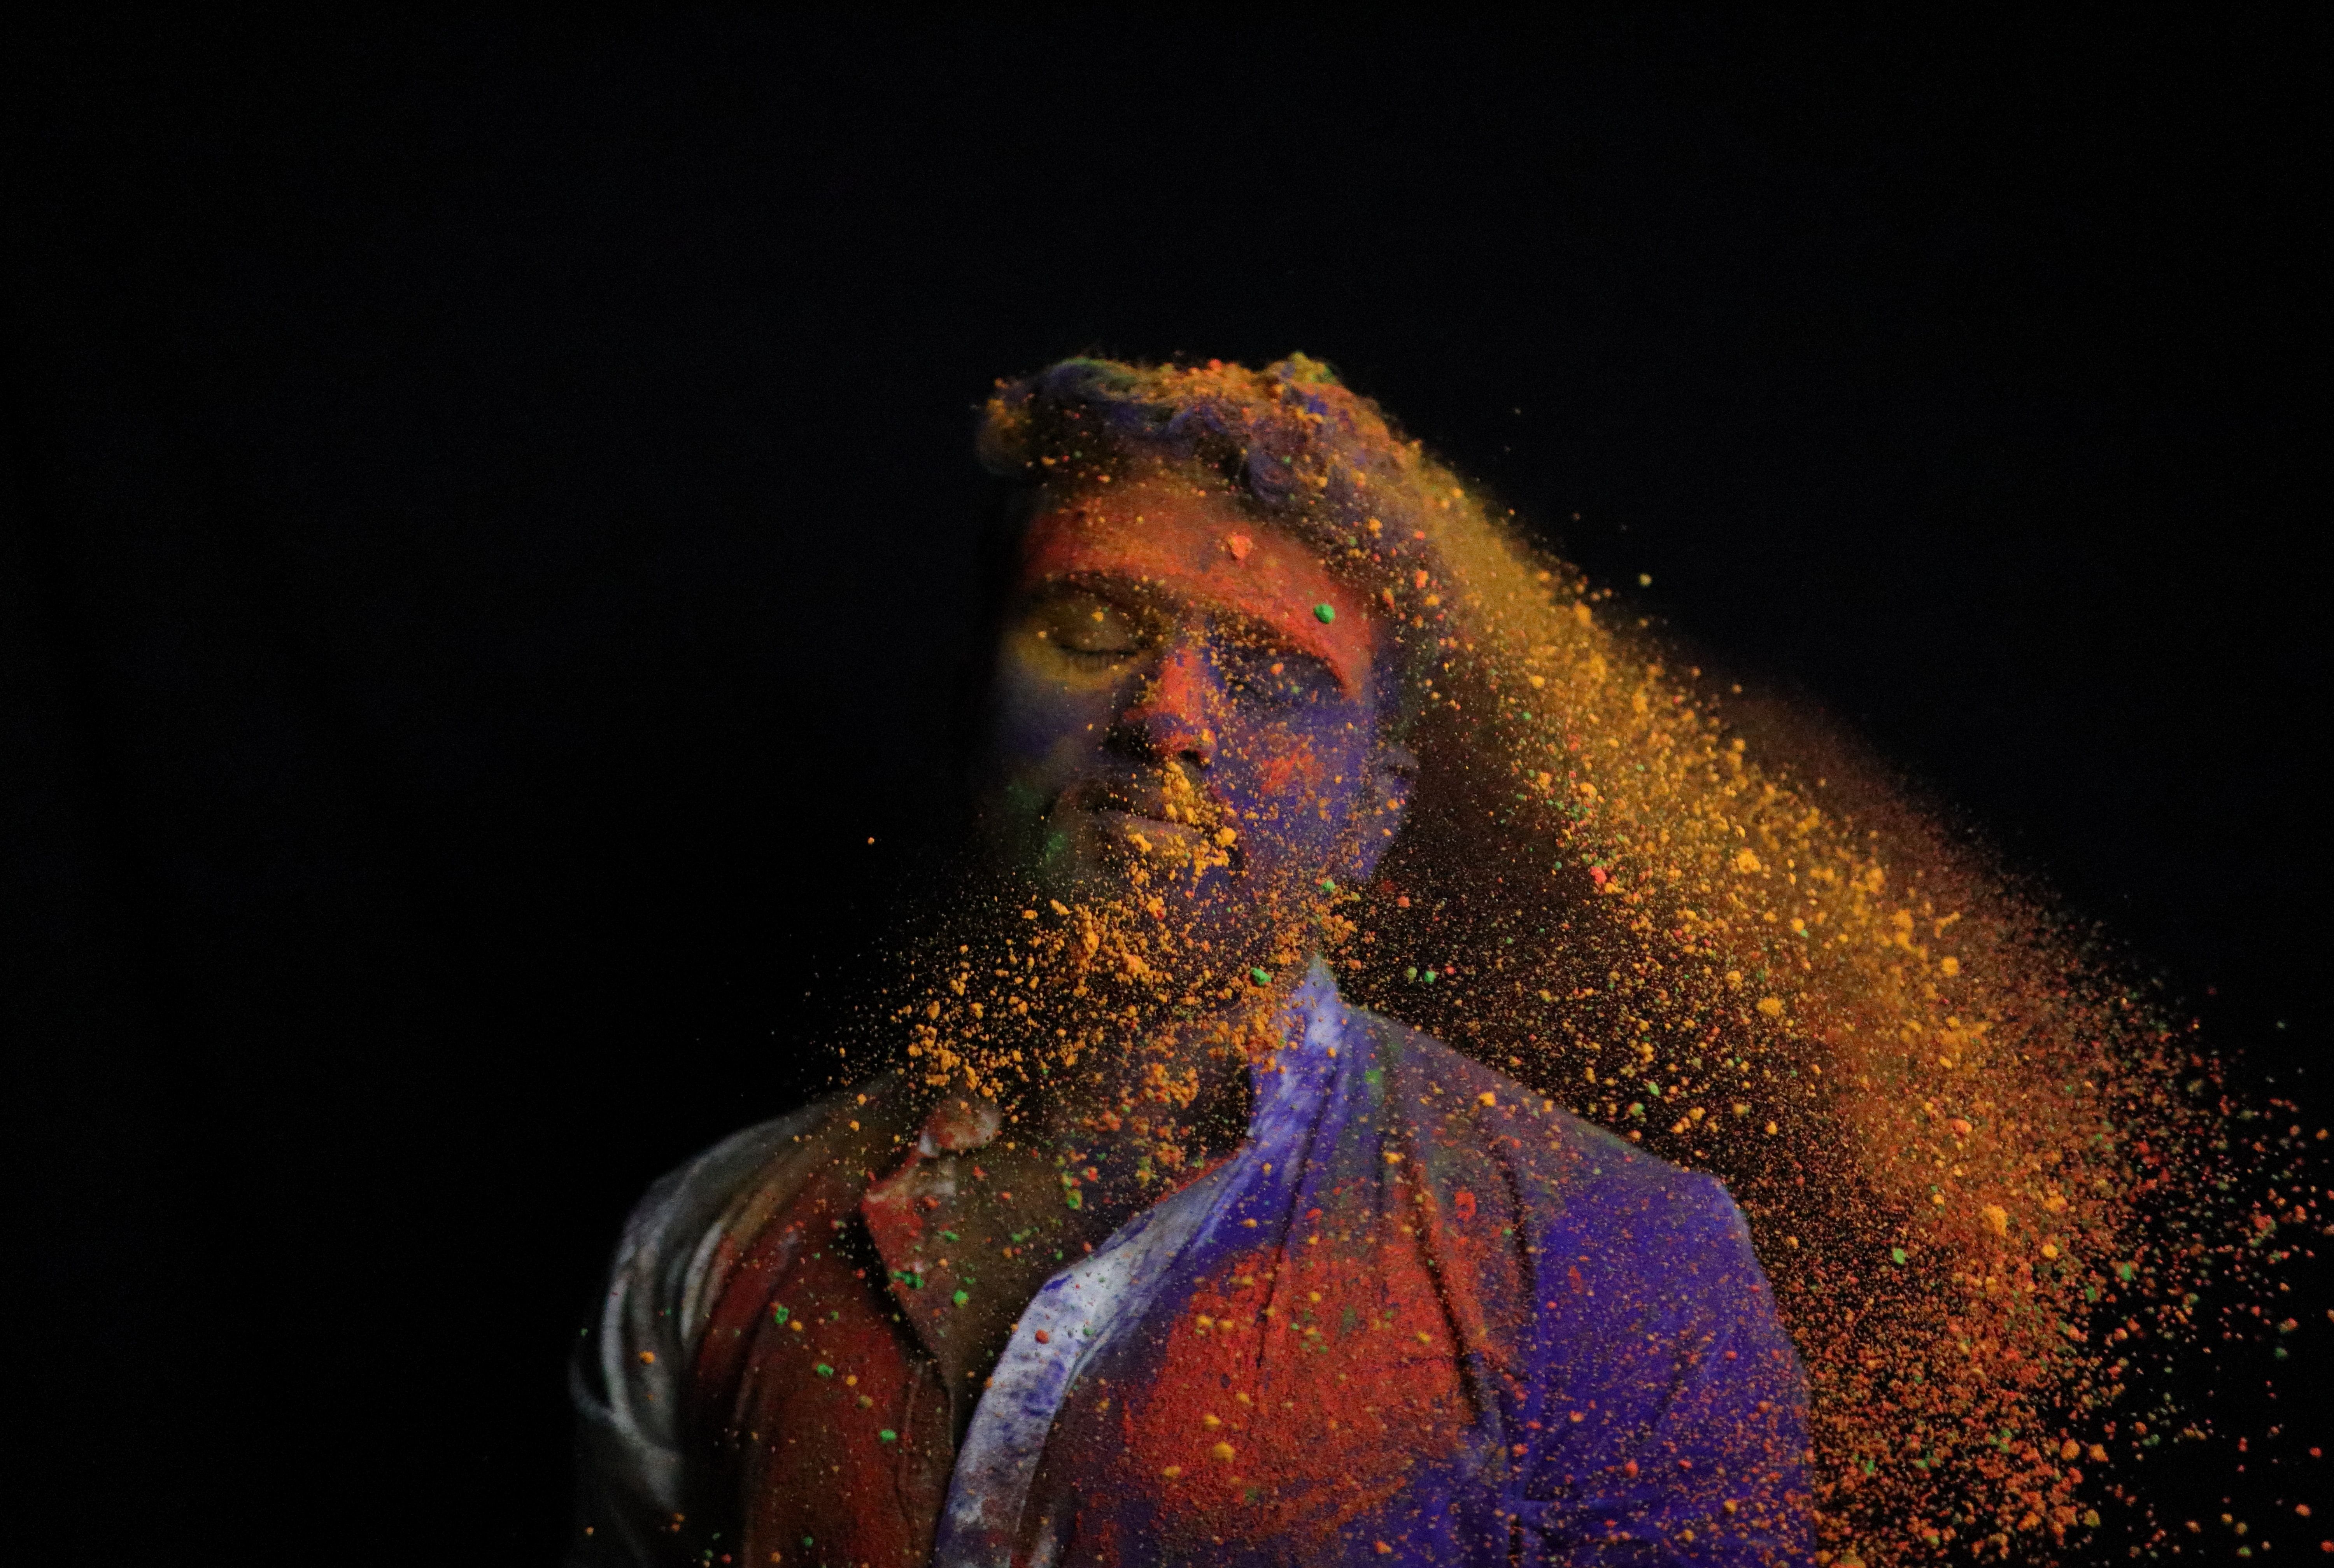
As you become more advanced with your photography skills, it’s only natural that you’ll begin to look for new ways to make your pictures stand out. One possible way to do this is by using textures, whether natural or man-made.
Mastering a photo texture is a tricky skill to learn but rewarding once you’ve got to grips with it.
In this article, you’ll find out what texture is in photography---with examples. We’ll also show you how you can add both natural and man-made textures to your photos while identifying common mistakes to avoid as well.
What Does Texture in Photography Mean?

In a real-life context, we’d define texture as how something feels. Marble feels smooth, sandpaper feels rough, and so on. Of course, you can’t physically feel a rock or a bush when looking at a photo on Instagram or holding one in real life. So, instead, texture in photography relates more to the visual aspect.
When talking about photos, texture refers to how you’d want a picture to feel if a user could reach out and touch the object. You might want to capture textures in photography for multiple reasons. For example, you may wish to capture the detail of a wooden bench to show its age. You could also use textures to emphasize how dramatic a scene---such as a landscape---is.
In photography, you can use texture to add emphasis to a particular subject or make it the subject itself.
Why Is Texture in Photography Important?
The texture of your image can alter its mood and meaning drastically. While rough textures could suggest rugged mountains and harsh terrains, smoother ones might resemble peace and stillness.
Using texture in your photography can also help make your picture look less two-dimensional. As such, viewers might feel like they’re in your photo when they look at it---compared to if you hadn’t taken the time to think about this particular area.
What Are Natural Textures?

Before looking at how you can improve your texture photography, it’s a good idea to distinguish between natural and man-made textures.
When we talk about natural textures, we’re referring to textures in their normal state. For example, you could class the rain droplets on a leaf as a natural texture; the same is true for the fur on an animal.
Other examples of natural textures in photography include the ridges of a valley or canyon and the wrinkles on someone’s face.
What Are Man-Made Textures?

While you can find natural textures in your photography (more on that in a moment), you can also add your own to make an image stand out. One way you could do this is by throwing colorful powder, which might give off the idea of a carnival or chaos.
You can also add your own textures by doing things like scrunching up a piece of paper, painting on a canvas, and---if you’ve got some time on your hands---knitting a blanket or sweater.
How to Improve the Look of Natural Textures in Your Photos
Regardless of where you live, the chances are that you have plenty of natural textures around you. The tricky bit is picking which ones you want to take compelling photos of.
If you’re a beginner in texture photography, it’s a wise idea to start small. While you can combine textures eventually, try to pick one instead.
You’re going to need a creative eye and think outside the box. How you frame an image could play a key role; standing straight and pointing your camera might not be your best choice. It’s also worth thinking about the time of day you shoot and the story you’re trying to tell.
If you’ve already explored a bit around photography-related terms, you’ll probably have heard of the exposure triangle. Keeping in mind each area is critical to ensuring you get the best possible texture.
How to Add Textures to Your Photos Yourself in Post-Processing
Besides creating your own textures, you can also add textures to your pictures in the post-production phase. To do this, you’ll need editing software such as Adobe Lightroom.
Regardless of whether you use Lightroom Creative Cloud (CC) or Classic, you’ll notice a slider that allows you to add texture to your image. You’ll need to scroll down to the Presence subsection; it’ll be the first choice on this menu.
But that isn’t the only option you’ve got for adding texture to your image in post-processing. In the same part of Lightroom, you’ll also notice a tool called Clarity. The Clarity slider will add more detail to your photo if you drag it to the right, and smoothen things out if you slide to the left, instead.
You can also add texture to your photo by using the Sharpening feature. If you pair this with the Masking slider, you can add an extra punch to the areas of your picture that could do with a little boost.
Common Texture Photography Mistakes to Avoid
Okay, so now you know a little more about texture photography and the different ways you can make your photos look more interesting by using it. The learning curve is often steep, though, and many beginner photographers make similar mistakes.
Below are a few texture photography mistakes you should do your best to avoid.
Taking Unsteady Images
Can you take photos with excellent texture without using a tripod? Yes, of course. But, if you do, you must make sure that your motion is at a minimum.
If you don’t have a tripod or don’t want to use one, make sure your shutter speed is high enough that you don’t end up with blurry pictures.
Keep yourself stable, too; try to hold your camera as close to your body as possible, and make sure your body frame isn’t wobbling. If you’re taking pictures in cold weather, dress up warmly so you don’t shiver.
Another smart idea is to rest your camera on stable surfaces. Examples include park benches, bins, and the floor.
Overdoing Things When Editing
Going through the photo editing stage where post-production turns perfectly good images into something that looks like it was taken in a microwave is a rite of passage for many photographers. And, when it comes to texture photography, this is no different.
If you bump the Texture and Clarity sliders up too much, your photo probably won’t look like you want it to. Use the sliders in moderation; instead, focus more of your attention on the variables in your pictures that you can control while shooting.
Not Thinking About the Story
Taking a photo with “popping” textures will not guarantee that you’ve got a good picture on its own. Like with any photography, you must think about the story you’re trying to tell.
Before going out and taking pictures, sit down for a few moments and brainstorm what you’re trying to convey. Think about moods, messaging, and so on. By taking a few extra minutes to plan out your shoot, you’ll find that the quality of your pictures is much better.
Use Texture in Photography to Make Your Pictures Pop
If you’ve found yourself asking: “What is texture in photography?”, this article should have answered that question. You should also know a bit about what you’ll need to consider when incorporating textures in your images, ranging from storyline to camera settings.
Like with all other photography practices, getting your textures right will take some time. But, with enough practice and a willingness to adapt, you’ll improve significantly.